
Strawberry Cake with Custard


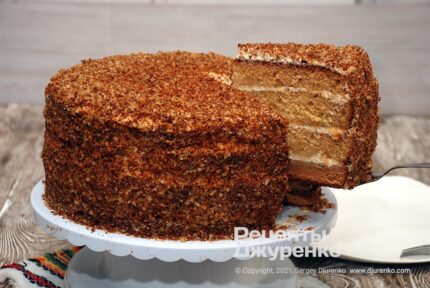
Ingredients
6-8 servings
- Ripe strawberries 300-400 g
- For the sponge
- Eggs 6
- Sugar 6 tbsp (80 g)
- Flour 1.5 cups (195 g)
- Baking powder 0.5 sachet
- Lemon zest 1 tbsp (6 g)
- Butter or vegetable oil (for greasing the pan) 0.5 tbsp
- For the cream
- Egg yolks 5
- Milk 0.5 l
- Sugar 3-4 tbsp (41–55 g)
- Cornstarch 2 tbsp (20 g)
- Vanilla extract to taste
Step-by-step recipe
Sponge
A strawberry cake isn’t hard to make, but it takes attention and care. The sponge should be tall and fluffy so that the inner space filled with berries and cream is large. For that, the batter uses baking powder – the ordinary store-bought kind. Better not to use baking soda: it’s very hard to guess the right amount, and the sponge ends up with an aftertaste.

Whisk the eggs with the sugar. Put the contents of 6 eggs into a bowl or mixer bowl and add 6 tbsp sugar – about 150 g. Beat with a mixer until a thick foam forms and the eggs and sugar have increased in volume several times over. For better whisking, it’s best to keep the mixer bowl in very cold water.

Make the batter. Sift the flour into a bowl and add the baking powder. The sachet usually states the amount of flour it’s meant for. For 1.5 cups of flour (195 g), no more than 200 g of wheat flour, work out the amount of baking powder the sponge needs. Mix the flour and baking powder and add the mixture to the egg foam.

Mix the batter thoroughly but gently with a spatula, from the bottom up, so the foam doesn’t deflate and there are no lumps. The batter will be runny and glossy. Grate the lemon zest into the liquid batter – it softens the smell and taste of egg – and mix once more.
Since a strawberry cake is a sponge shell with a filling rather than layers, the batter should be a little thicker, with more flour.
Prepare the baking pan: its height should be 2-2.5 times the thickness of the batter layer. Grease the bottom and sides with butter or vegetable oil and pour the batter into the pan.

Bake the sponge in an oven preheated to 200°C. It usually takes 30-35 mins. After 20 mins, test it with a toothpick – if no batter sticks when you pierce it, the sponge is done. It’s also worth browning it a little. Take the finished sponge out of the oven and let it cool completely.


Custard
The cream can be cooked while the sponge is baking. It’s also quick and easy.
Cook the custard. Pour half a liter of milk (250 ml) – store-bought 2.5% works – into a small saucepan and heat over medium heat. While the milk heats, mix 5 egg yolks with 2 tbsp cornstarch (20 g) and 3-4 tbsp sugar (41–55 g) in a tall glass. If the strawberries are sour, you can add more sugar – ideally the strawberry cake will not be too sweet, but have a slightly tart berry flavor. Stir the mixture thoroughly until the sugar dissolves completely. Pour the mixture in a thin stream into the milk as it comes to a boil, stirring constantly. Add liquid vanilla extract to taste. Custard thickens quickly, so you must keep stirring it, especially from the very bottom. After a few minutes, when the cream has thickened, remove it from the heat. To be sure there are no lumps, it’s worth straining it through a sieve. Let the cream cool well.


Assembling the cake
Prepare the strawberries: hull the berries, wash them well and pat dry with napkins. We got the best result when each berry was cut in half lengthwise. That way the strawberries go perfectly with the custard without thinning it with juice, and they act as decoration for the strawberry cake.
Prepare the cooled sponge for the filling. There are two options. The first is to slice off the top as a thin layer and scoop out the crumb with your fingers, forming a cavity for the filling. Then cover the cake with that lid and decorate it. The second option, which I like more, is not to use the top layer at all, leaving the surface of the cake with the cream and strawberries of the filling. By the way, the crumb is great with tea.

Fill the sponge with cream and strawberries. With a spoon or spatula, coat the entire inside of the sponge with cream, carefully and without gaps. The cream should stick well to the sponge, in a layer 1-1.5 cm thick. Arrange strawberry halves on the cream in an even layer, and cover with a thick layer of cream. Add more strawberries and more cream.

Decorate the top of the cake. Coat the top generously with custard and arrange the berry halves cut side up. For looks, it’s worth placing the strawberries symmetrically, pressing them lightly into the cream. The sides don’t need coating. However, if you decided to use the top of the sponge as a lid, coat it with cream, sprinkle with slightly dried crumbs and add a layer of strawberries. In this version it’s also better to coat the sides with cream.

Put the strawberry custard cake in the refrigerator. Custard sets well and becomes firm, a bit like a not-too-firm jelly. That lets you cut the strawberry cake into pieces and serve portions without worrying about the cream spreading. Ideally the cake should sit in the refrigerator overnight. At least a couple of hours – I understand that waiting is very hard when such a treat is right there!


Serving
If the dessert has cooled and soaked well, you can easily cut it into pieces and serve them separately. Use a small, very sharp knife so the berries in the filling get cut rather than crushed. If you like, decorate the slices with sprigs of fresh mint.
Calories and macros
415 kcal
Serving ≈ 270 g
- Protein15 g15% of kcal
- Fat13 g29% of kcal
- Carbs57 g56% of kcal
100 g154 kcalProtein 5.6 gFat 4.8 gCarbs 21.2 g
Calculated from the recipe ingredients, excluding salt and spices. Data: USDA and Matvaretabellen.
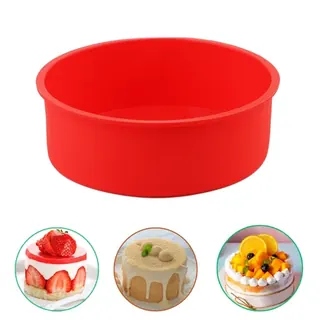 Silicone cake panAliExpress
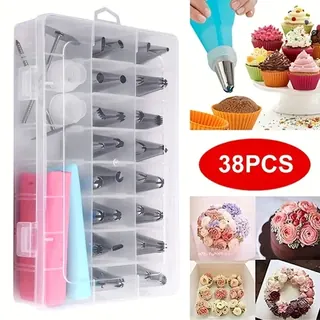 Piping bag with nozzlesAliExpress
 Kitchen scale up to 5 kgAliExpress
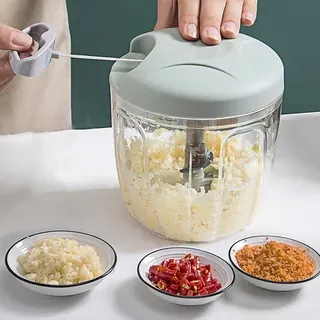 Pull chopper for garlic and onionAliExpress
 Oil sprayerAliExpress
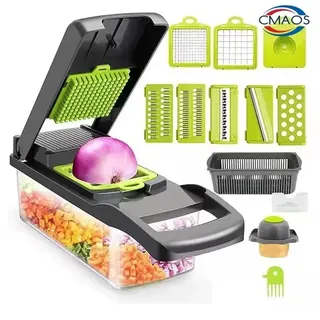 Vegetable chopper with handleAliExpress