
Banana Cake


Ingredients
1.8-2 kg
- For the sponge
- Eggs 8
- Flour 1.5 cups (195 g)
- Cornstarch 1 tbsp (10 g)
- Sugar 1 cup (180 g)
- Baking powder as directed on the package
- Vanilla a little
- Butter (for greasing the pan) a small piece
- For soaking
- Boiling water 1 cup (200 ml)
- Sugar 2 tbsp (27 g)
- Lemon juice 1-2 tbsp
- Liqueur (Cointreau) 50 ml
- For the cream
- Mascarpone cream cheese 500 g
- Ripe bananas 3-5
- Lemon juice 1 tbsp
- Powdered sugar 2 tbsp (18 g)
Step-by-step recipe
Preparing the ingredients
Making a homemade banana cake is easy: you bake a sponge and mix the cream ingredients. The sponge layers can be made ahead, and they can be plain or with cocoa, chocolate or nuts added.
Choose ripe bananas with fairly firm flesh for the cream. Overripe fruit is too soft and the cream will be runny.

Take 8 eggs out of the fridge so they come to room temperature.
So that the flavor and aroma of the banana cream aren’t overpowered by other ingredients, I settled on the simplest sponge for the layers.
Mix 1.5 cups of wheat flour (195 g) with a full tablespoon of cornstarch and the baking powder, using the amount recommended on the package. Sift the flour. Measure out 1 cup of sugar (180 g).


How to make the sponge for the cake
For baking I use a 21 cm round springform pan. I added a little vanilla to the batter to mask the taste of the yolks.
Prepare the pan and oven: line the bottom of the pan with paper. Grease the bottom and sides thoroughly with a small piece of butter. Turn on the oven and heat it to 180-190°C while you make the batter.
Beat the eggs with the sugar. Put the eggs into the mixer bowl and add the sugar. If you use vanilla sugar, add it right away. Liquid vanilla is best added after mixing. Mix the eggs and sugar thoroughly with a mixer on low speed. When the sugar dissolves, increase the speed and beat the mixture to a foam: the volume will double or more, and the egg mixture will turn pale.

Make the batter. Add the flour mixed with cornstarch and baking powder to the egg foam. Mix with the mixer on low speed to get a semi-liquid batter. Make sure no lumps remain. Liquid vanilla can be added at this stage.
The sponge batter is fairly thick, but pours easily from the bowl.

Carefully pour the batter into the pan. Don’t fill the pan more than halfway: the batter rises during baking thanks to the baking powder.

Put the pan in the oven and bake. Baking time for the sponge is usually 25-45 mins, depending on the thickness of the layer. It’s important that the sponge is baked through inside. To check, pierce the sponge in the middle with a toothpick. If no batter sticks to the wood, it’s done. Take the pan out of the oven and let the sponge cool. After cooling, carefully loosen the edge of the sponge from the pan wall, then take it out and peel off the paper from the bottom; it comes off easily.

Cut the sponge into three layers; the cake will be built from three. Cut off the top and trim the dark crust from the sides, so only the light layers remain. Keep all the trimmings for crumbs, which will decorate the cake.

Prepare the soaking syrup right away, as the sponge is fairly “dry”. Mix 1 cup of boiling water (200 ml) and 2 tbsp of sugar (27 g). When the sugar dissolves, add 1-2 tbsp of lemon juice and 50 ml of aromatic liqueur; I use Cointreau. The syrup should cool to room temperature.


Making the cream for the banana cake
The cream is not complicated, since it needs no cooking. For the base I use store-bought Italian mascarpone cream cheese. Alternatively, you can use custard.
Make the banana puree: peel the bananas, cut them into pieces and drizzle with 1 tbsp of lemon juice to reduce darkening. Puree the pulp with a blender or mash it with a fork.

Make the cream. Put all the mascarpone into the mixer bowl and add the banana puree 1-2 tbsp at a time, mixing with the mixer. Aim for the thickness of custard: it shouldn’t be stiff, but it shouldn’t run either.
The banana puree can be quite liquid, and the mascarpone may not make the cream thick enough. So don’t mix everything in at once, or you may misjudge the proportions. You can simply eat any leftover bananas.
Add 2 heaped tbsp of powdered sugar (27 g) to the cream and mix once more.

Put the bowl of banana cream in the fridge for now.
Put all the sponge trimmings in a blender and grind them into crumbs.


Assembling the banana cake
Place the bottom layer on a large flat plate or a rotating cake stand. Using a spoon, drizzle the cooled syrup over the layer, spreading it evenly; the porous sponge absorbs it very well. Divide the cream into 3 parts, leaving one a little larger, as it will be used to coat the top and sides. Spread a third of the cream on the first layer and smooth it into an even layer.

Place the second layer on top, pressing it down lightly. Soak it with syrup, spread part of the cream on top and smooth it. Place and soak the top layer in the same way. Generously coat the top and sides of the cake with the remaining cream. Any gaps at the sides are easily filled with cream. Smooth the cream so the top and sides are even.

Finally, “coat” the cake with sponge crumbs; they stick to the cream wonderfully and stay put. I simply take a handful of crumbs and press them onto the sides and top. Press the crumbs lightly against the cake so they don’t fall off. I brush off whatever doesn’t stick and reuse it on other parts of the surface.
By the way, you can mix the crumbs with chopped walnuts if you like.

Put the cake in the cold for a few hours, ideally overnight. It can also be eaten right away: the cream doesn’t really soak into the layers, so there’s no need to wait. Before serving, move the cake to a suitable board or plate. Cut it with a very sharp knife, cutting straight down so the cake doesn’t get squashed.
The finished cake keeps well in the fridge for several days, and the cream doesn’t darken in storage, staying light. It’s especially good with a cappuccino; I liked it. Notably, the dessert isn’t very sweet, with a delicate taste and the aroma of ripe bananas. If you like, use more liquid for soaking the layers, and lay thin banana slices between the layers.


Calories and macros
232 kcal
100 g
- Protein4.7 g8% of kcal
- Fat12.1 g48% of kcal
- Carbs24.8 g44% of kcal
Calculated from the recipe ingredients, excluding salt and spices. Data: USDA and Matvaretabellen.
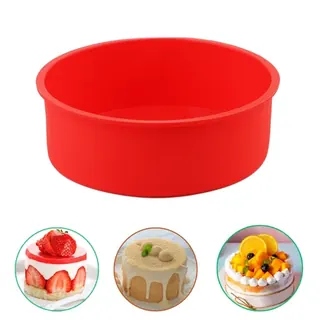 Silicone cake panAliExpress
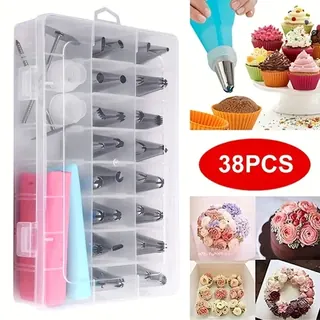 Piping bag with nozzlesAliExpress
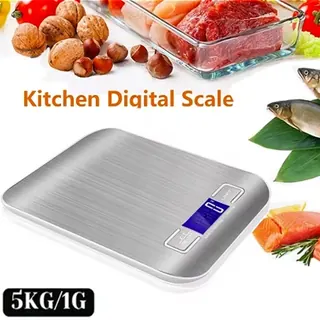 Kitchen scale up to 5 kgAliExpress
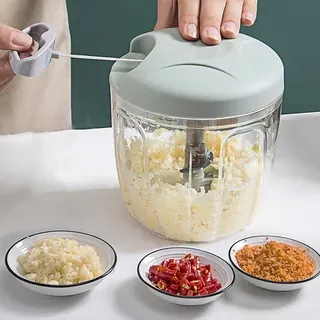 Pull chopper for garlic and onionAliExpress
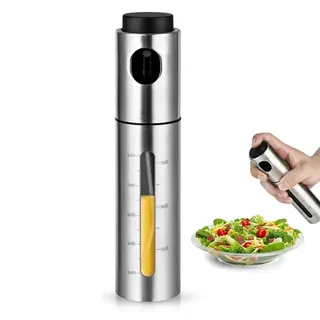 Oil sprayerAliExpress
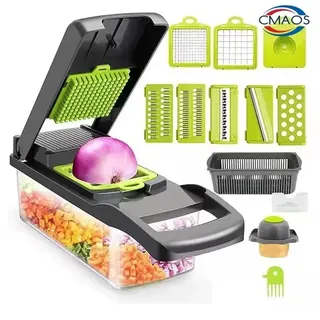 Vegetable chopper with handleAliExpress