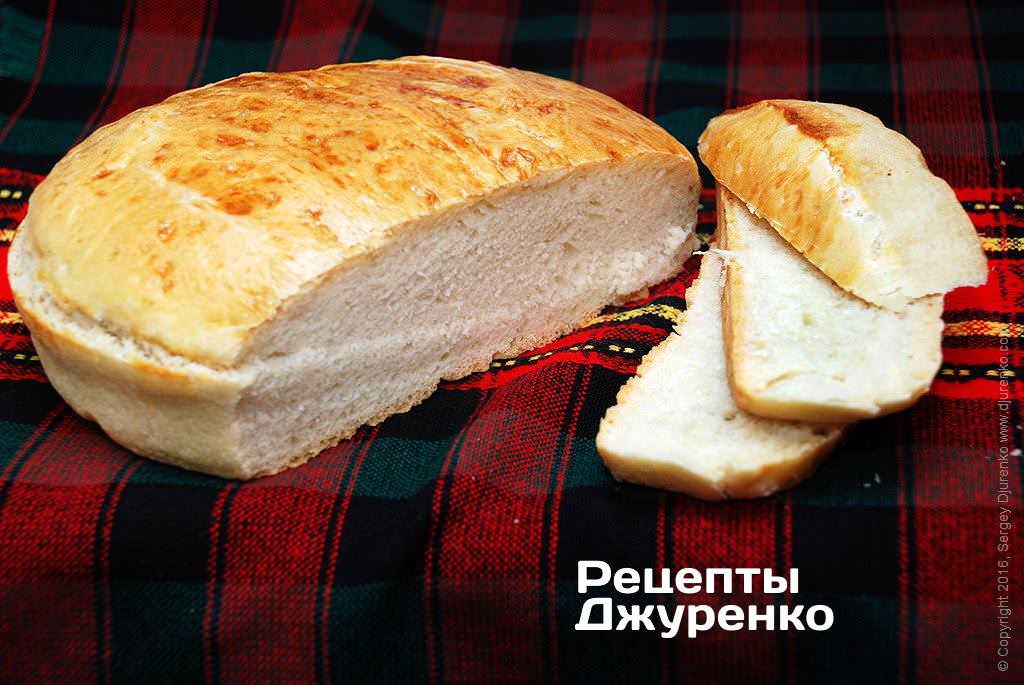
Wheat Bread


Ingredients
1 loaf
- Wheat flour 3 cups (plus a little more for kneading and dusting) (390 g)
- Warm water (30-35°C) 270-280 ml
- Instant dry yeast 1 packet (11 g)
- Salt 0.5 tsp (3 g)
- Sugar 2 tsp (9 g)
- Vegetable oil 2 tbsp (plus 1 tsp for greasing the paper or pan)
- Egg yolk 1 (for brushing)
- Milk 2 tbsp (for brushing)
Step-by-step recipe
Kneading the dough
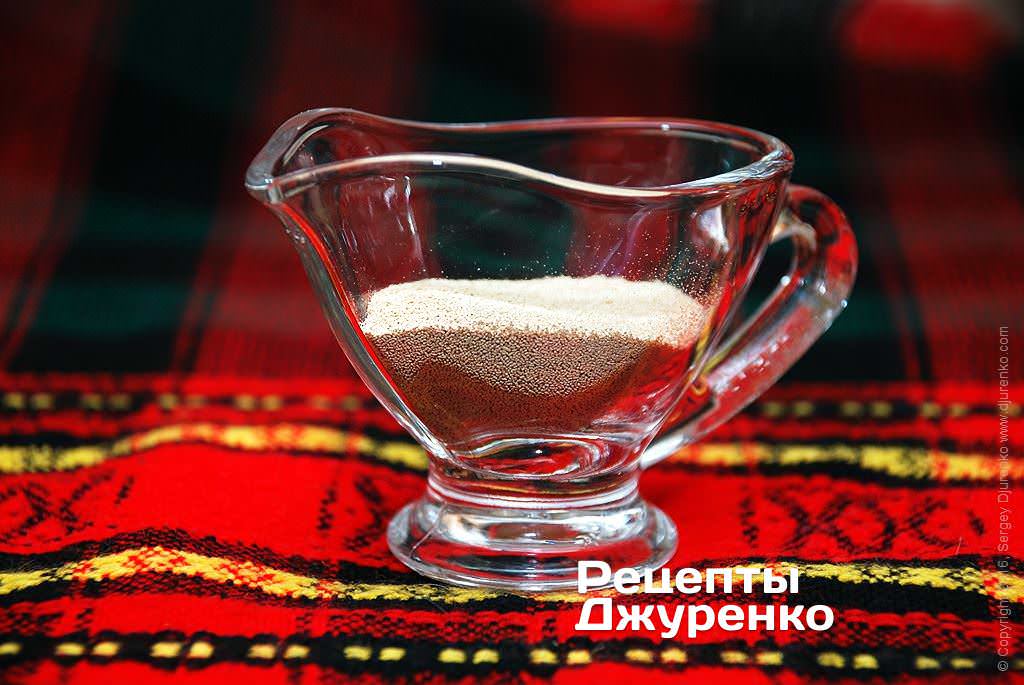
There is no point now in waiting for nature’s favor, for wild yeast to settle on your dough. It is easier to buy dry yeast, which does the job perfectly. It is always on sale, always fresh, and comes in small packs. With fresh yeast, the method for making wheat bread changes considerably.
Important! Note that there are different kinds of dry yeast. For wheat bread you need the kind that is mixed in dry, directly with the dry flour.
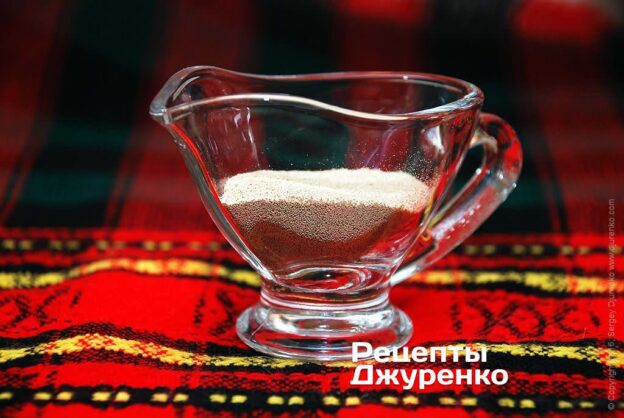
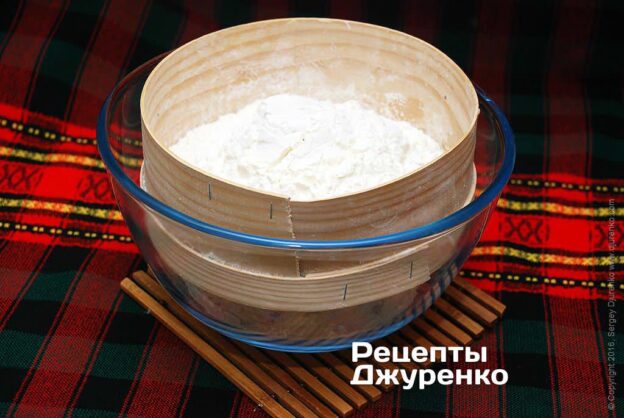
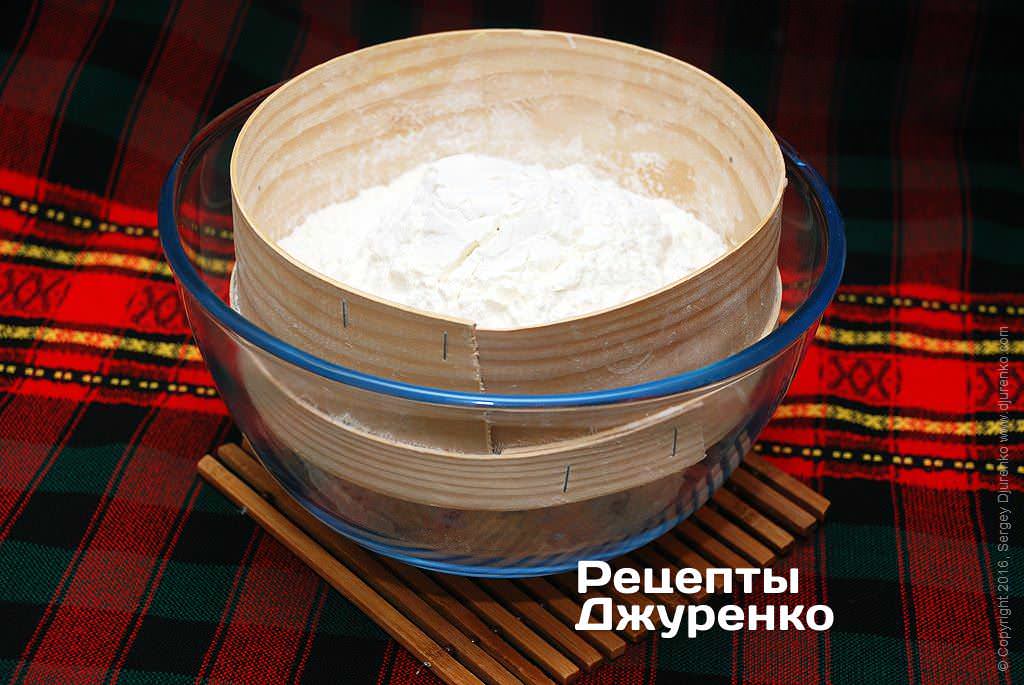
Be sure to sift the flour into a large bowl. Sifting improves the flour’s structure and saturates it with oxygen, which matters for the yeast.
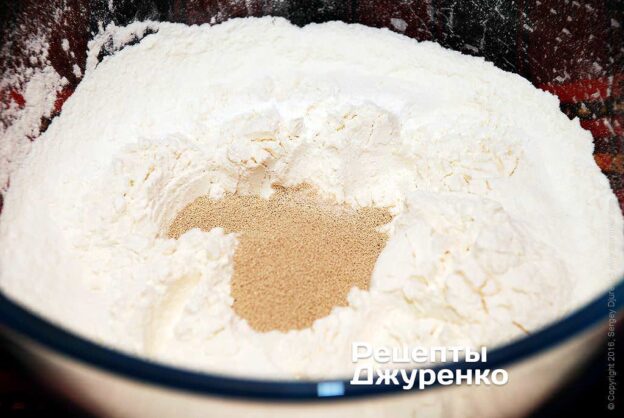
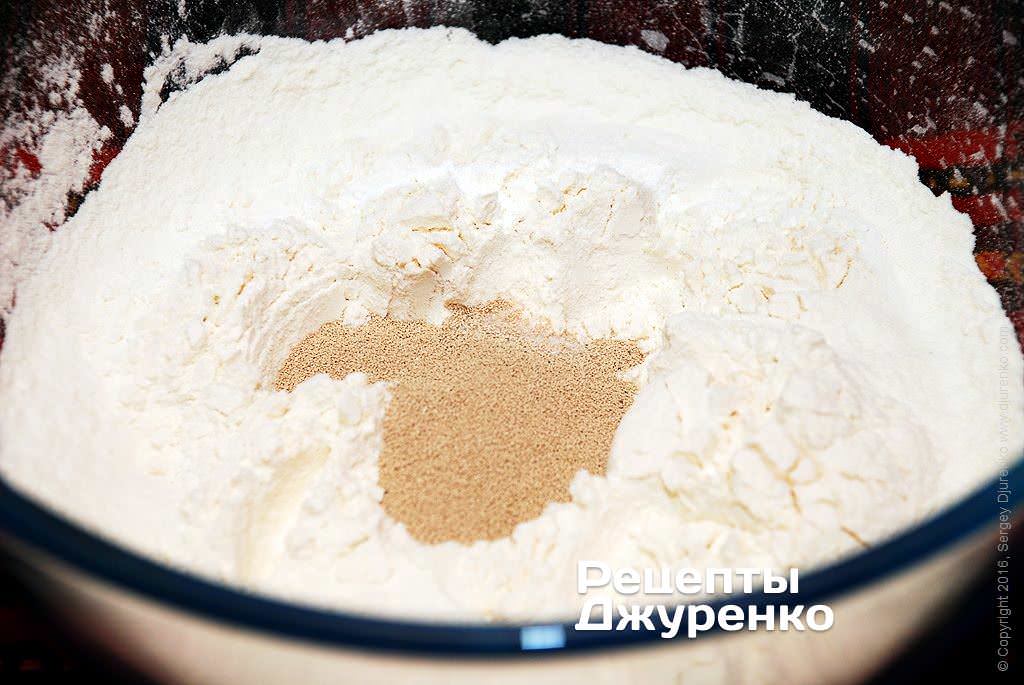
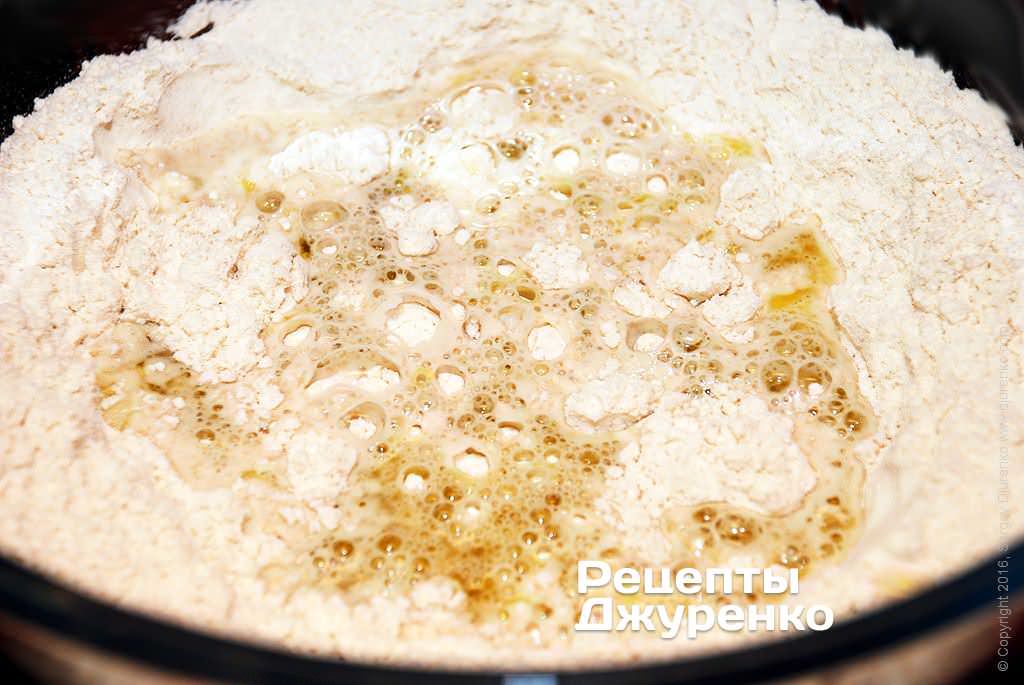
Mix the flour with the salt, sugar and yeast. Add 0.5 tsp of salt (3 g) and 2 tsp of sugar (9 g), and sprinkle in one packet of dry yeast (11 g). Mix very thoroughly so the salt, yeast and sugar are evenly distributed through the flour. Make a small well in the middle.
Warm 270-280 ml of water and mix it with the oil. Water, one of the main ingredients of bread, should be only slightly warm, 30-35°C. Pour it into a large cup, add 2 tbsp of vegetable oil and whisk with a fork.

Knead the dough. Carefully pour the water and oil into the well in the flour and start kneading.
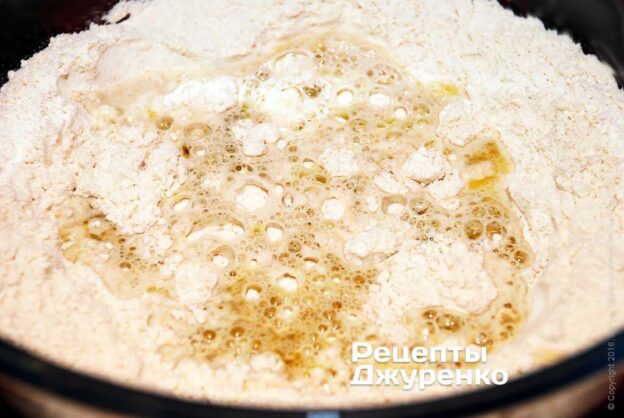
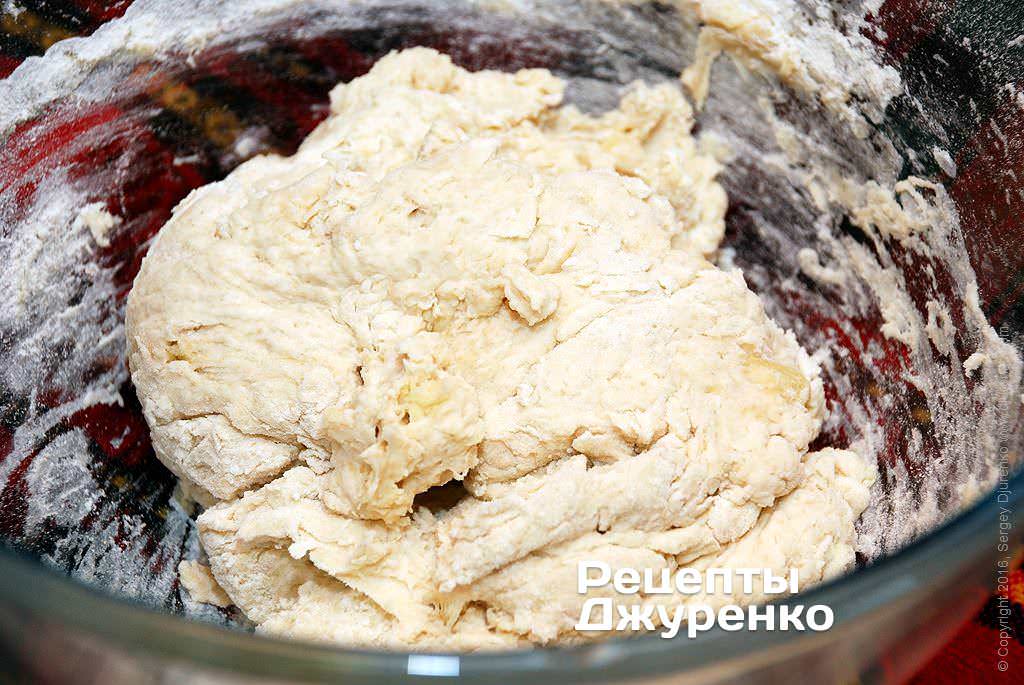
At first the dough should look too soft and sticky. It is better to bring the dough to the right consistency by adding flour rather than water.
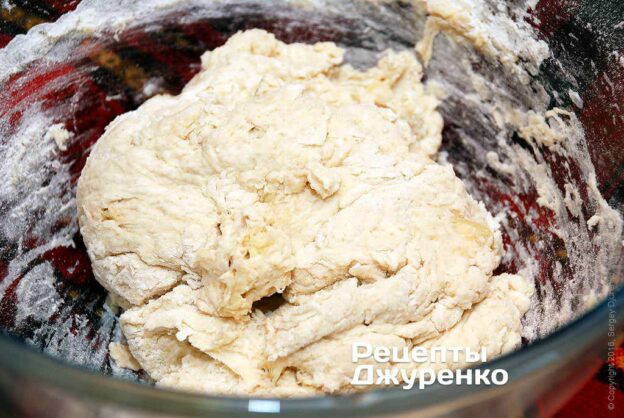
Adding flour in small portions, knead the dough by hand for a long time, about 10 minutes. Kneading is very important: poorly kneaded dough will be uneven. In the end the soft dough should hardly stick to your hands, and if you take the edge of the dough in your fingers and lift it, it should sag and start to stretch under its own weight.

Letting the dough rise
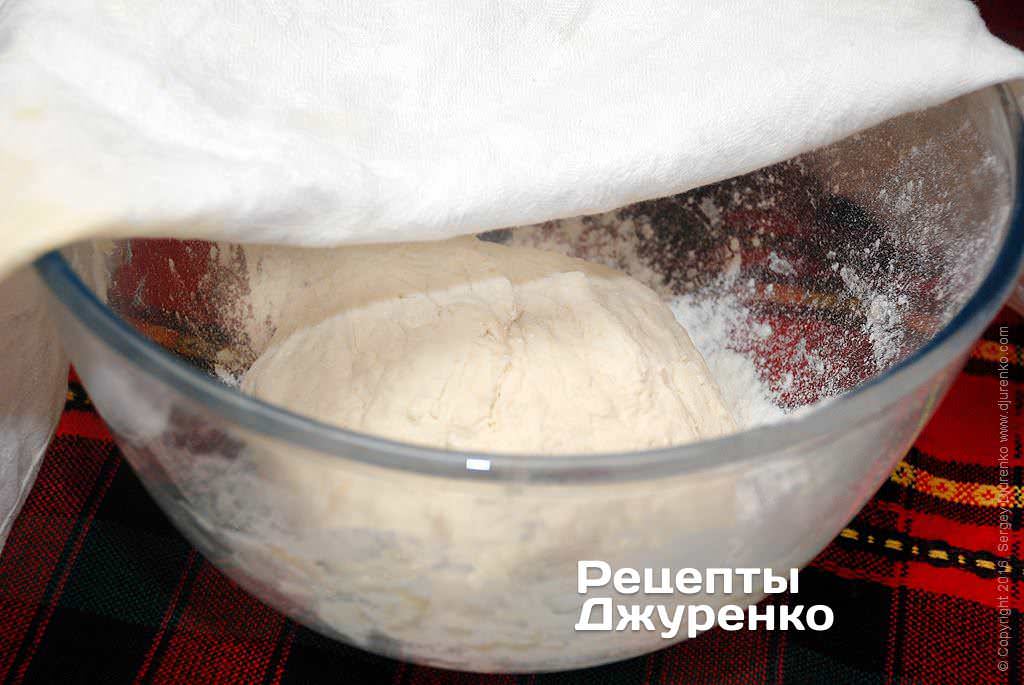
Leave the dough to rise for 1 hour. Roll it into a ball, put it in a bowl whose bottom you have sprinkled with a little flour, and cover with a clean cloth. Put it in a warm place without drafts.
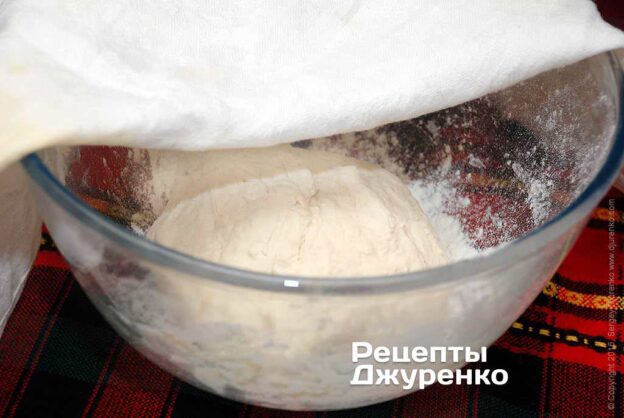
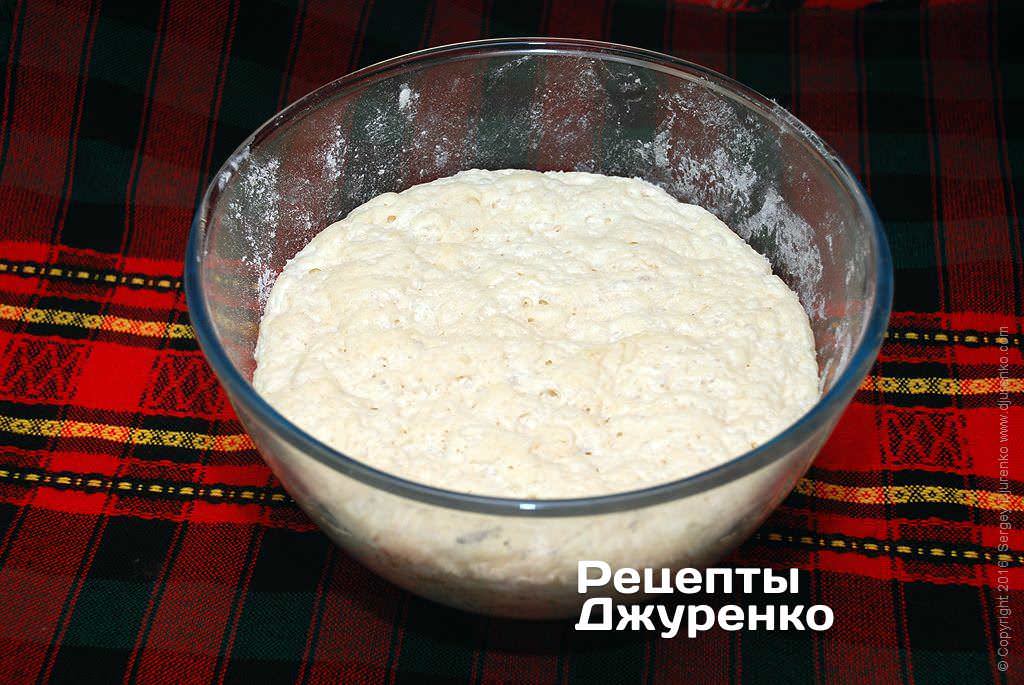
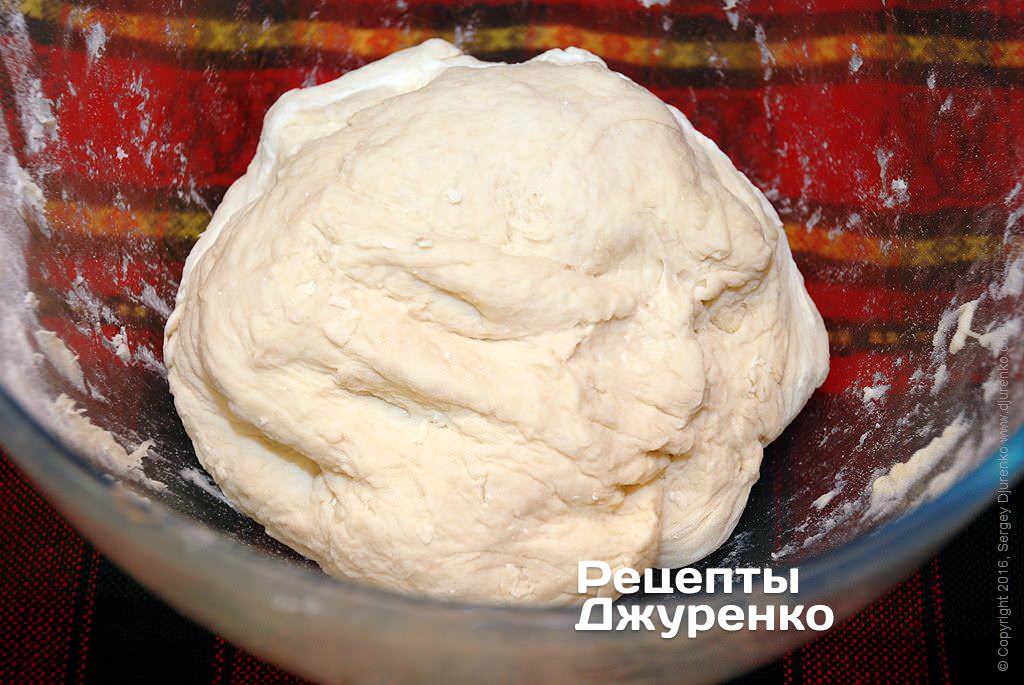
After an hour the dough will double in volume. Knead it again by hand, adding flour a pinch at a time, and leave it to rise again for about another hour.
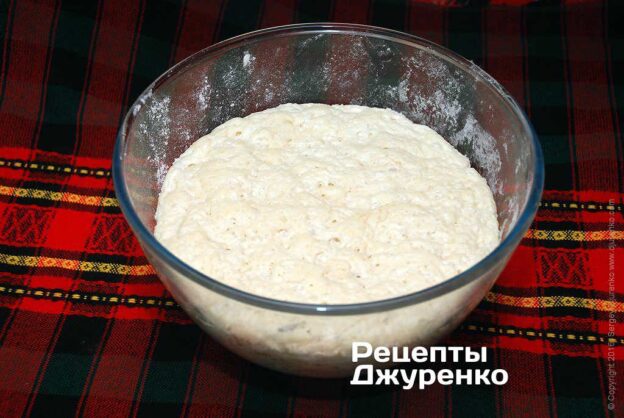
Repeat the process: knead the dough down twice more, so that it rises three times.
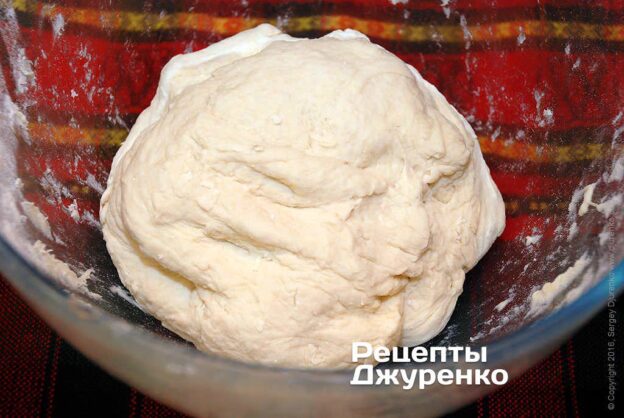
The yeast fills the dough with carbon dioxide, creates the texture and forms the beloved little holes. You can even leave the dough to rise overnight, just make sure it doesn’t run away.
Shaping the loaf
Shape the loaf. When the dough has risen the third time, dust the table lightly with flour and carefully turn the dough out onto it, trying not to squeeze or press it, so it doesn’t deflate. With dry hands shape a small loaf, in any shape you like.
Transfer the dough to a baking tray or pan. Line the tray with a sheet of parchment or baking paper and brush the paper lightly with vegetable oil.
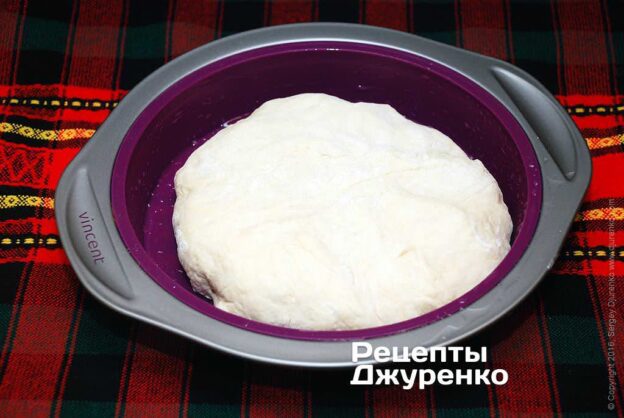
You get the best results with a silicone baking mold; they are sold in almost any shape. Be sure to grease the silicone with 1 tsp of vegetable oil.
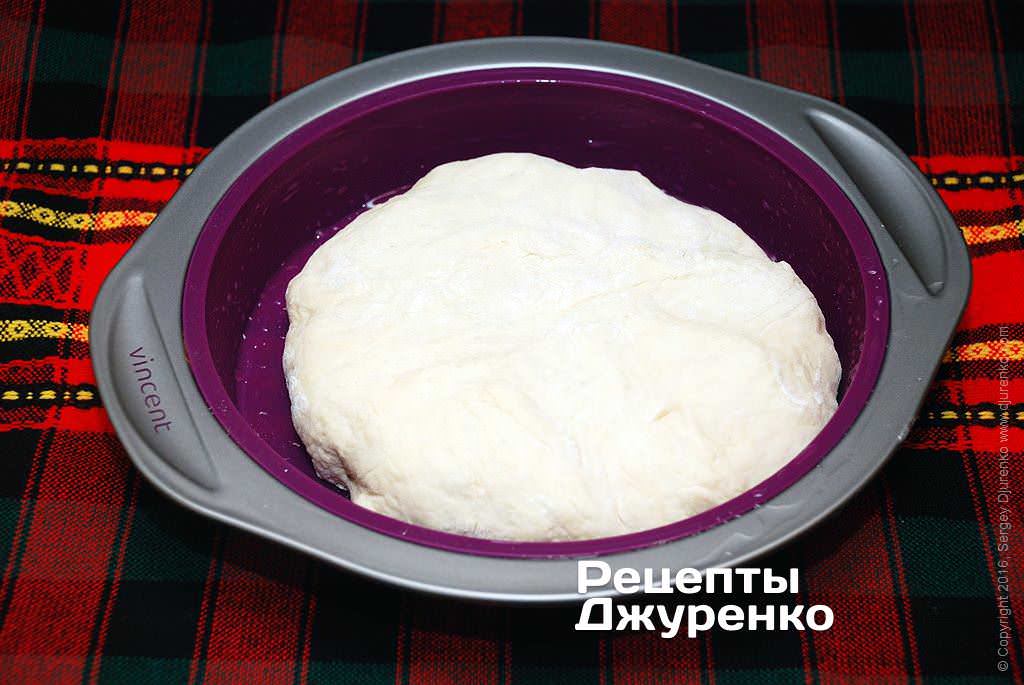
Let the dough rise fully. Cover the dough in the pan or on the tray with a towel or an upturned deep bowl and leave it until it reaches the volume you want, about 30 minutes.
Baking
Preheat the oven to 160°C. Bread should only be baked in an evenly heated oven.
Brush the dough. In a cup, mix one egg yolk with 2 tbsp of milk and whisk. Brush the fully risen dough with this mixture using a pastry brush, in a very thin layer.
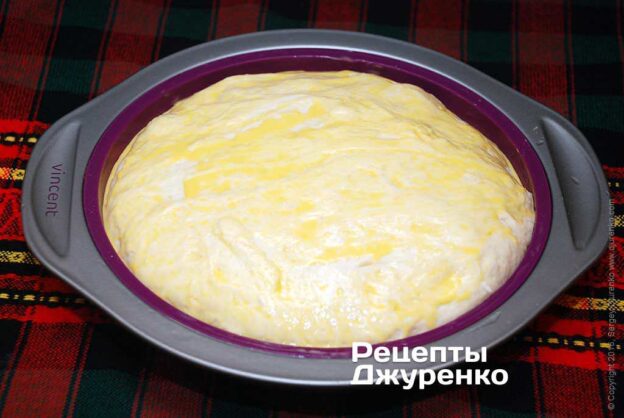
Of course, bread gets a nice golden crust even without brushing, but the yolk gives an exceptionally beautiful color, and I simply love it. By the way, it turns out great if you make a few shallow cuts across the dough with a sharp knife before baking.
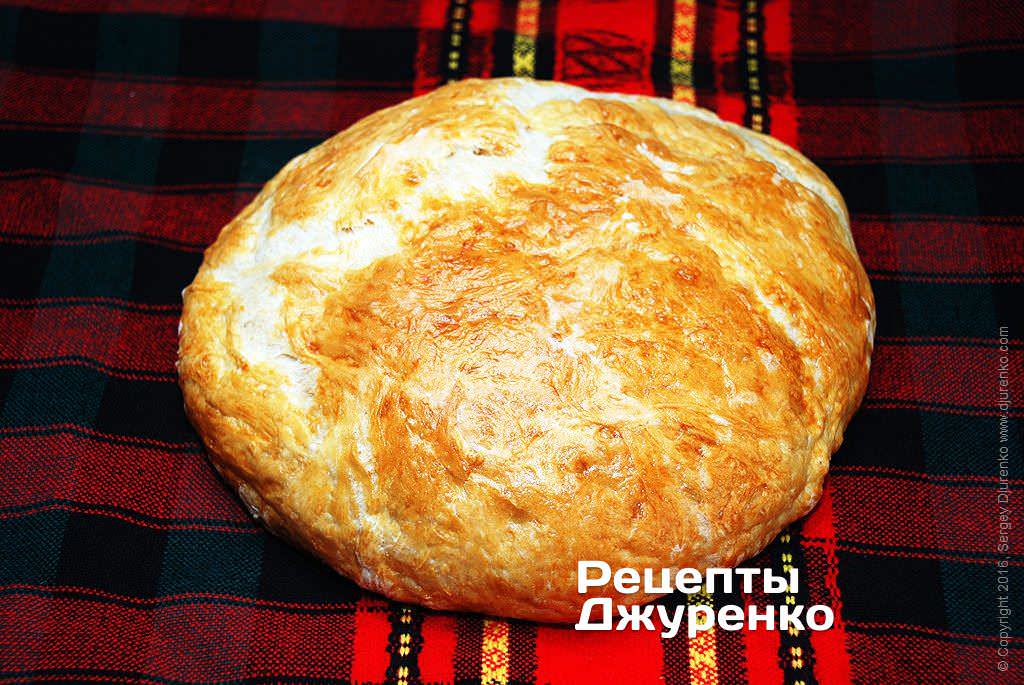
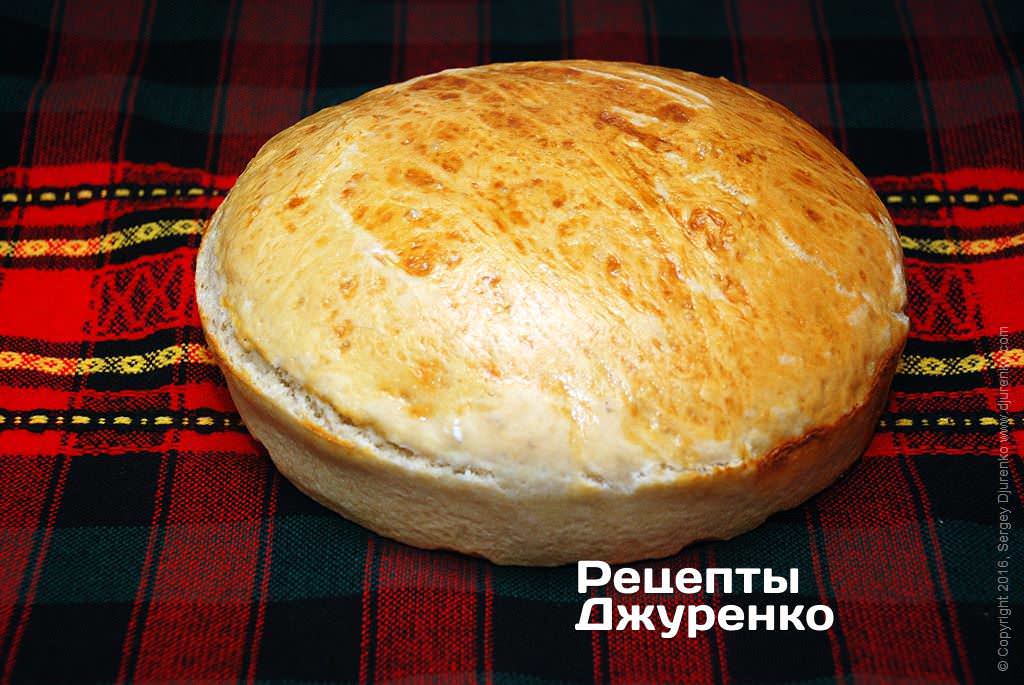
Put the tray with the dough in the oven, on a high rack. Bake the bread for at least 40 minutes, until the crust is golden. To check if it is done, just stick a match or toothpick into the hot bread. If no dough sticks to the wood, it is ready.
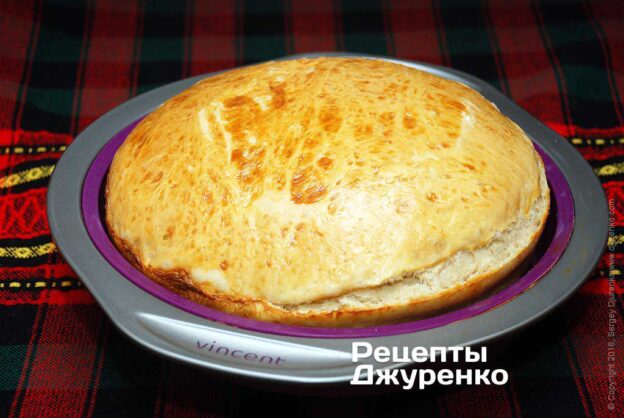
What I like most is a thick, crisp, golden crust, and definitely a cracked one.
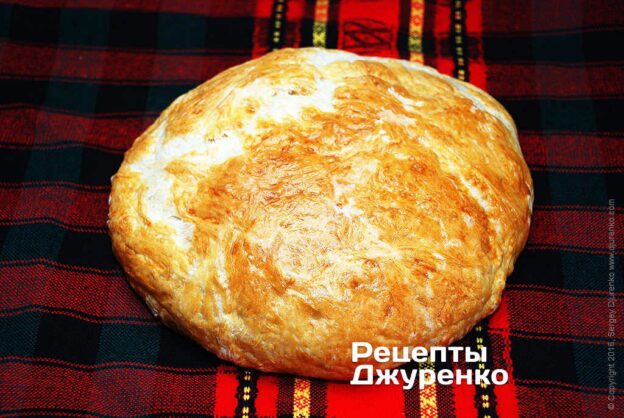
Let the bread cool. It is better not to eat hot bread right away. Let it cool until just slightly warm, and then it is the tastiest. It is worth wrapping the freshly baked loaf in a clean cloth while it cools.
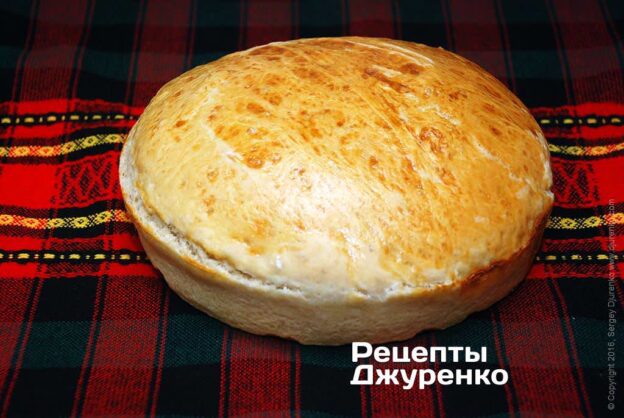
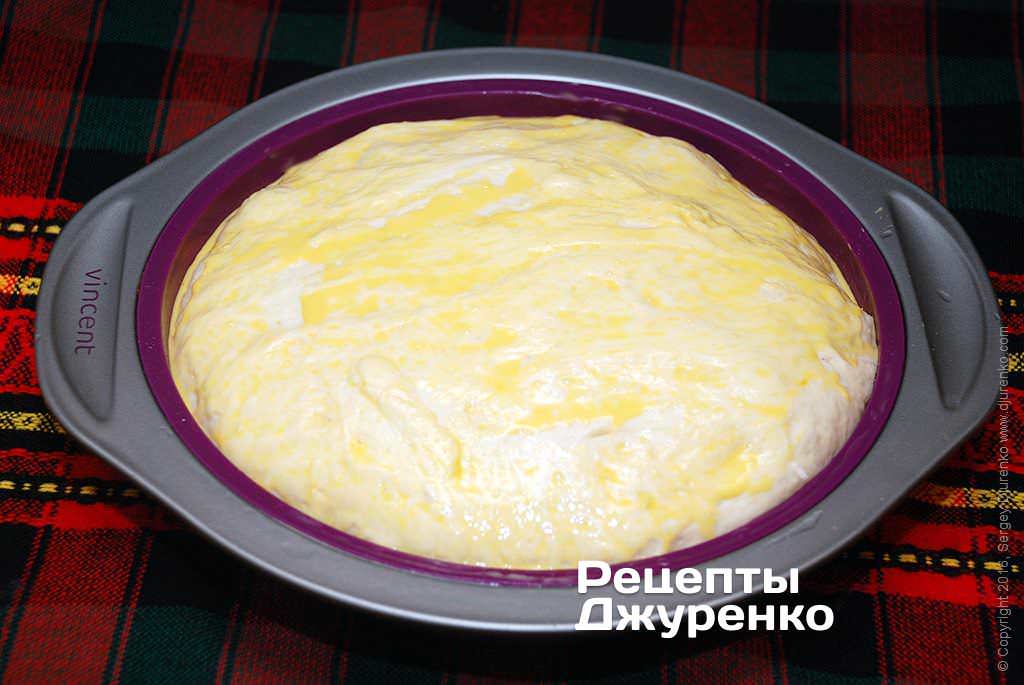
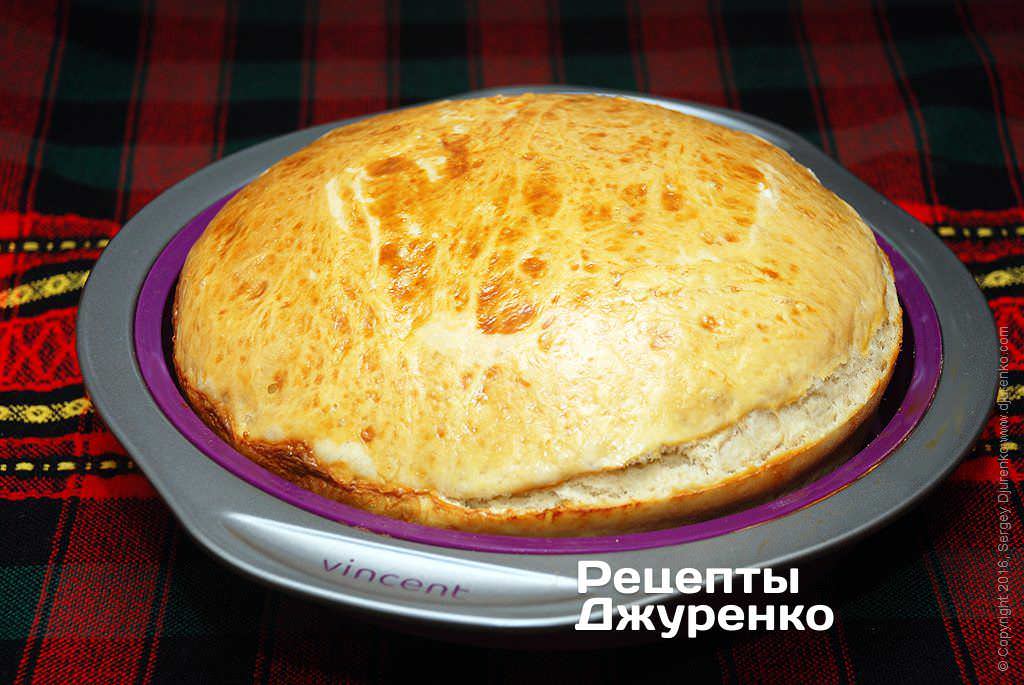
Serving
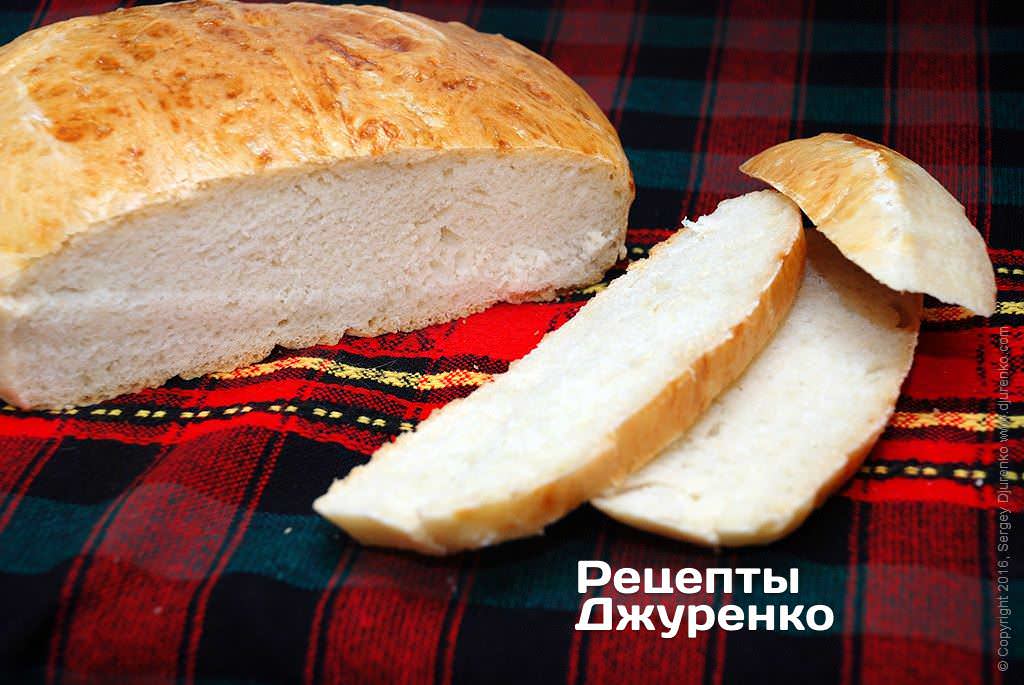
Slice the bread and spread it with jam or butter, or top it with a piece of cheese. Imagination has no limits here, especially for small children. I remember that in my childhood the finest treat was a piece of the freshest bread sprinkled with sugar and a little water.
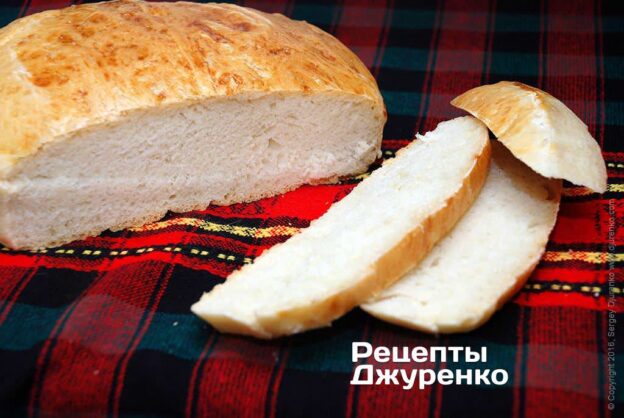
White wheat bread is great for sandwiches. You can also easily make toast from it. And bread baked with love stays fresh for several days.
Calories and macros
269 kcal
100 g
- Protein7.2 g11% of kcal
- Fat5.6 g20% of kcal
- Carbs44.6 g69% of kcal
Calculated from the recipe ingredients, excluding salt and spices. Data: USDA and Matvaretabellen.