
No-Cook Hot Pepper Sauce


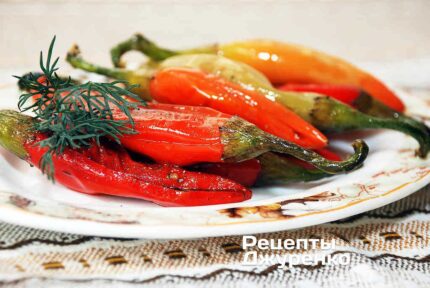


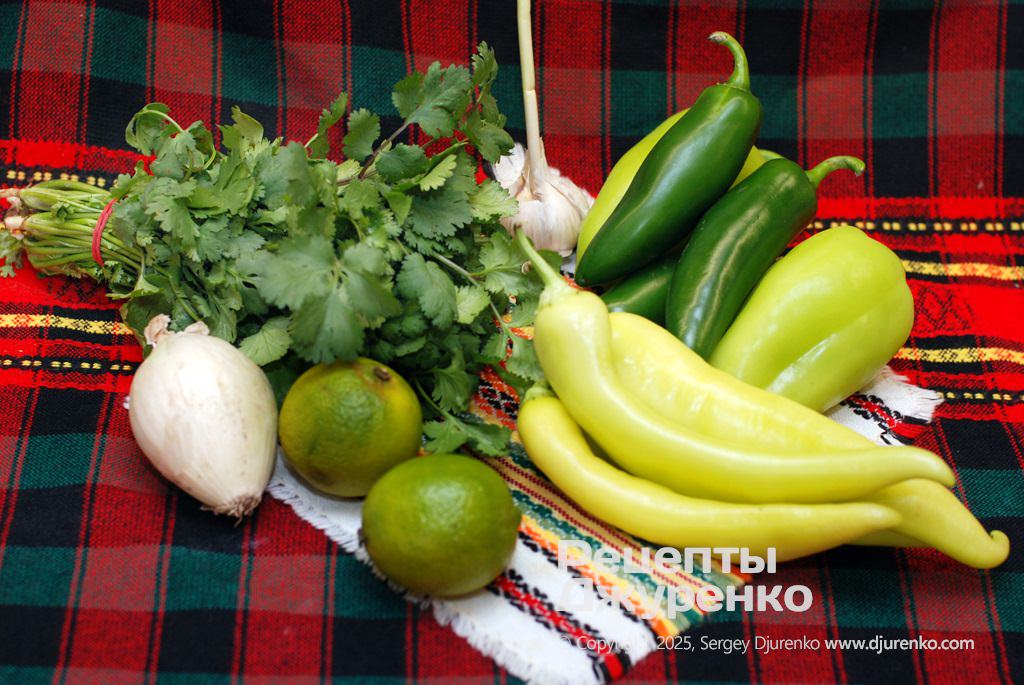
Ingredients
1 jar (0.33 l)
- Mix of hot peppers (your choice) 300 g
- Green bell peppers 1-2
- White salad onion (or red) 1
- Garlic 2-3 cloves
- Cilantro 1 bunch
- Lime (or other citrus, wine vinegar) 1-2
- Salt 1-2 pinches
- Basil, oregano, other herbs optional
Step-by-step recipe
Preparing the peppers and herbs
Depending on your preferences, you can make the hot pepper sauce any level of heat. To add volume and tone down the heat, half or more of the peppers can be ordinary sweet bell peppers. For the hot ones, the usual store-bought chili, green or red, is typical. If you like, add jalapeño or habanero, which is seriously hot, so be careful with it. Purely for looks, it’s better to use only green or only red peppers, though it really doesn’t matter. Get a white salad onion or a red one, as you like.
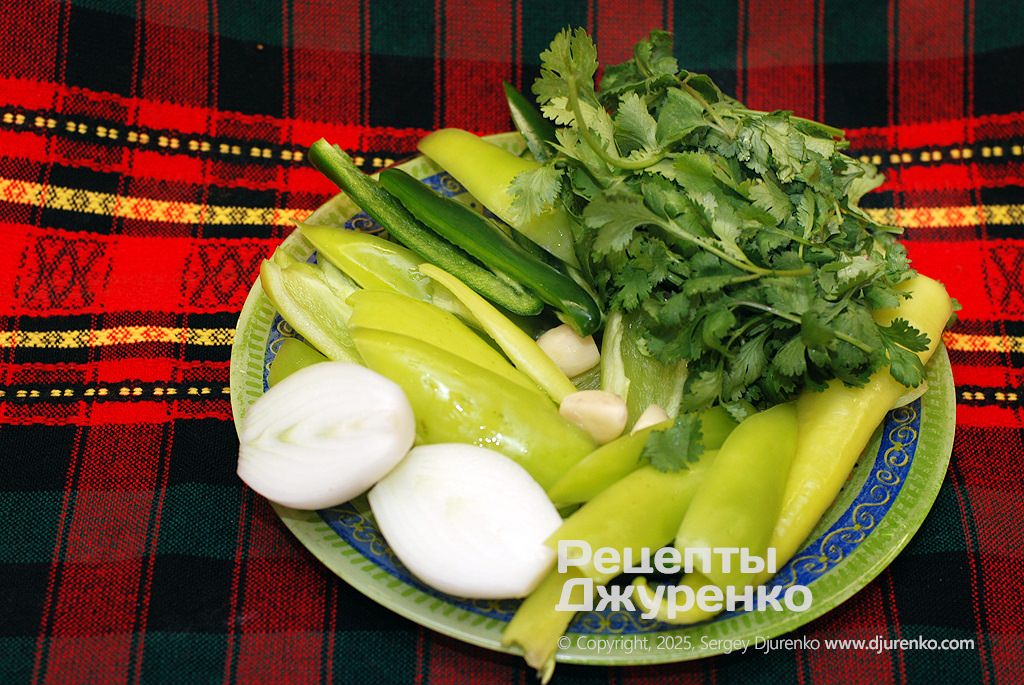
Wash and dry all the peppers, the onion and the garlic.

Peel and seed the peppers, peel the onion and the garlic. It’s best to wear plastic gloves for this, since the heat is often hard to wash off your hands, and it’s very unpleasant if you accidentally rub your nose or eye.
Wash the cilantro, shake off the water and remove the tough stems. By the way, the more cilantro, the tastier and more fragrant the sauce.

Blending
A blender is handy for chopping the ingredients. For a small amount, an immersion blender is best; for more, use a food processor.
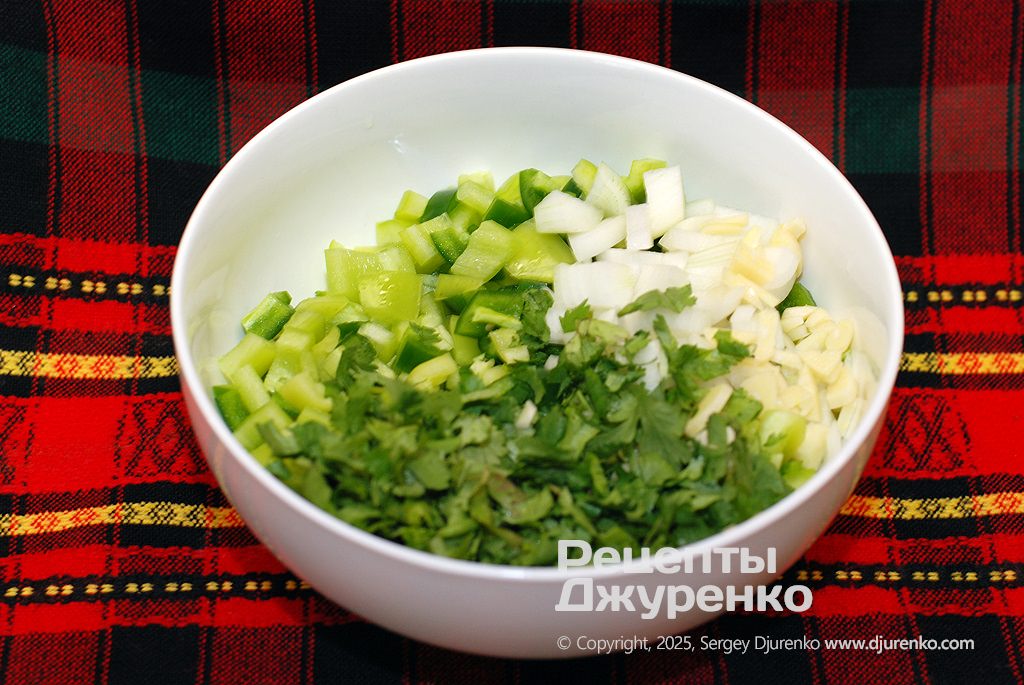
Cut all the peppers, the onion and the garlic into small pieces and put them in a deep bowl.
Salt the vegetables: 1-2 pinches is enough.
Chop the cilantro too, so it blends better, and add it to the bowl.

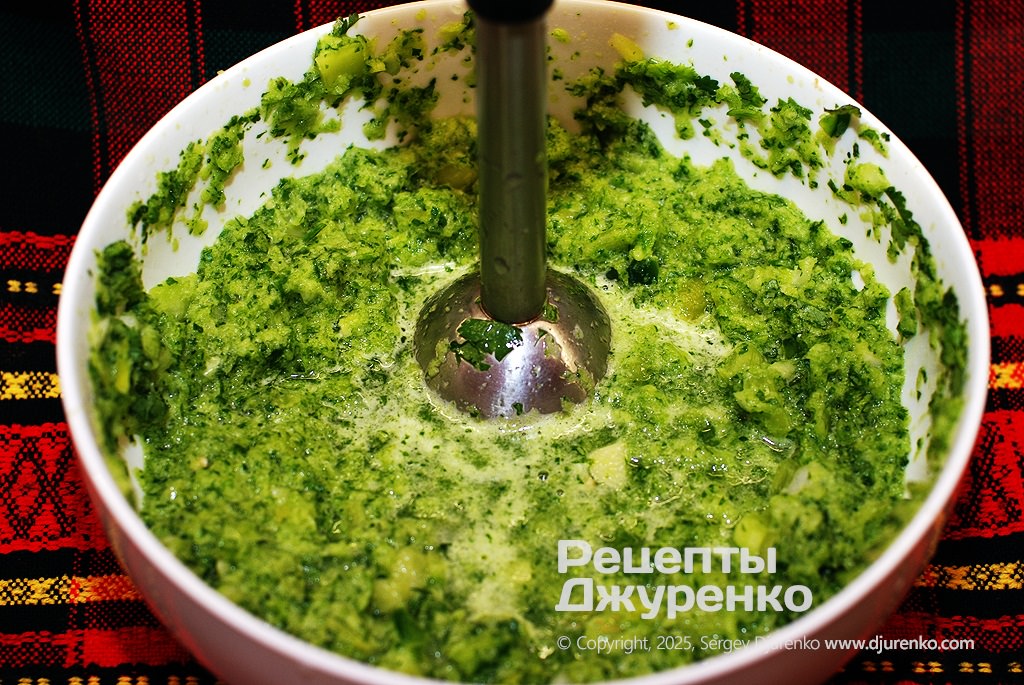
Blend the sauce until smooth, trying not to leave any large pieces. If the peppers are very juicy and liquid builds up, you can pour it off. Pieces of pepper often stick to the sides of the bowl; push them back into the sauce with a spoon.
When the sauce is smooth, squeeze in the juice of one lime and stir. Add more lime juice to taste; you may want more. By the way, you can replace lime with any citrus or wine vinegar.

Storing and serving
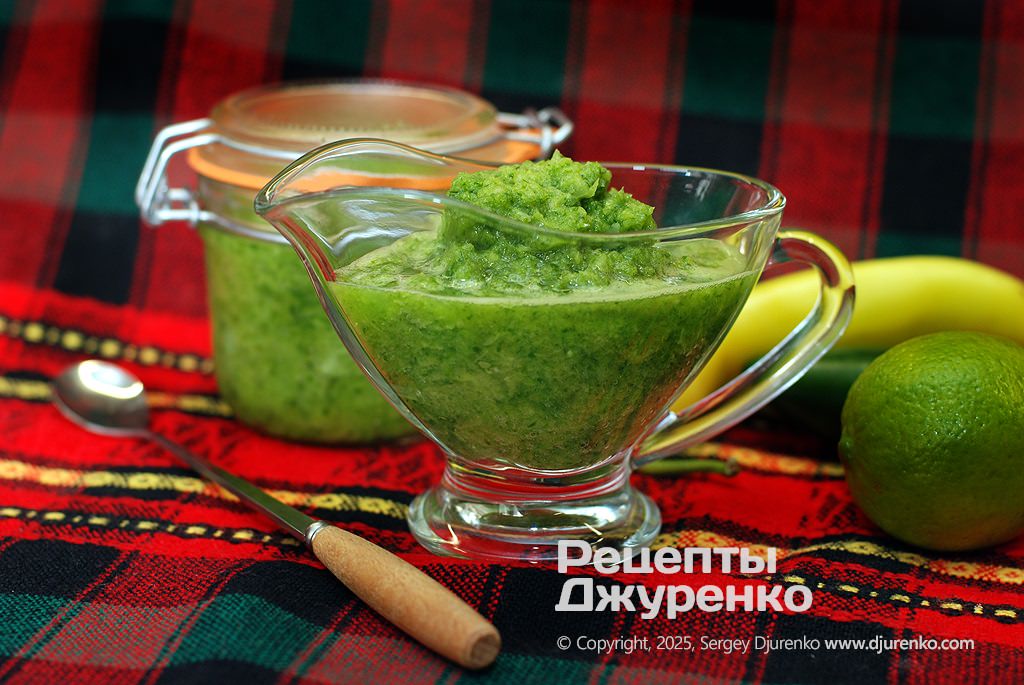
The sauce is ready; all that’s left is to transfer it to a jar with a lid. The jar will keep in the fridge for a few days. I confess ours never lasts more than two days: it’s gone by the next day.
To serve, spoon the chili sauce into a sauce bowl and bring it to the table. For sandwiches, drain off the liquid, or it will just run off when you spread it on bread.

Even with lots of chili, the finished sauce doesn’t burn; it’s more “hot” with a pleasant spicy aftertaste. But if that doesn’t scare you, how hot you go is up to you. You can add a little basil, oregano or other herbs to the sauce. Since it’s not cooked, you can make it in small batches for a particular dish: meat, vegetables, tacos and so on. If you like, blend the sauce very coarsely for a great spicy snack like pico de gallo, a Mexican-style salad.
Calories and macros
31 kcal
100 g
- Protein1.2 g17% of kcal
- Fat0.3 g10% of kcal
- Carbs5.1 g74% of kcal
Calculated from the recipe ingredients, excluding salt and spices. Data: USDA and Matvaretabellen.