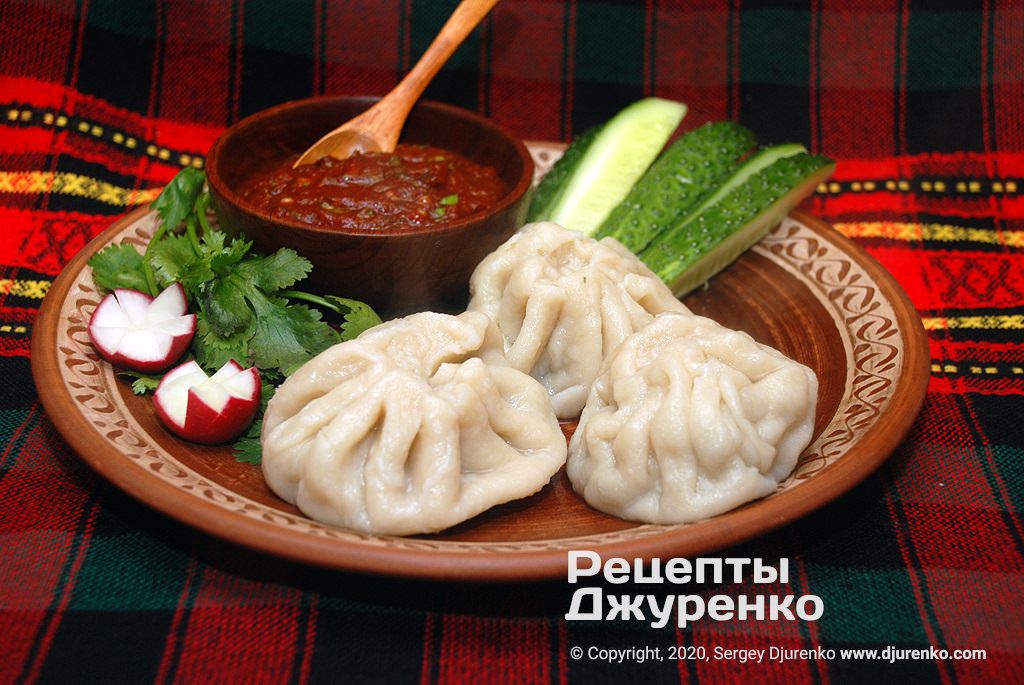
Georgian Khinkali Recipe: Juicy Dumplings with Beef and Pork
Khinkali are a traditional Caucasian dish, found in almost every national cuisine of the Caucasus. An acquaintance of mine who lives in Siberia once put it roughly like this: “I was in the Caucasus, and we ate these cute dumplings that look like a little pouch tied with string, with meat and herbs inside.” They really do have a lot in common with pelmeni, and with other dishes too, such as Ukrainian varenyky. The idea is the same: ground meat wrapped in dough and cooked in boiling water or broth.
In the mountain villages of the Caucasus, locals chopped mutton and wild goat meat with daggers to make khinkali, and added nothing to the filling but salt, pepper and wild dill. But the most important thing is to cook them so that there is broth inside. The dough wrapper has to stay whole and sealed so the broth doesn't leak out. Today the rules for the meat, the shape and what goes into the filling are not as strict as they once were. The classic lamb or goat is often replaced with a mix of pork and beef. Sizes range from tiny, walnut-sized ones to huge ones as big as a plate. Forming the pleats is an art you have to master: the more pleats, the more skilled the cook. At home you can make them to your own taste, bring a good deal of imagination to the recipe and use whatever meat and herbs are available and typical where you live.
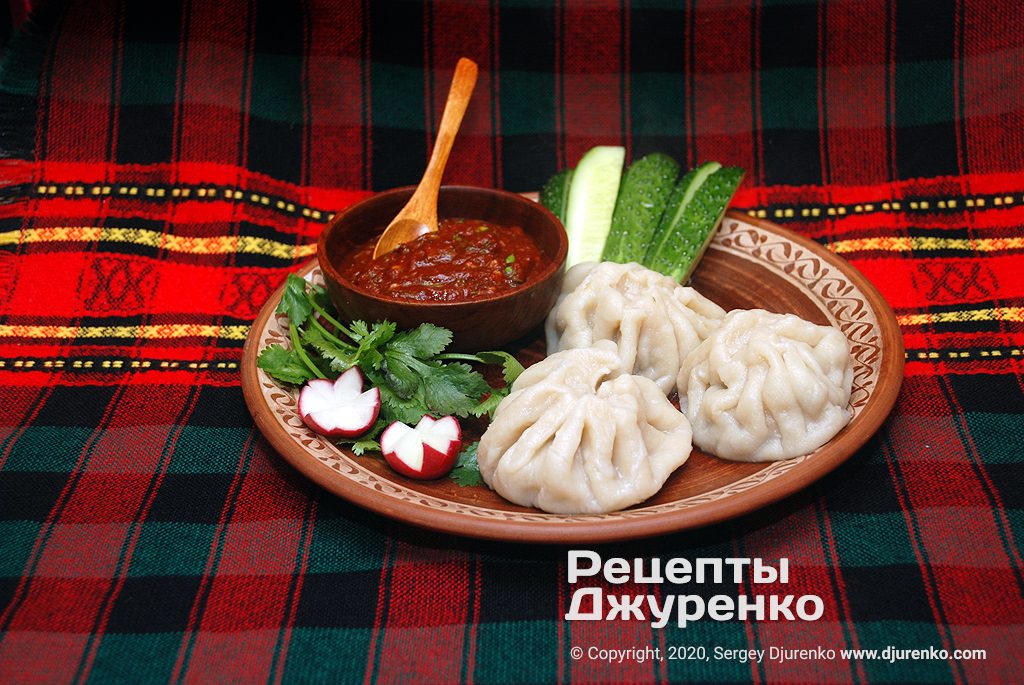
Ingredients
20-25 pcs
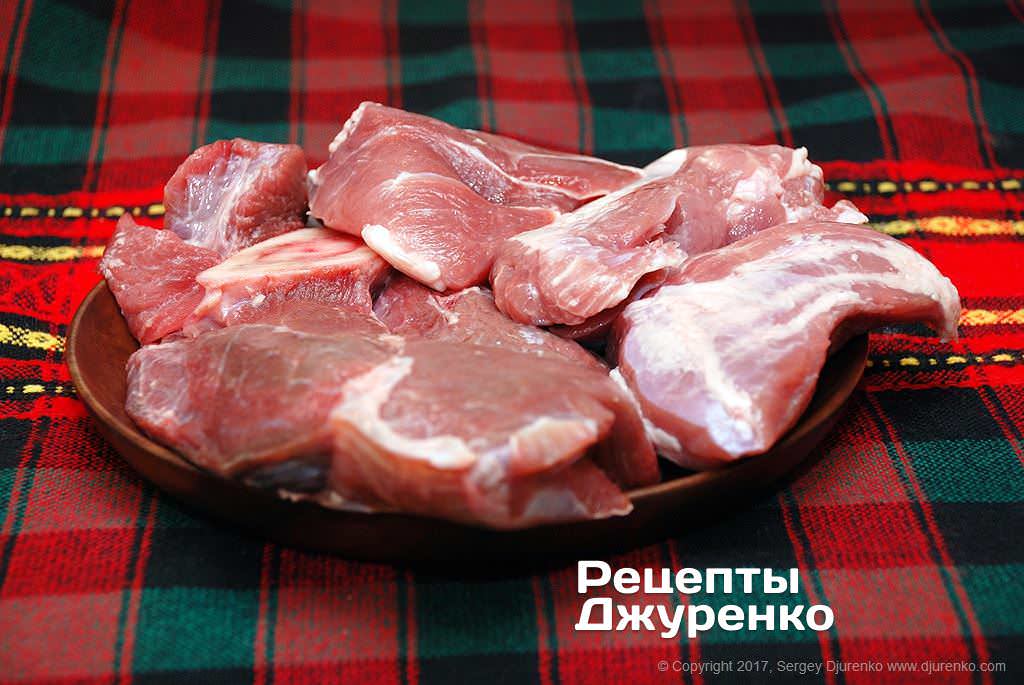
- Beef 350 g
- Pork (fatty) 250 g
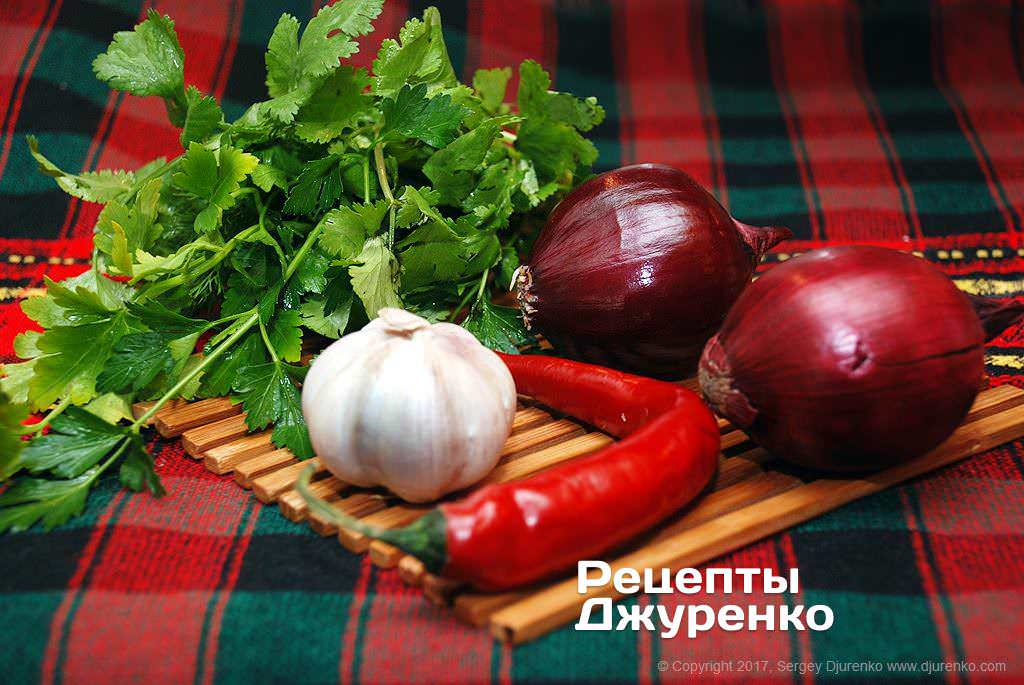
- Onion 2-3
- Garlic 1-2 cloves
- Parsley, dill, cilantro 0.5 bunch
- Wheat flour 3 cups
- Hot pepper, black pepper, salt to taste
Step-by-step recipe
- Making khinkali takes three stages. The first is the ground meat filling, which comes down to mincing and mixing the ingredients. The second is making the wheat flour dough. The third is shaping and boiling.
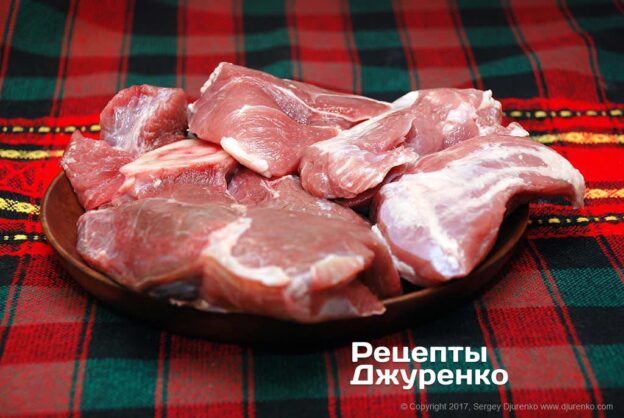
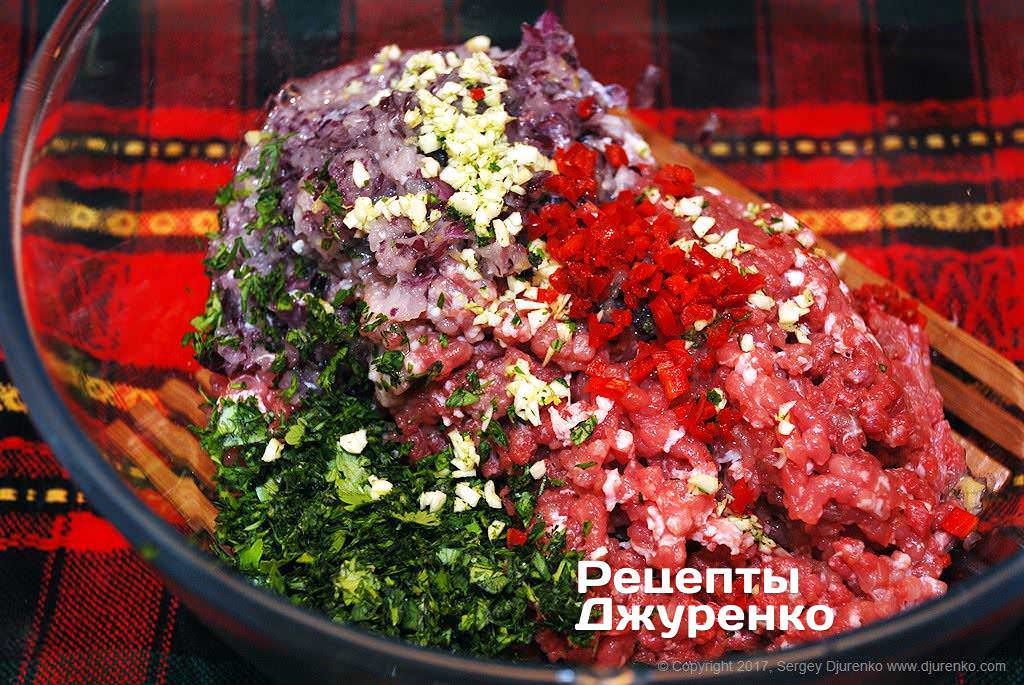
- Peel the onion and garlic and put them through the meat grinder together with the meat. Pick all the leaves off the herbs to get rid of the stems, and chop them very finely with a knife. Old recipes don't add herbs to the filling, since they are thought to mute the taste of the meat, but herbs do give the broth inside a special flavor. Whether to add them or not is up to you.
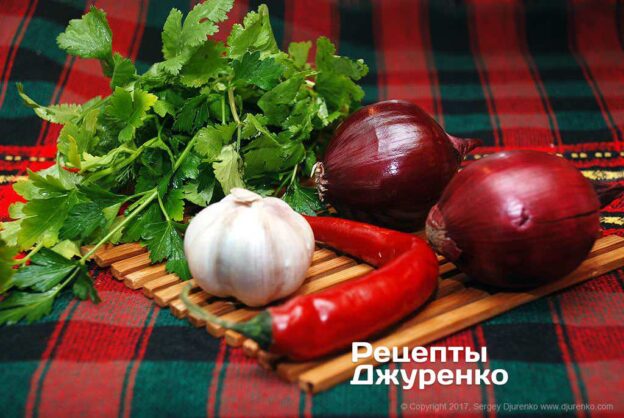
- Mix the ground meat, onion, garlic and herbs. Season the filling with salt and ground black pepper to taste and, if you like, add some hot chili pepper. If the pepper is fresh, chop it very finely with a knife or put it through the grinder together with the meat, onion and garlic.
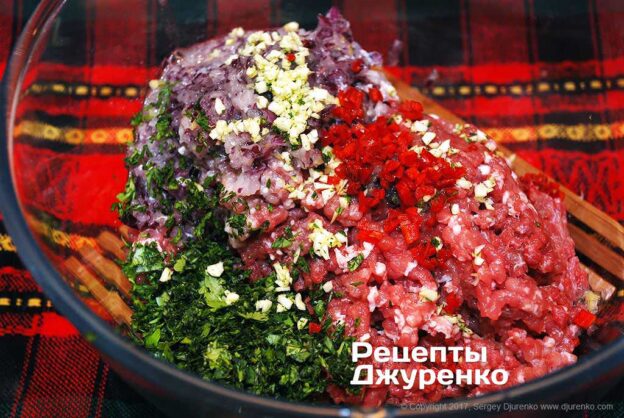
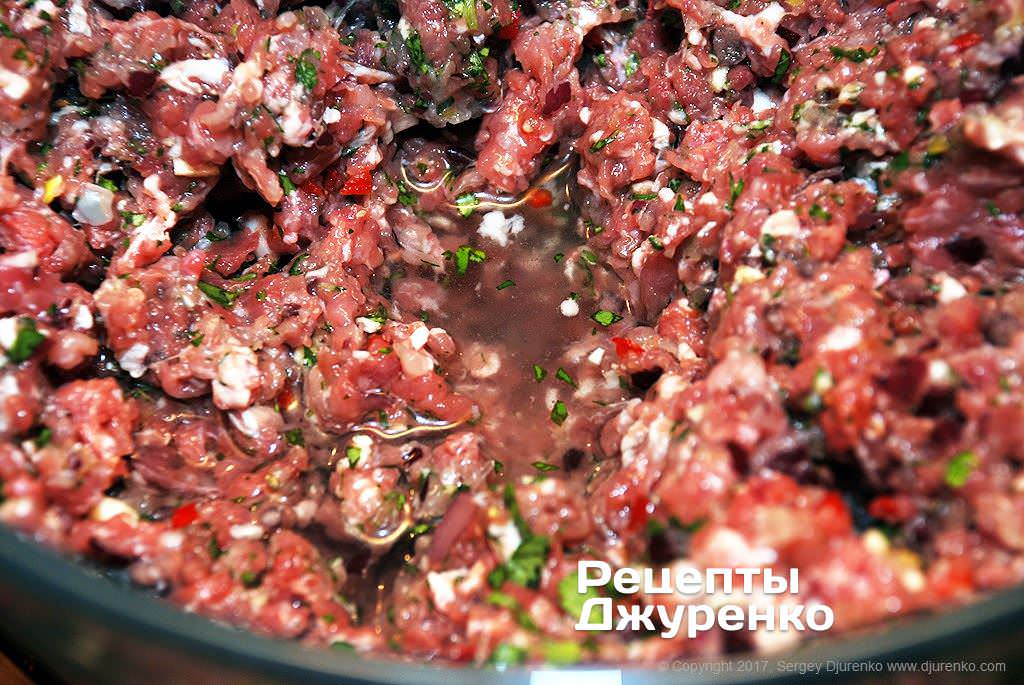
- Mix the filling thoroughly and for a long time. Now the important part: you need to add water to the meat, quite a lot of it, so that broth forms inside the dough as it cooks. The water should be ice cold, so it's worth putting the right amount in the fridge in advance. For this amount of meat you'll need up to 1 cup of water, depending on how it goes.
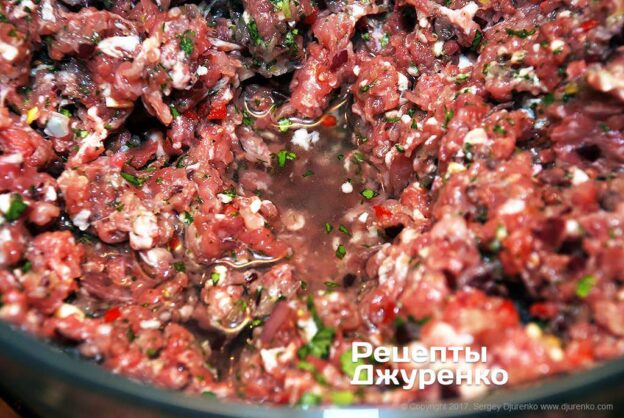
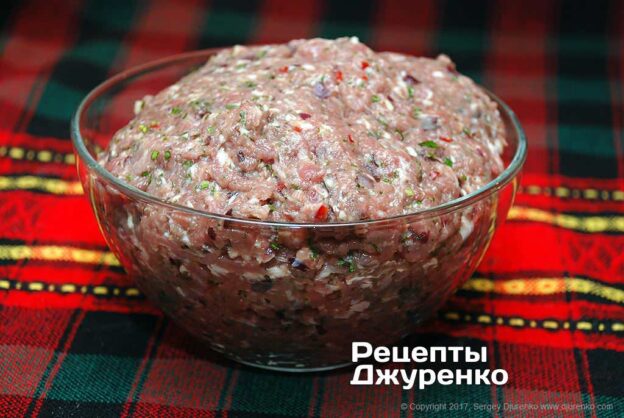
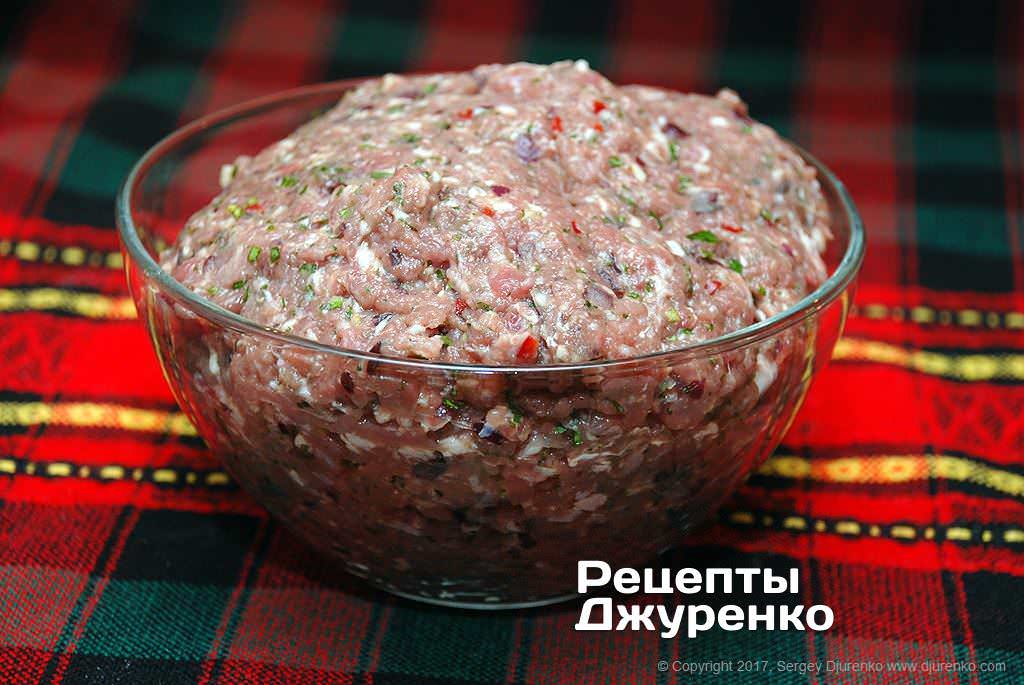
- Add the water in small portions, kneading the filling all the time. The meat absorbs water very well. The filling should come out fairly firm and at the same time very moist, but completely smooth. The more water goes into the filling, the juicier it will be.
- The dough is very simple: flour, salt and water. Sometimes, though rarely, an egg is added. The dough should be very soft, roll out well and not stick to your hands. Many recipes suggest rather complicated methods, but beginners shouldn't overthink it: keep it simple. Maybe later, once your khinkali come out without flaws, you can start experimenting with the dough.
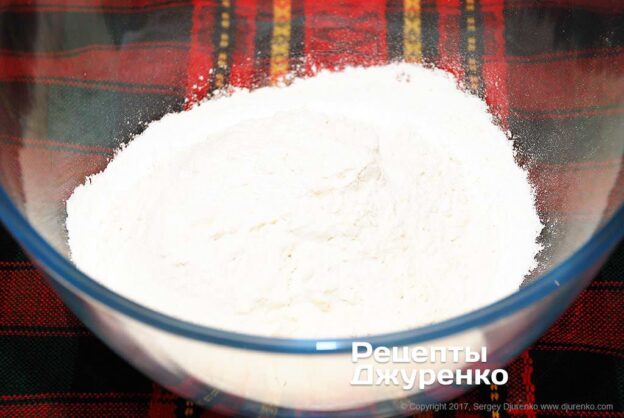
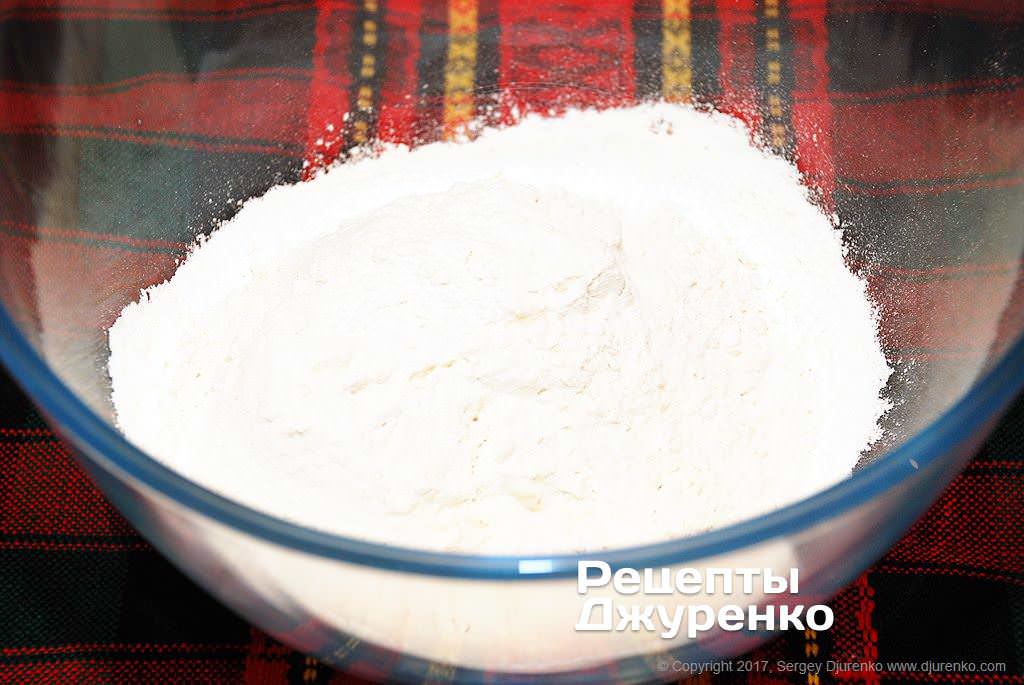
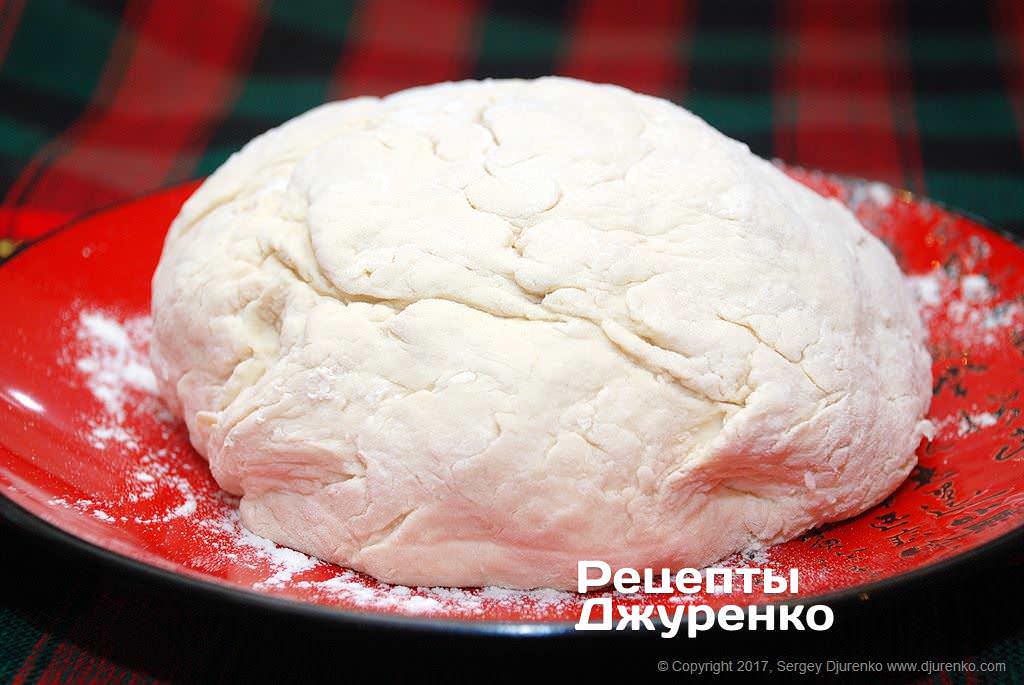
- Sift the flour into a deep bowl and add 1-2 pinches of salt. Stir the flour and salt with a fork and knead the dough, adding ice-cold water in small portions. When the dough becomes soft and elastic, keep kneading it on a floured work surface. It's quite laborious, I almost said tedious. But the better the dough is kneaded, the better everything will turn out.
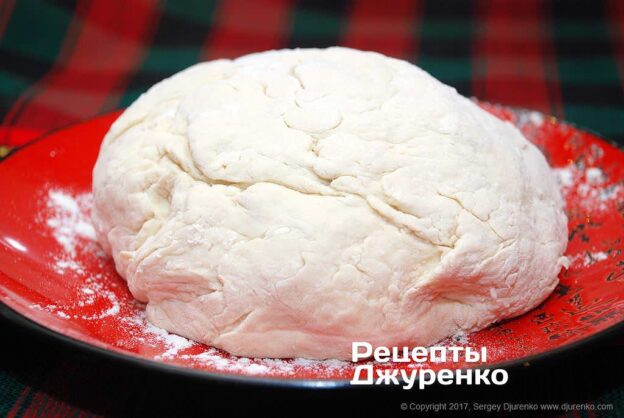
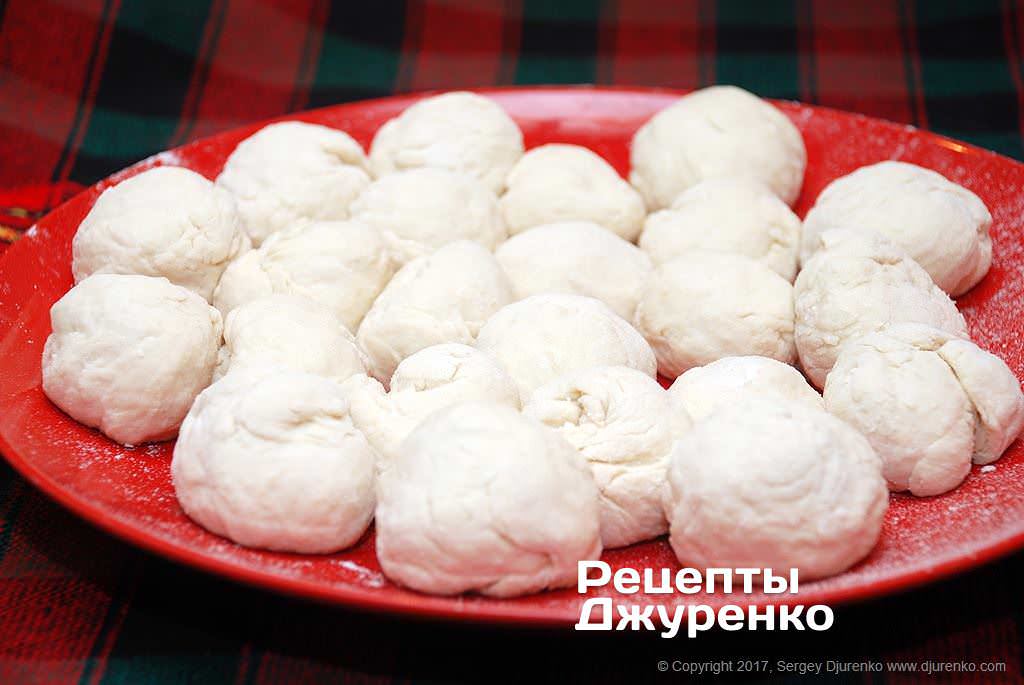
- Next, there are two options. First: roll the dough into a long log about 30-35 mm in diameter and cut it with a knife into pieces 25-30 mm wide. Second: simply pinch off walnut-sized pieces of dough with your hands.
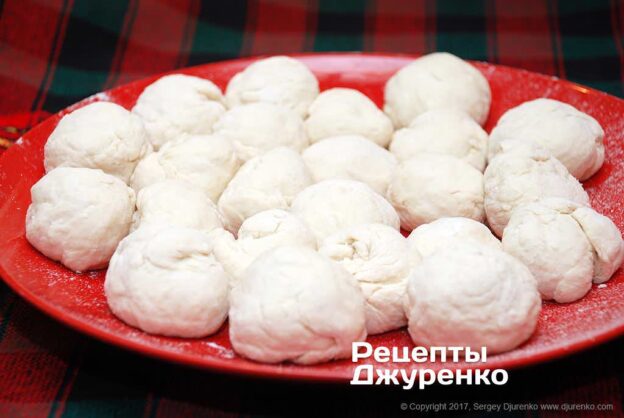
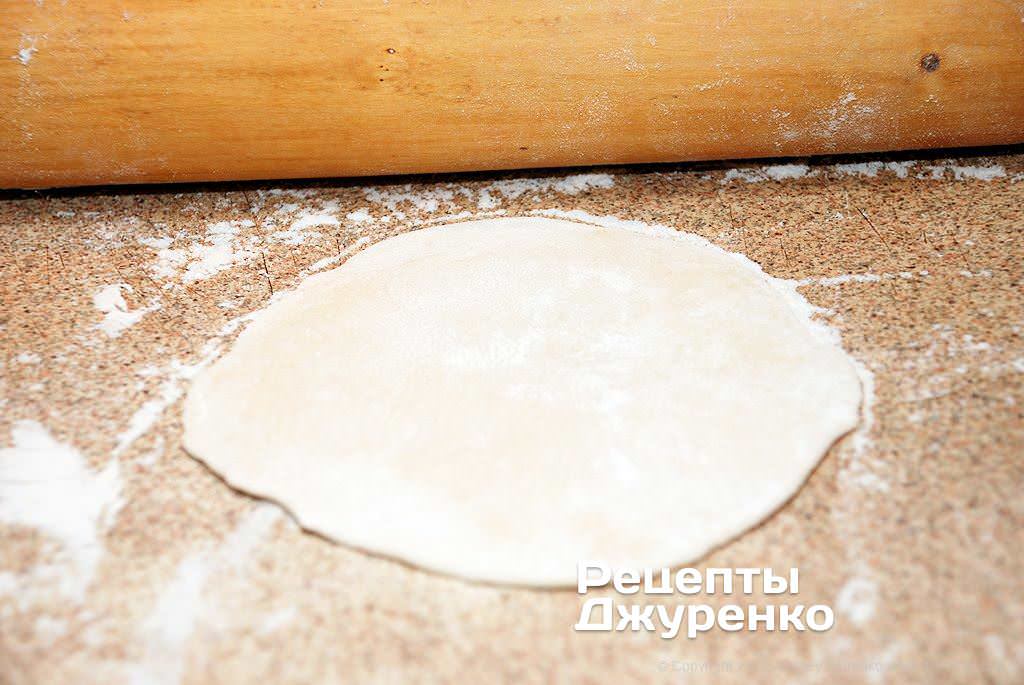
- You can roll out the dough on a floured table or on a special board if you have one. Keep dusting the rolling pin and the table with a little flour so the dough doesn't stick, although if everything is done right, it won't stick at all. Roll the pieces into rounds 10-12 cm across, roughly the size of an old-fashioned CD. They should be 1-1.5 mm thick, no thicker. If they're thicker, there's too much dough and the khinkali will be tough. If you roll them thinner, the wrapper will tear during cooking, the broth will leak out and the dish is ruined. Aim for the happy medium!
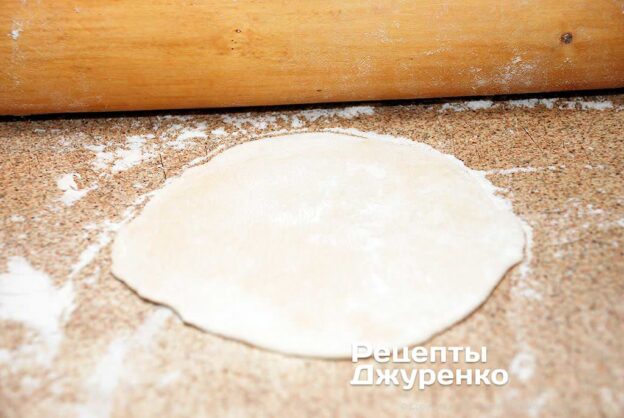
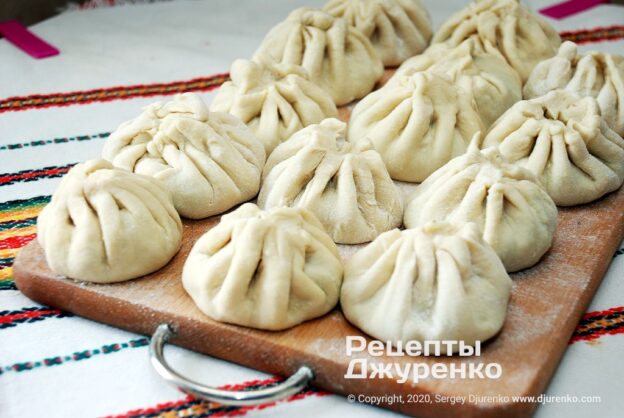
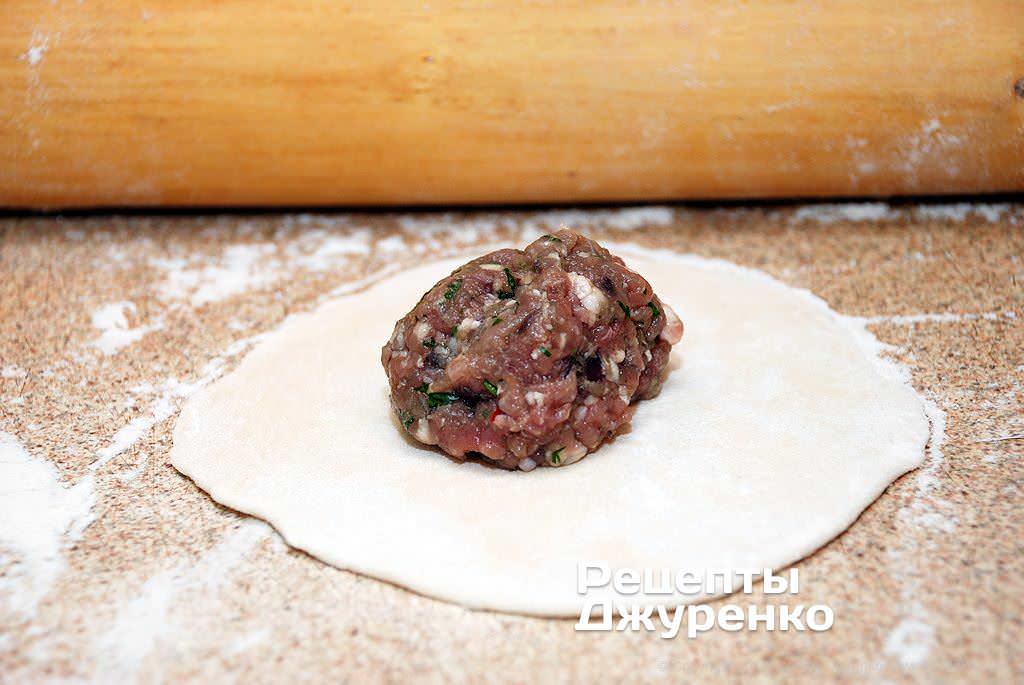
- Now comes the hardest part. Put the filling in the center of a round of dough. How much filling is up to you, but I think a tablespoon is just right. Then start pinching and forming pleats, at least 20 of them. Though it's unlikely anyone will count.
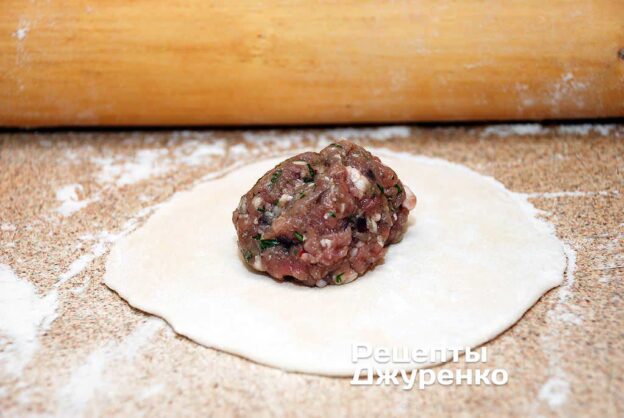
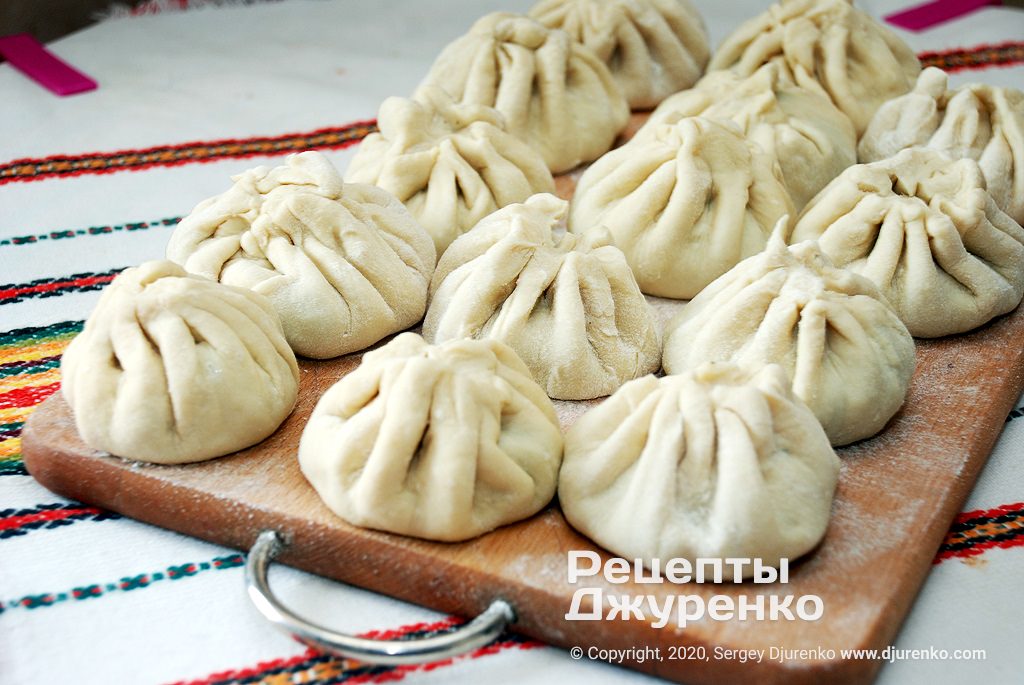
- I'll say it right away: this is hard. I rejected the first ten, though the rejects were eaten in no time. Everyone knows how to fold a paper accordion, right? The principle is the same. Carefully fold the edges of the dough with your fingers, laying each new pleat against the previous one, and work your way around the circle. It's important not to let go of the gathered pleats and not to leave gaps or tears in the dough. When all the pleats are gathered, the khinkali look a bit like a plump onion. Squeeze the gathered pleats to seal the top, and give the top a slight twist so the pleats spiral. If the top is too thick, you can pinch it off. In fact, you can pinch off as much of the top as possible.
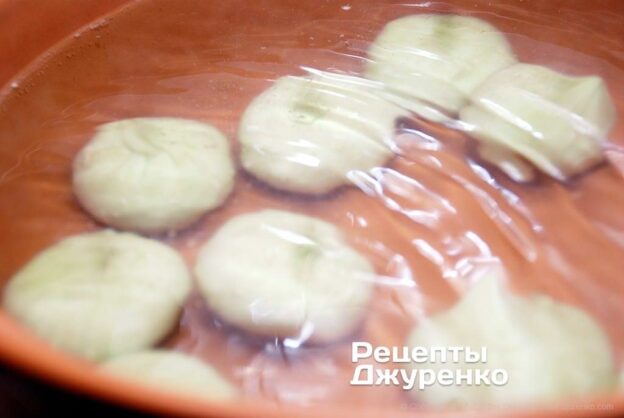
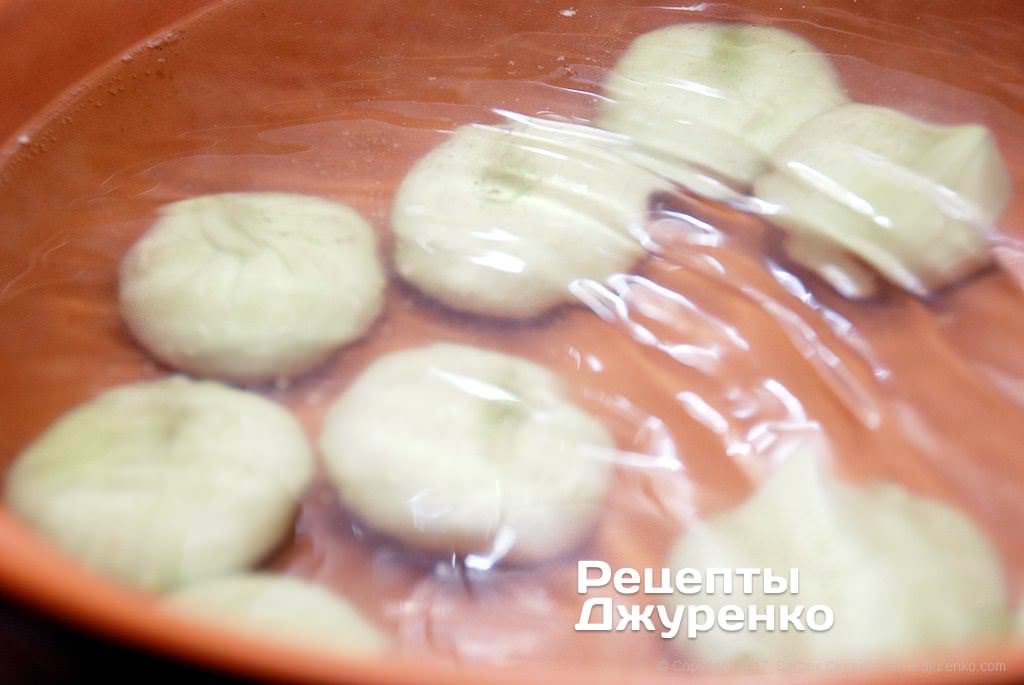
- Pour plenty of water into a large pot (or cauldron), salt it and bring it to a boil. Drop the khinkali into the boiling water one at a time and make sure they don't stick to the bottom. If they do stick, which usually happens right at the start, gently lift them with a wooden spoon. They won't stick a second time. Cook at a gentle boil for about 12-15 mins. The cooking time depends on their size, and like any other meat-filled dumplings, they float to the surface.
- If you're cooking for a big festive table, lay the khinkali out on a large platter and serve right away while they're hot. If you're cooking just for yourself, put them on a plate with some parsley and cilantro. They're very good with satsebeli or tkemali sauce, although, by and large, the dish doesn't need any extra seasonings or sauces.
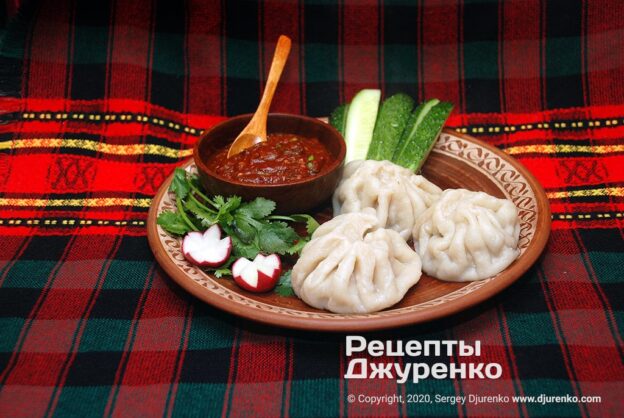
- They are traditionally held by the top and bitten into carefully so the broth doesn't spill. By the way, you don't have to eat the tops, just leave them on your plate. If you pinched the tops off while shaping, you can eat the whole thing. It's a matter of taste and personal preference. Cook in small batches that your family or guests can eat in 15-20 mins. Once a batch is cooked, put it on plates and immediately drop the next one into the boiling water. While everyone eats the first batch, the second, third and fourth are cooking…
| Yield: | 20-25 pcs |
| Calories: | 235 |
| Prep: | 1 h |
| Cooking: | 30 mins |
| Ready in: | 1 h 30 mins |
| Category: | Main Dishes |
| Cuisine: | Caucasian cuisine |
| Rating: |
⭐
⭐
⭐
⭐
⭐
4.3
(11)
|