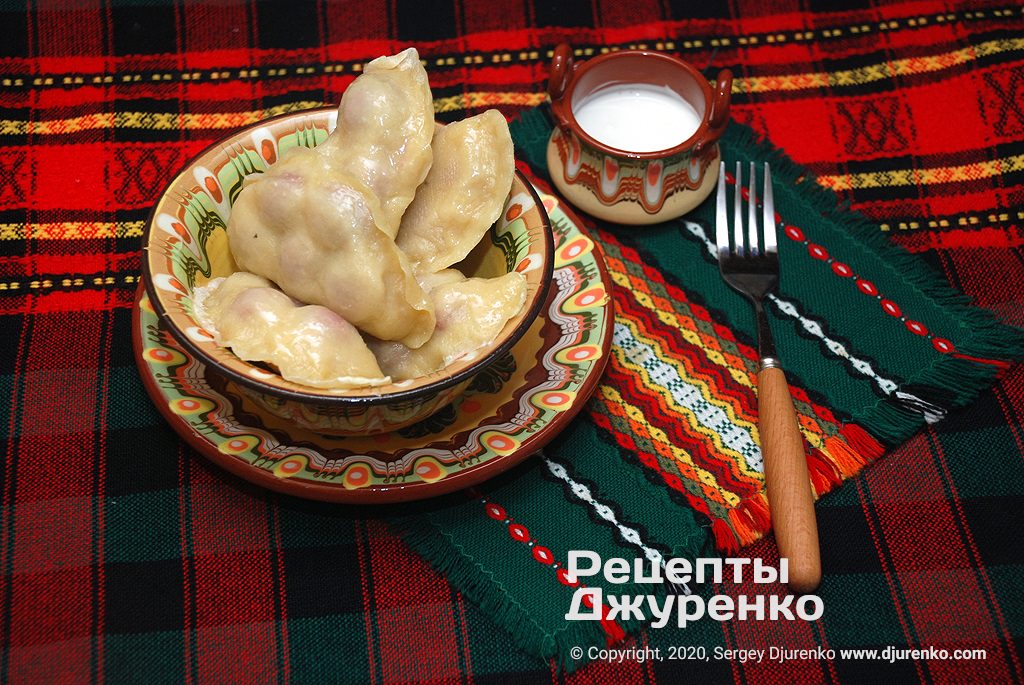
Cherry Varenyky Recipe – Ukrainian Sour Cherry Dumplings
Cherry varenyky are a must-have culinary masterpiece of summer. For as long as I can remember, my mum and grandma always tried to treat us to them during the season, and more than once. It was a dish we eagerly waited for. To be honest, we never got tired of it, and it was considered a real treat. As a child, even though sour cream was “supposed to” go with them, as my grandma used to say, I found a teaspoon of sugar on top quite enough.
There are plenty of similar dishes around the world made of boiled dough with a filling. Of course, the first thing that comes to mind is pelmeni, along with many Chinese dumplings: baozi, jiaozi, wontons. Italian filled pasta includes ravioli, agnolotti, tortellini and so on. In Ukraine, one of the best-known dishes is varenyky. In the vast majority of cases they are shaped like a crescent moon, though they can also be rectangular or even rolled into a ring.
The dough is usually quick and simple to make. Most often it is an unleavened dough of flour, water and egg. I prefer my mum's dough made with soured milk – after cooking it turns out fluffier and softer. Many people prefer a yeast dough, though it takes more fuss. The flour varies too – most often wheat, less often rye or buckwheat. Every cook has her own special dough recipe.
When it comes to fillings, though, imagination truly runs wild. I think if we started listing them, we would never get to the end of the fruit and berry list alone. From my childhood I especially remember cherries, ripe plums and blueberries. Blueberry varenyky are both a meal and a test of skill – how to bite off a piece without splattering everything around. There is also cottage cheese, cabbage and, a special version from my grandma, potato with poppy seeds – served with a garlic sauce or with a huge amount of onion fried with pork cracklings.
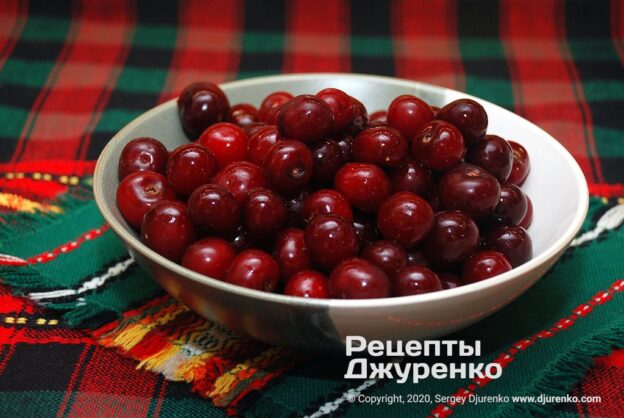
First, the cherries should be large. Second, they should be ripe and juicy. And third, it is highly desirable that they are very sweet, so you don't need to add sugar to the filling.
There are plenty of arguments, sometimes nearly coming to blows, about what size varenyky should be so you're not ashamed in front of the neighbours. I'm not joking – my grandma's neighbours used to boast to each other about their tiny varenyky, insisting that this was the height of skill. As for me, a young rascal back then, a varenyk that couldn't be held with both hands was simply an insult. So on this question everyone has a choice and complete freedom.
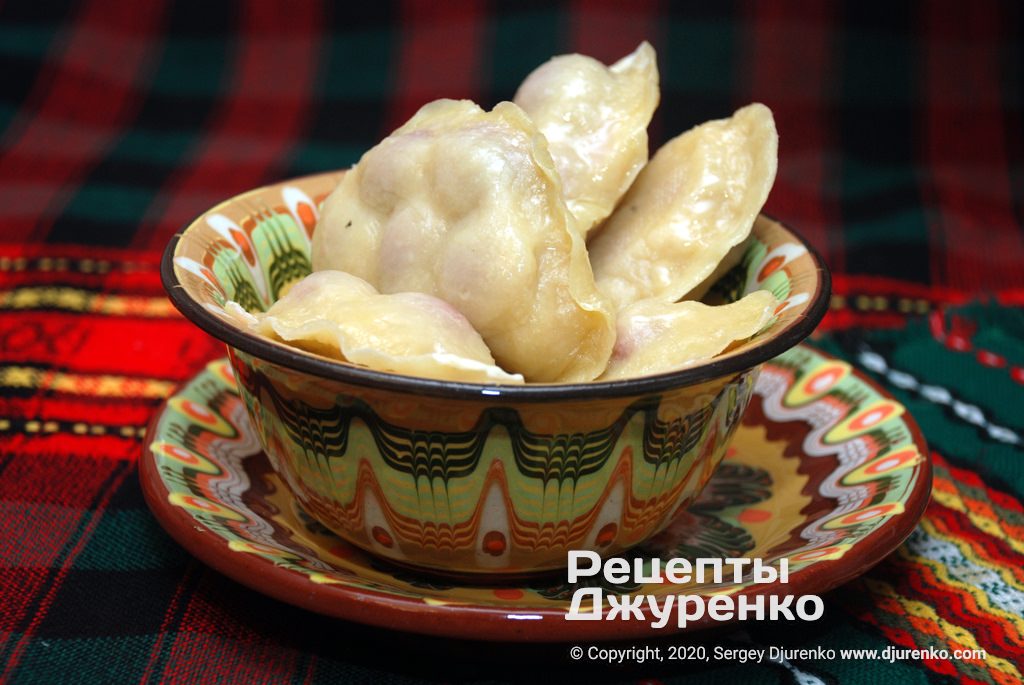
Ingredients
14-16 pcs
- For the dough
- Wheat flour 2 cups
- Egg 1
- Soured milk or kefir 0.5 cup
- For the filling
- Large ripe cherries up to 1 cup
- Sugar to taste
- for serving
- Sour cream, sugar to taste
Step-by-step recipe
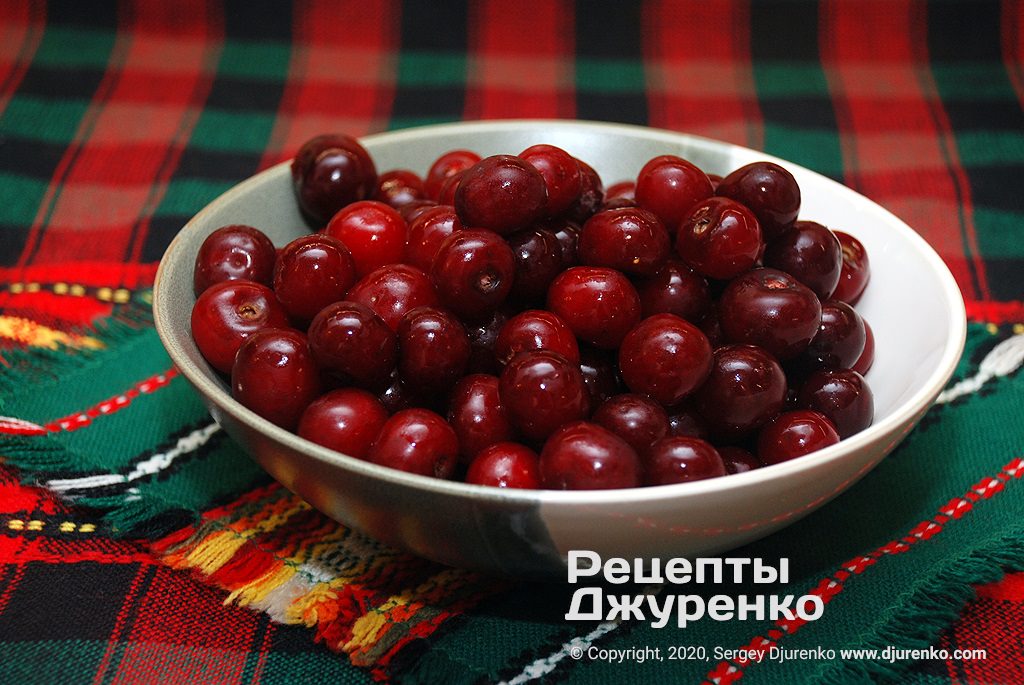
- To make cherry varenyky as tasty as possible and keep them from leaking juice, it's better not to pit the cherries. At home we make small varenyky, using three large cherries for the filling. Then each one is roughly 5-6 cm long. With 5 cherries the varenyky come out noticeably bigger. It's a matter of personal taste and preference. Wash the ripe cherries, remove the stems and let them dry a little, spread out on a plate.
- How to make varenyky dough
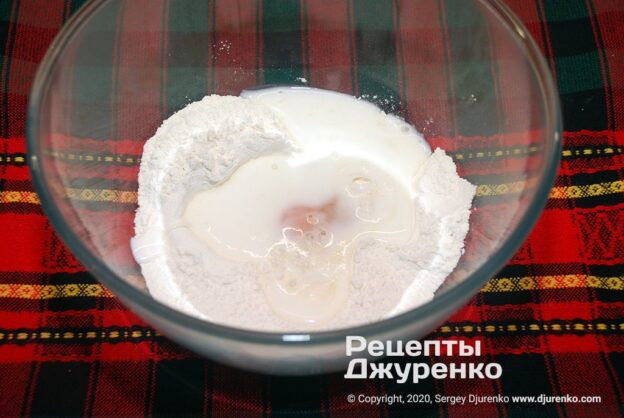
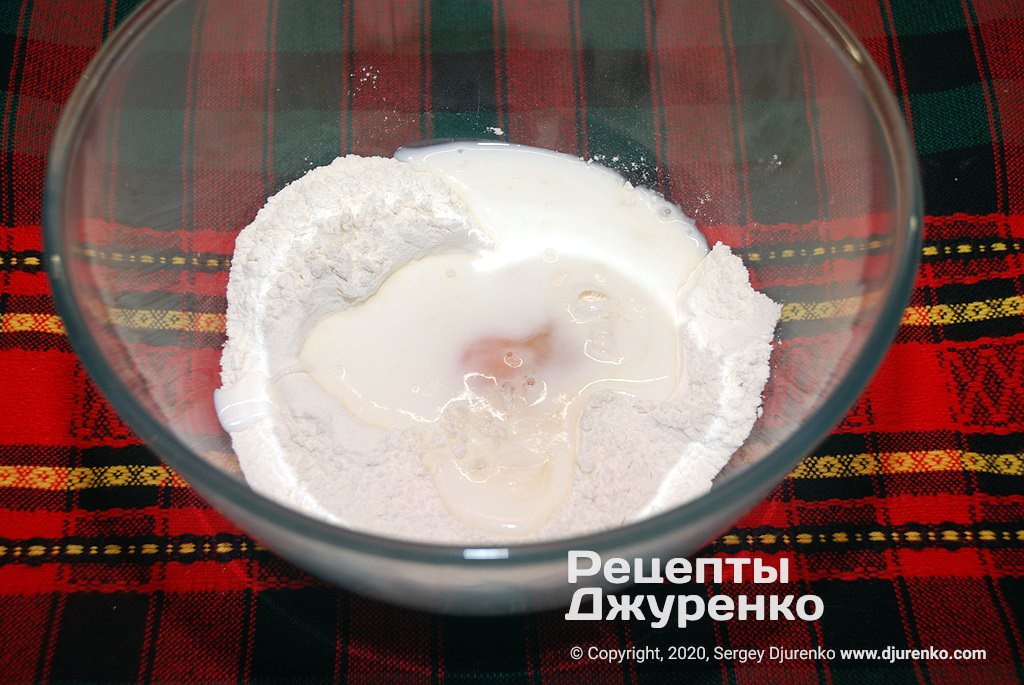
- There are several ways to make unleavened dough. The best known are the hot and cold methods. With the hot method, part of the flour is scalded with boiling water, then cool water, eggs, salt and the rest of the flour are added. Once the flour has swelled, the dough is ready for shaping. We make the dough the cold way. Pour two cups of sifted flour into a deep bowl. Crack one egg into a measuring cup and top it up with soured milk or low-fat kefir to about 180-185 ml.
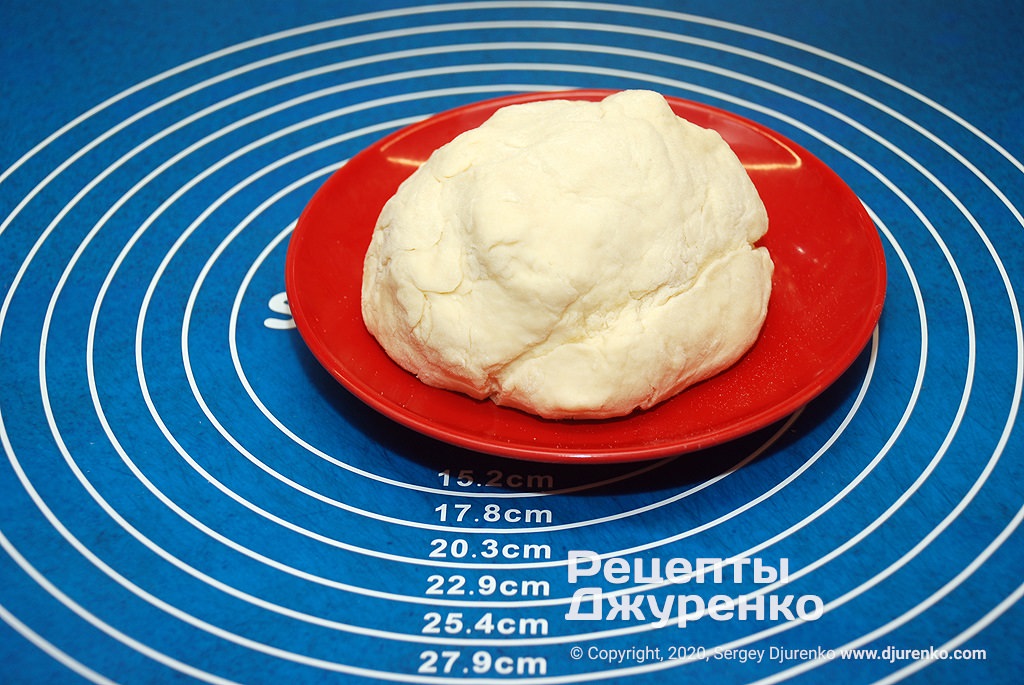
- Knead a soft dough. The dough should be as soft as possible; knead it very thoroughly, adding flour in small portions. Try to catch the moment when the dough stops sticking to your hands – literally right on the edge. That is the ideal consistency. By the way, we don't add salt to the flour, we're just not used to it. Only if the cherry varenyky are boiled rather than steamed do we salt the water a little.
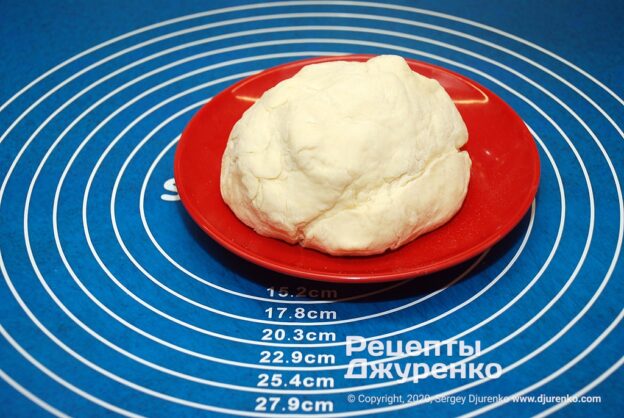
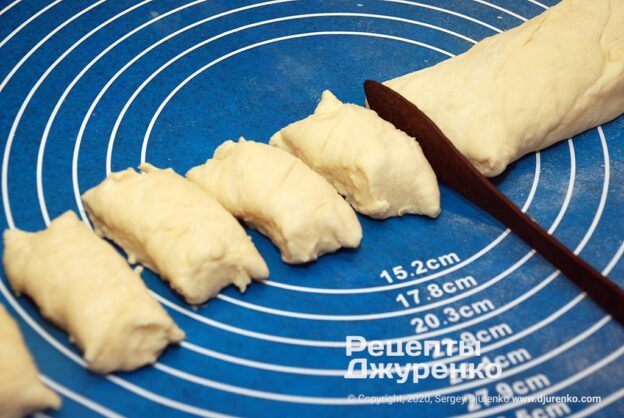
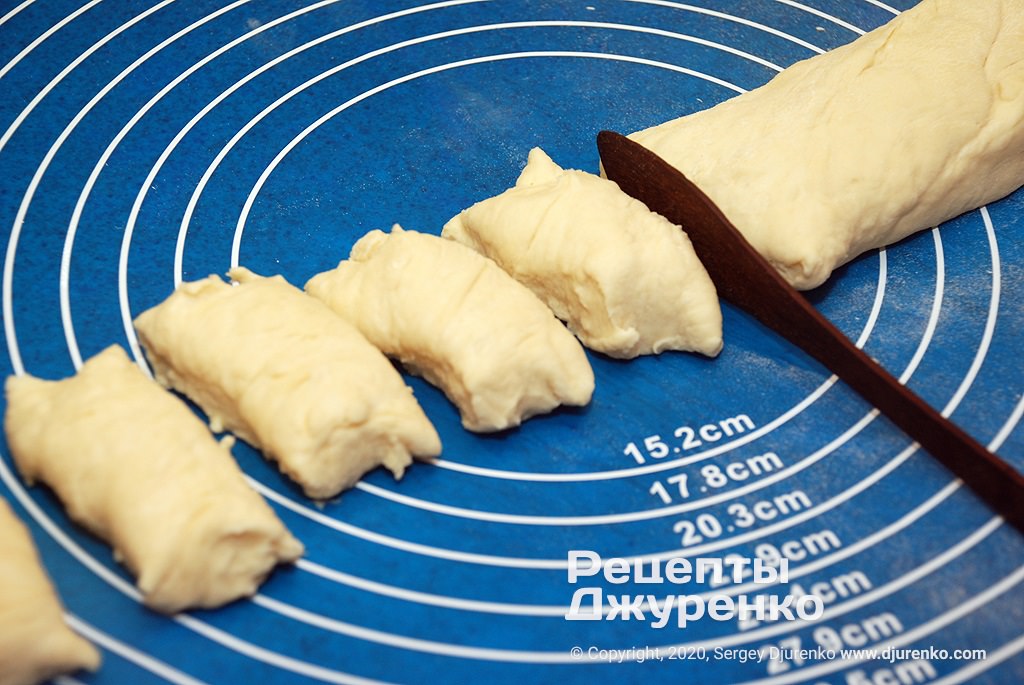
- To make the dough softer and more uniform, let it rest for at least 15 mins. Then divide it into two parts and roll each into a log up to 20 cm long. Cut each log with a knife into 7-8 equal pieces. This is for small varenyky with three large cherries in the filling. If you plan to make bigger ones, cut each log into five pieces.
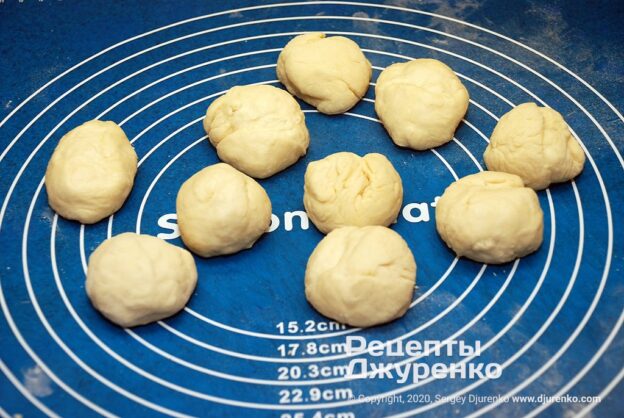
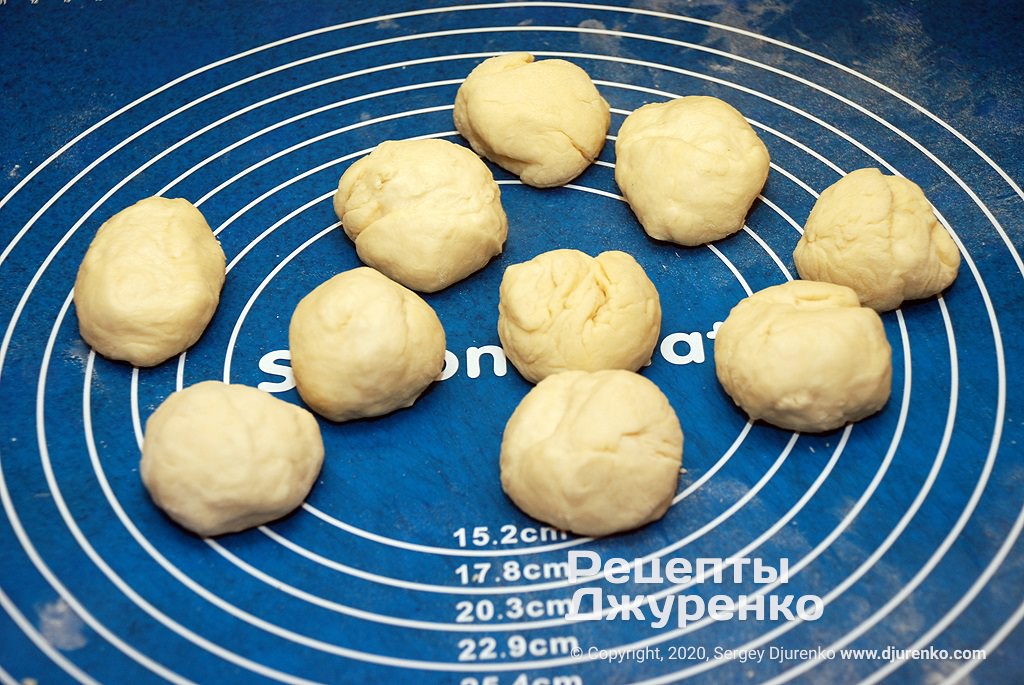
- By the way, a silicone mat is very handy for rolling the dough into rounds – the dough doesn't stick to it at all. My grandma used to roll out all the dough into one sheet and cut out rounds with a thin glass, then roll out the scraps again, and so on. We simply roll each piece into a ball and roll it out with a small rolling pin into a round about 5.5-6 cm across. Don't make the dough too thin, though – it will tear during cooking and the cherries will fall out. A normal thickness is 7-8 mm.
- How to shape cherry varenyky
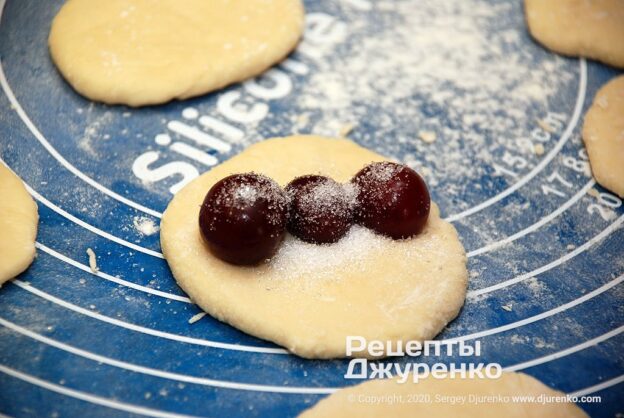
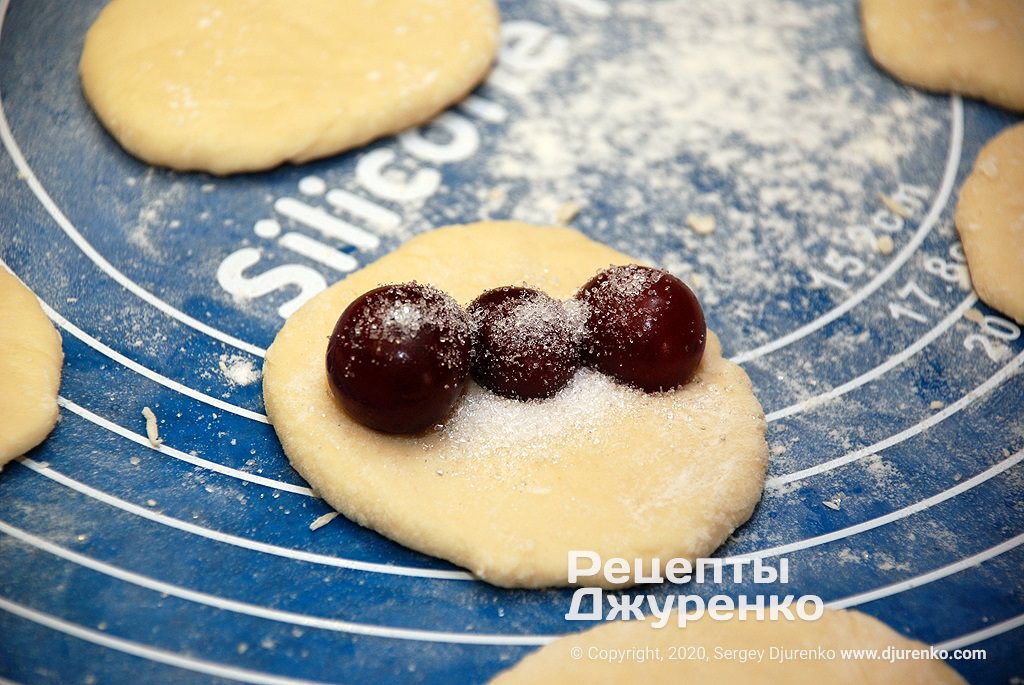
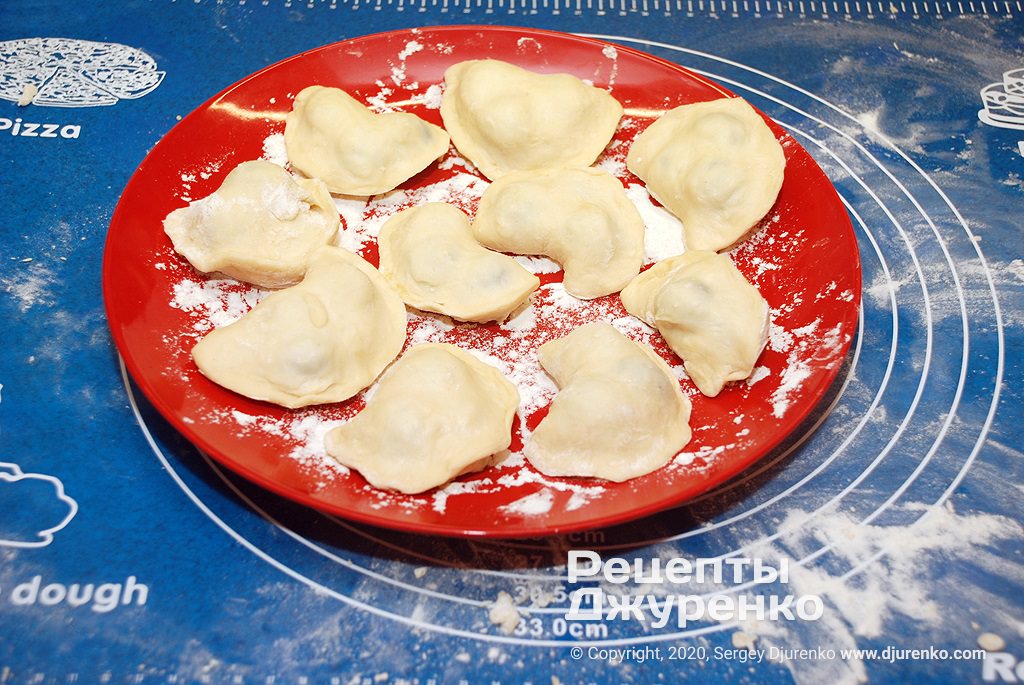
- I recommend shaping all the dough rounds at once and laying them out separately on the table or mat. Place cherries on each round: three for small varenyky, and up to five for large ones. Arrange the cherries so that they end up lying in a crescent inside the varenyk. Think of how the Olympic rings look. If the cherries are very sweet, you can skip the sugar. But however sweet the cherries are, I always add at least a pinch of sugar – up to 0.5 tsp. Then the finished varenyky turn out very juicy with a sweet filling.
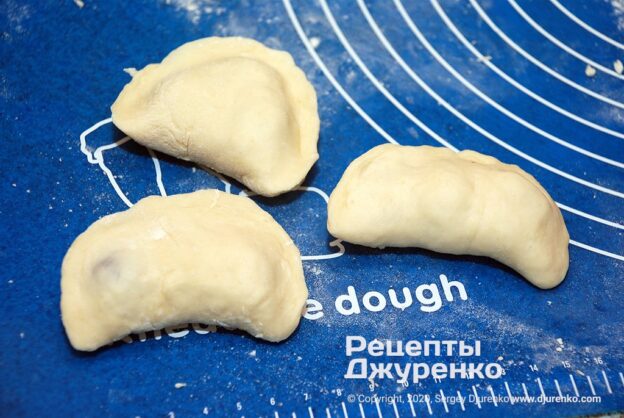
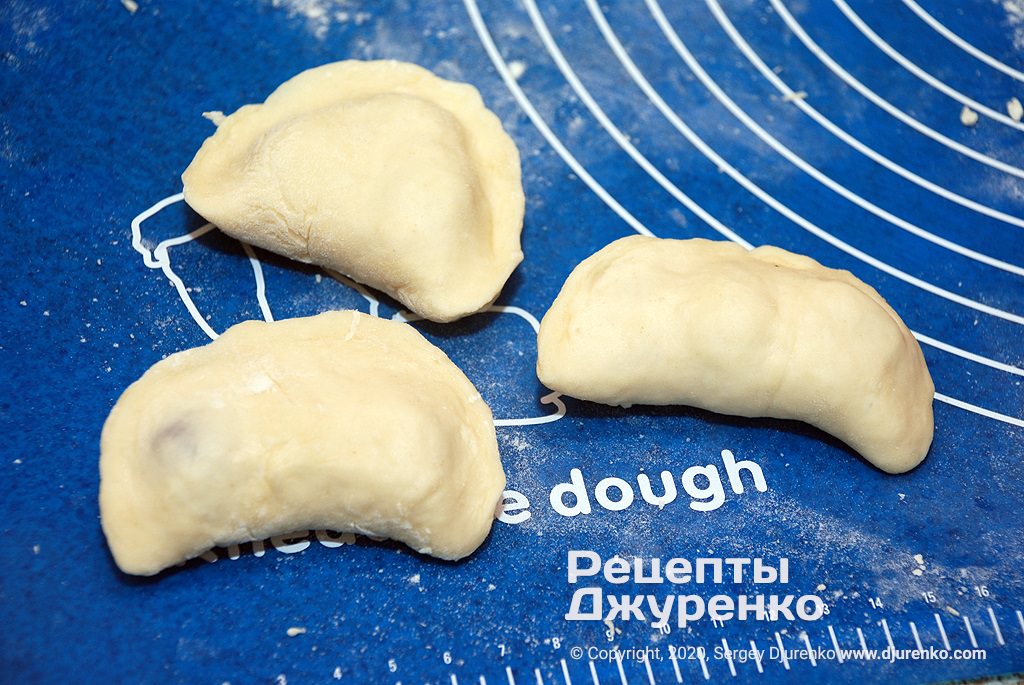
- Fold the dough round in half, covering the cherry filling. Bring the edges together and pinch them. This process is very creative and fun. I've seen varenyk edges that looked like a work of art, with ornamental patterns. In the simplest version, it's enough to go along the whole edge, pressing the dough between your index finger and thumb. You can stretch the dough slightly over the bulging filling, trying not to tear it. The edge then gets thinner, forming petals. Do it however you like. You can use a special hand tool for shaping, but I somehow never learned to use one.
- How to cook varenyky
- In villages, cherry varenyky are usually boiled in lightly salted water. They are dropped into rapidly boiling water and cooked. Make sure they don't stick to the bottom of the pot. At some point they float to the surface. Once they float, 1-2 mins of boiling is enough and they are fully cooked. We prefer steaming them, using a wooden steamer that sits on top of an ordinary pot.
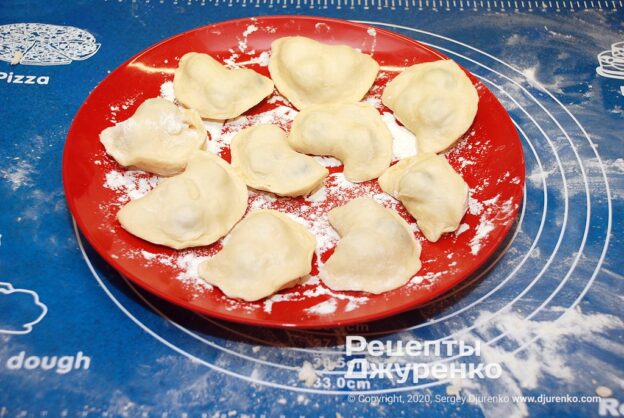
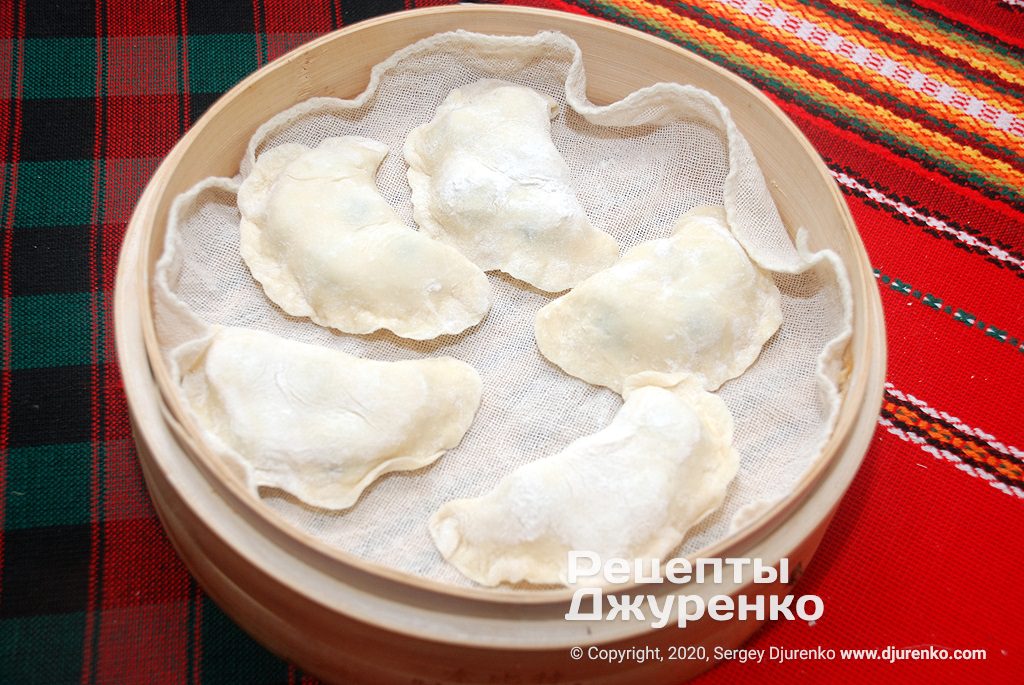
- Pour water into a pot to about a third of its height and put it on the heat. When the water boils, you can start cooking the varenyky. A cloth napkin is usually placed in the steamer so the dough doesn't stick to the wood. Lay the varenyky in the steamer with a little space between them. Don't pile them up – they cook quickly, in several batches.
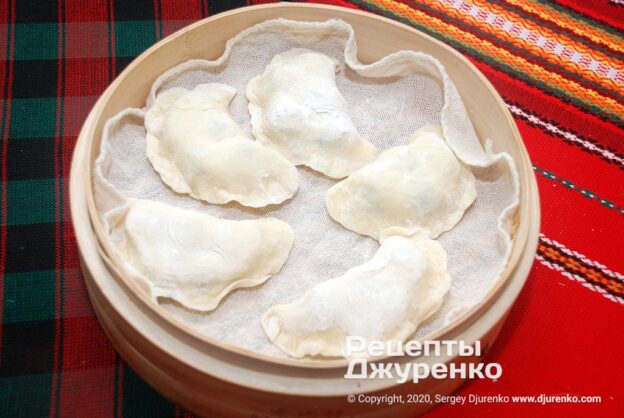
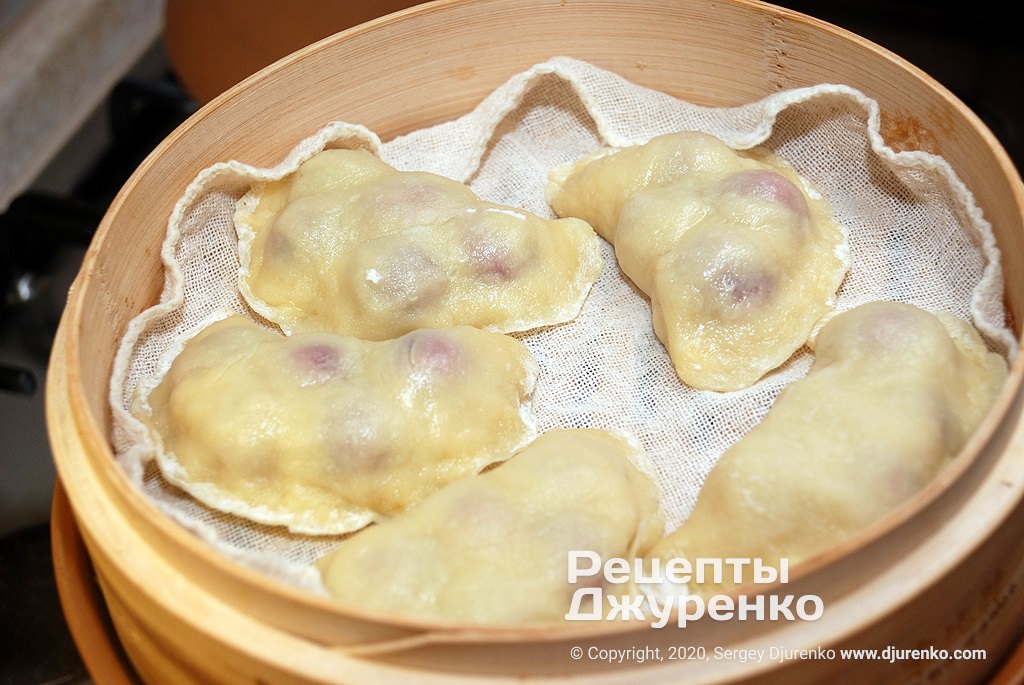
- Place the steamer on the pot instead of a lid. About 8 mins of steaming is enough for varenyky. Thinner Chinese dumplings cook in 5-6 mins, but varenyky dough is thicker, so they need a little more time.
- Serving cherry varenyky
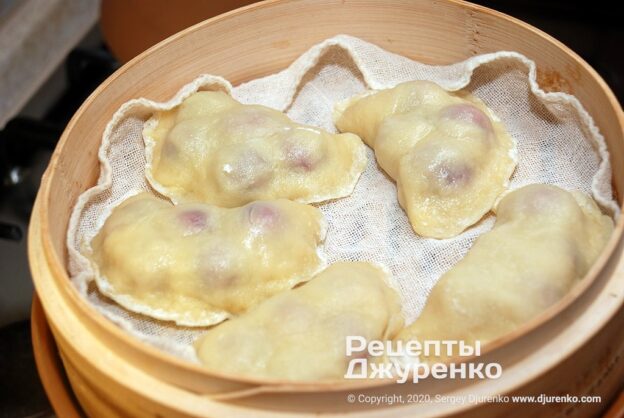
- Transfer the cooked varenyky to a plate, preferably a fairly deep one – boiled dough is always a bit slippery, and on a flat plate you'll be “chasing” them. Traditionally, in our family we don't serve butter with cherry varenyky, although it's quite popular. As a child, a little sugar on top was enough for me. And I still sprinkle them with sugar before serving. Sour cream, however, I serve in a separate dish. Although perhaps this is the way to do it: simply pour sour cream over the varenyky and toss them by shaking the bowl.
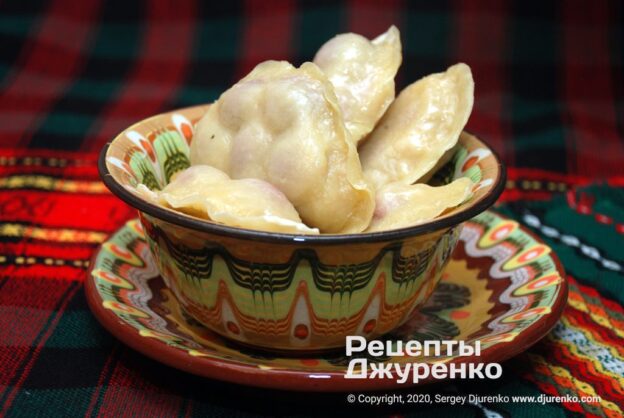
- For some reason I remembered that there were times when ordinary soured milk was used instead of sour cream – that was tasty too. Any varenyky should be served quickly, while they are still hot. This is a dish that doesn't tolerate reheating: the dough becomes tough and the edges dry out. It's better to put shaped uncooked varenyky in the fridge or even freeze them – they cook in under 10 mins.
| Yield: | 14-16 pcs |
| Calories: | 180 |
| Prep time: | 30 mins |
| Cook time: | 30 mins |
| Total time: | 1 h |
| Category: | Main Dishes |
| Cuisine: | European |
| Rating: |
⭐
⭐
⭐
⭐
⭐
4.9
(1)
|