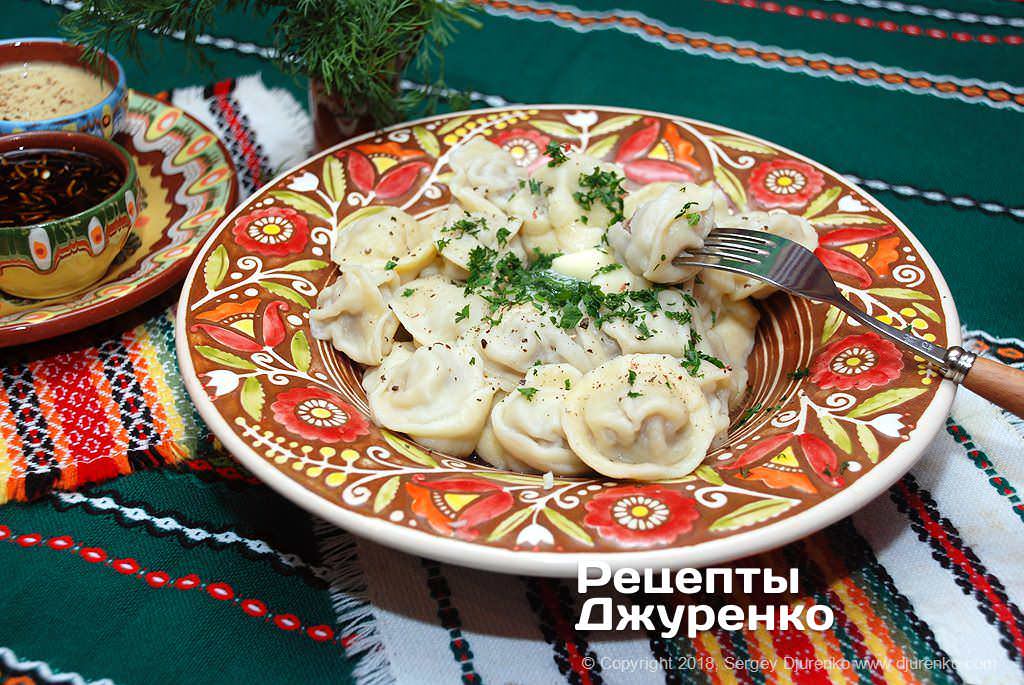
Homemade Pelmeni Recipe with Thin Dough (Pork and Beef)
Who said pizza is the go-to lunch for students, office workers and programmers? Maybe it is somewhere, but not around here. Everyone eats pelmeni, all the time: the most versatile food there is, available everywhere and ready in no time.
Boiled parcels of dough with a meat filling, round and folded into a little “ear”, or like vareniki but small. They are called pelmeni, and people have been arguing about where the word comes from for a very long time. Similar words turn up among the peoples living beyond the Urals. Dumplings of this kind are widespread in China, where there are countless varieties, all different: different dough and filling, different sizes and ways of cooking.
Pelmeni dough is made from flour, water and eggs. It is very simple and always turns out well; you just need to learn to roll it thin. The filling can be any meat, most often a mix of pork and beef, or lamb. In Siberia you will find fillings with “wild” meat: elk, venison, bear. Garlic, herbs, potatoes or cabbage often go into the filling too, but in my opinion that is unnecessary and the point gets lost.
Pelmeni are a convenience food that keeps frozen for quite a long time: a wrapper of plain dough and a meat filling. The wrapper is made as thin as it can possibly be without the dough tearing during boiling, and that is the main thing that sets them apart from similar dumplings. Diluted vinegar is considered the traditional condiment, although far more often they are eaten with sour cream, butter or some rather original sauces.
Quite recently a common standard was adopted that sets the ratio of dough to filling at 50% dough and 50% meat. If there is less meat, the dumplings count as ravioli.
These days pelmeni are almost a cult food and a superb snack. Store-bought ones are available everywhere and, if you are happy with the quality, there is always a pack in the freezer. Making good ones at home takes little time or effort. You can buy good meat at the market, and supermarket meat is usually decent too. Good flour has long been the rule rather than a rarity. Making the dough and the filling takes 30 mins at most, and shaping a hundred or a hundred and fifty pelmeni with two or three people is more of a pastime than work.
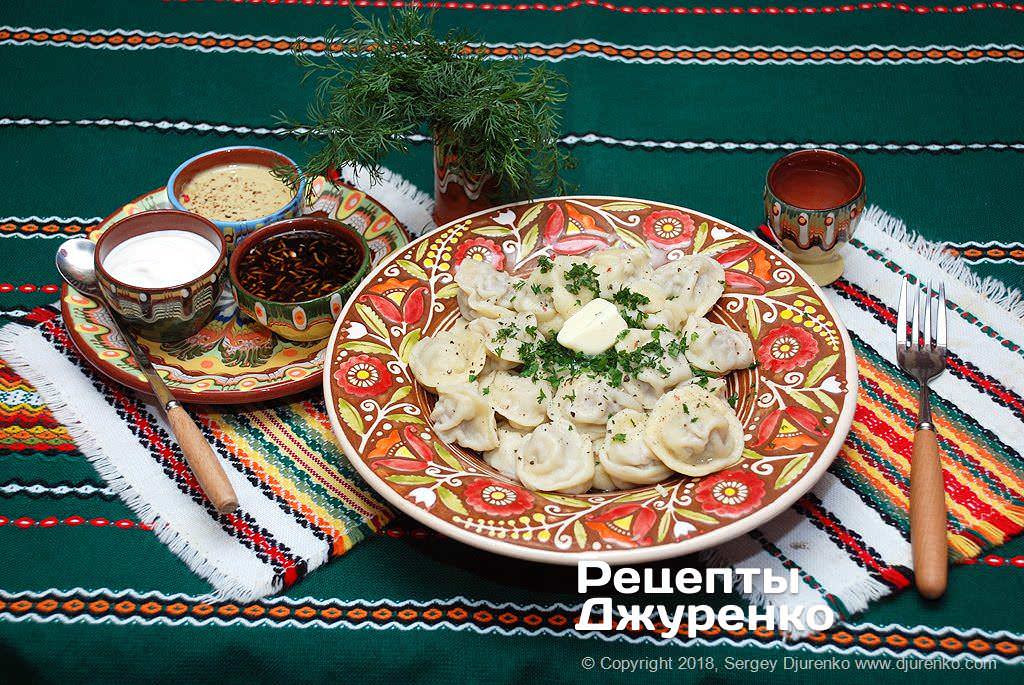
Ingredients
120-130 pcs
- Pork 0.5 kg
- Beef 0.5 kg
- Onion 1-2
- Wheat flour up to 4 cups
- Egg 1
- Milk 1.5 cups
- Dill, parsley 2-3 sprigs
- Butter 1 tbsp
- Vegetable oil 1 tbsp
- Salt, black pepper, coriander, chili pepper, cloves, allspice, bay leaf to taste
- Sour cream, vinegar, mustard, soy sauce, garlic, etc. for sauces
Step-by-step recipe
- Before you sit down to dinner and enjoy a favourite dish you made yourself, there are a few simple steps to go through. I say “simple” because there is nothing difficult about homemade pelmeni. The filling is no harder than the mince for meatballs, and plain dough is even easier than a pizza base. Shaping them is a fun job the whole family can easily do together without much effort.
- Pelmeni dough
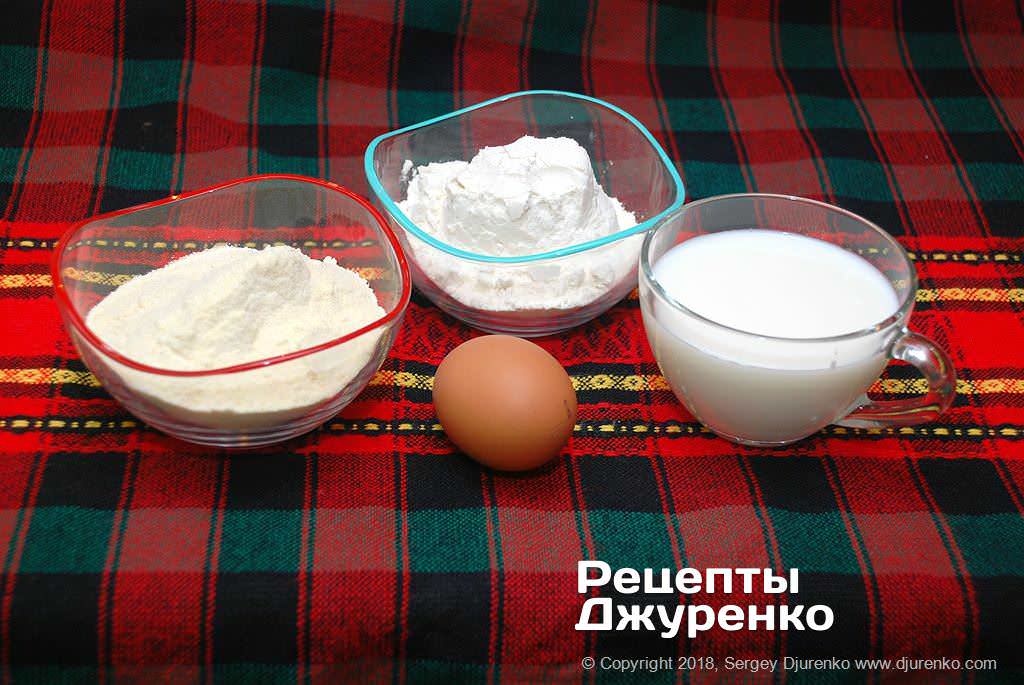
- As my grandmother used to say, any dough is flour and liquid; everything else in it is secondary and can be changed, swapped or left out altogether. We will make the dough with milk and egg. To get a good dough that holds its shape when boiled yet stays very tender and soft, we used a mix of ordinary all-purpose wheat flour and Italian durum wheat flour, semola di grano duro.
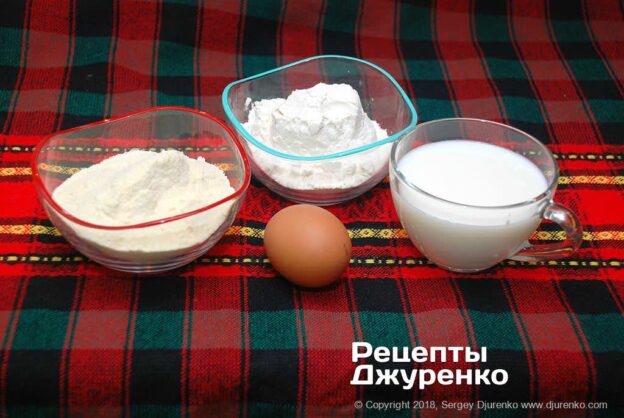
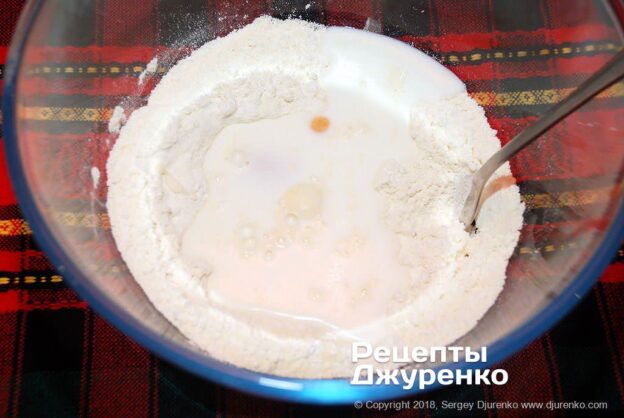
- Take the eggs and milk out of the fridge in advance so they are at room temperature when you make the dough. In a large bowl, mix 1.5 cups of “soft” flour and 1.5 cups of “hard” flour, add a quarter teaspoon of fine salt and stir. Make a well in the centre. By the way, you can use only soft flour, but then it is better to roll the dough a little thicker. And one more thing: if the dough contains durum flour, the leftovers can be turned into homemade noodles.
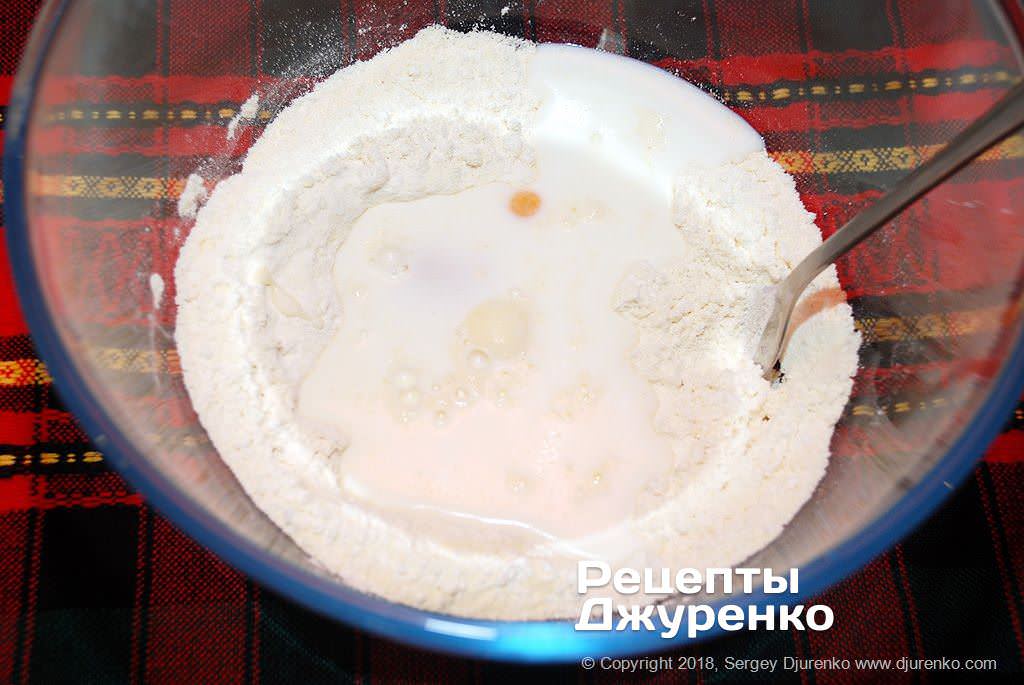
- Crack the egg into a measuring jug and top up with milk to a total volume of about 350 ml. This much egg and milk mixture is usually enough for a soft, good-quality plain dough. Whisk the mixture with a fork and pour it into the well in the flour. It is better if the dough starts out too soft and sticky: then, adding flour in small portions, it is easy to get a very soft dough that stretches beautifully and does not stick to your hands at all.
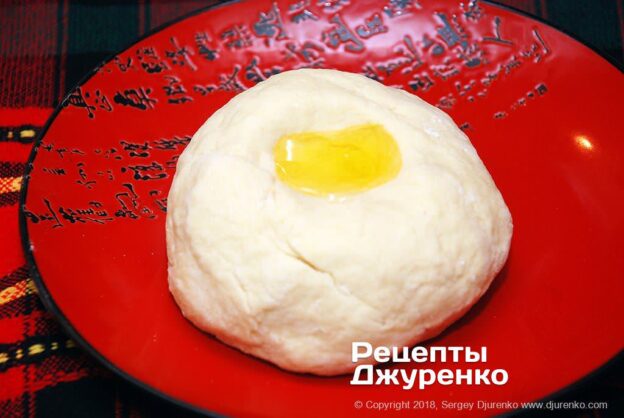
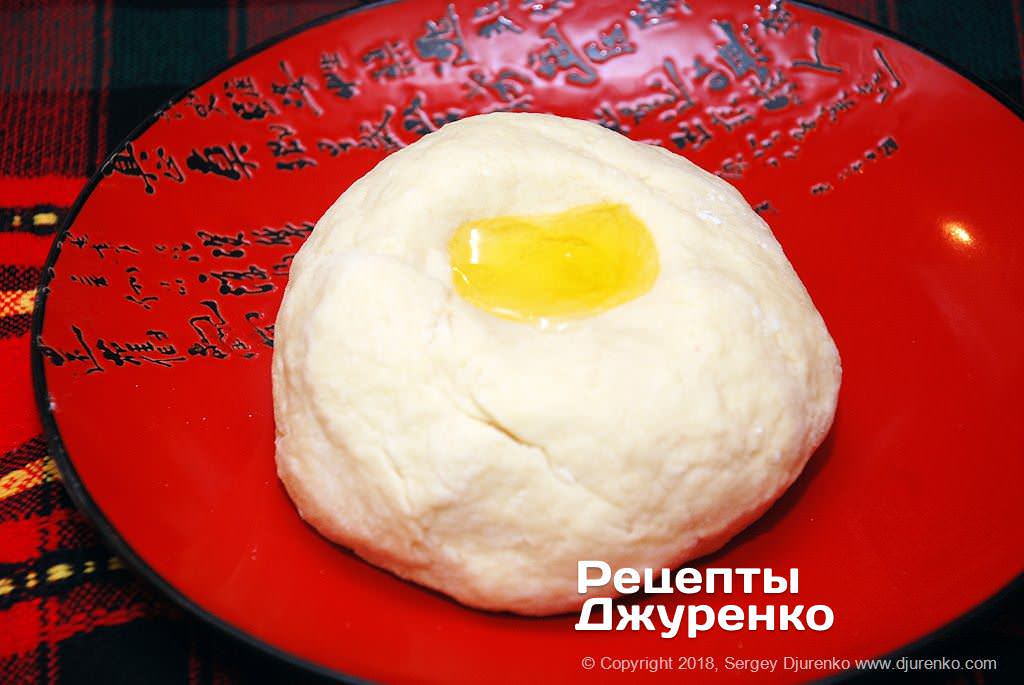
- Roll the dough into a ball and make a dent in it. Pour 1 tbsp of neutral vegetable oil into the dent; ordinary refined sunflower oil, so common in home cooking, works well. Knead the dough thoroughly by hand until it is as smooth as possible. Roll it into a ball, put it in a bowl and cover. Put the bowl in the fridge while you make the filling, about 30-40 mins.
- Filling
- Tasty pelmeni are not only thin, soft dough but also a good, flavourful meat filling. The filling should contain meat, onion and spices; everything else is optional and up to your imagination. If you leaf through recipes from 100-150 years ago, you will notice that the filling used raw pork, suet and game meat trimmed of sinew, with beef as a substitute. The spices were black pepper and “English” pepper (that is, allspice) and cloves. And, apparently to keep the filling juicy, crushed ice was added.
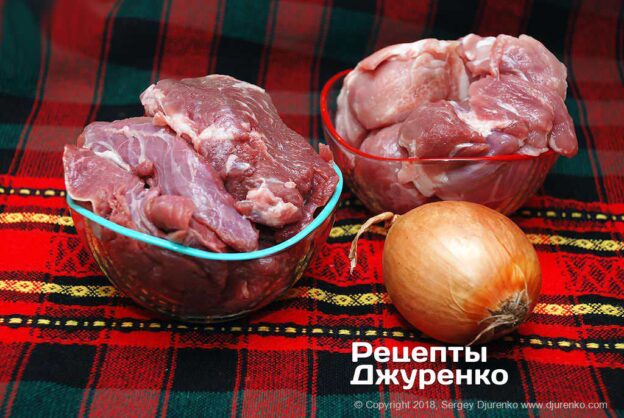
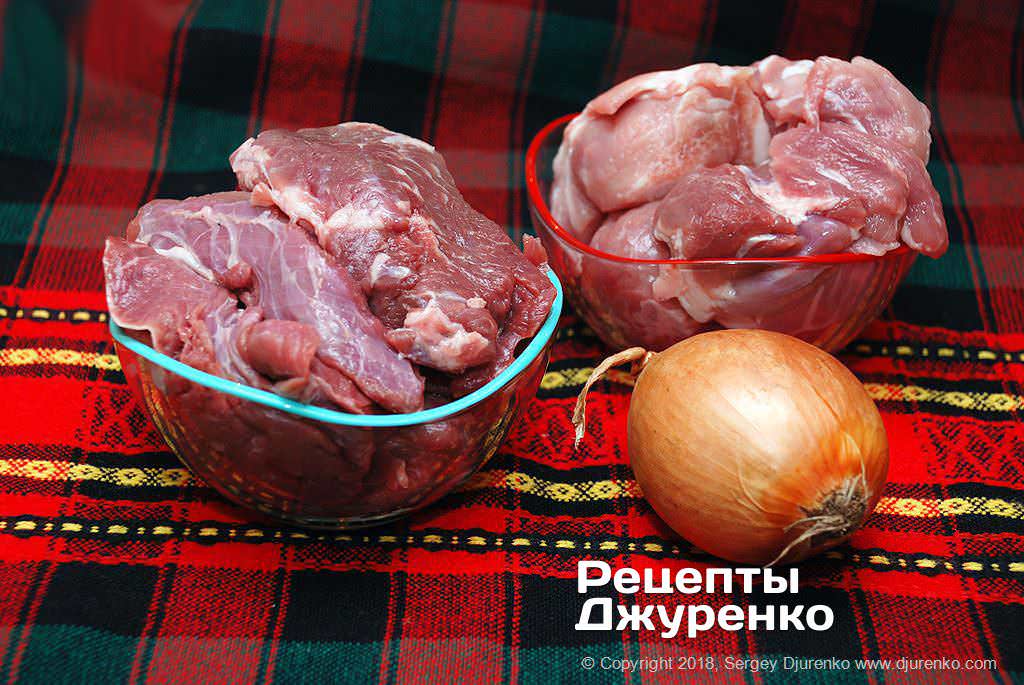
- We took equal parts of pork and beef, trimmed of membranes and bits of bone. All the meat had a little fat on it, so we did not add any extra fat to the filling. By the way, shops sell ready-cut meat for goulash or kebabs; it is perfect for the filling, and tasty pelmeni are guaranteed! You will need one large onion or two small ones. We did not use herbs, garlic or other additions, otherwise the pelmeni would start to resemble khinkali.
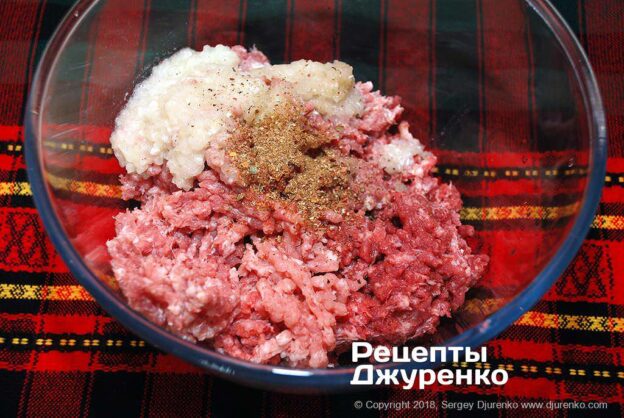
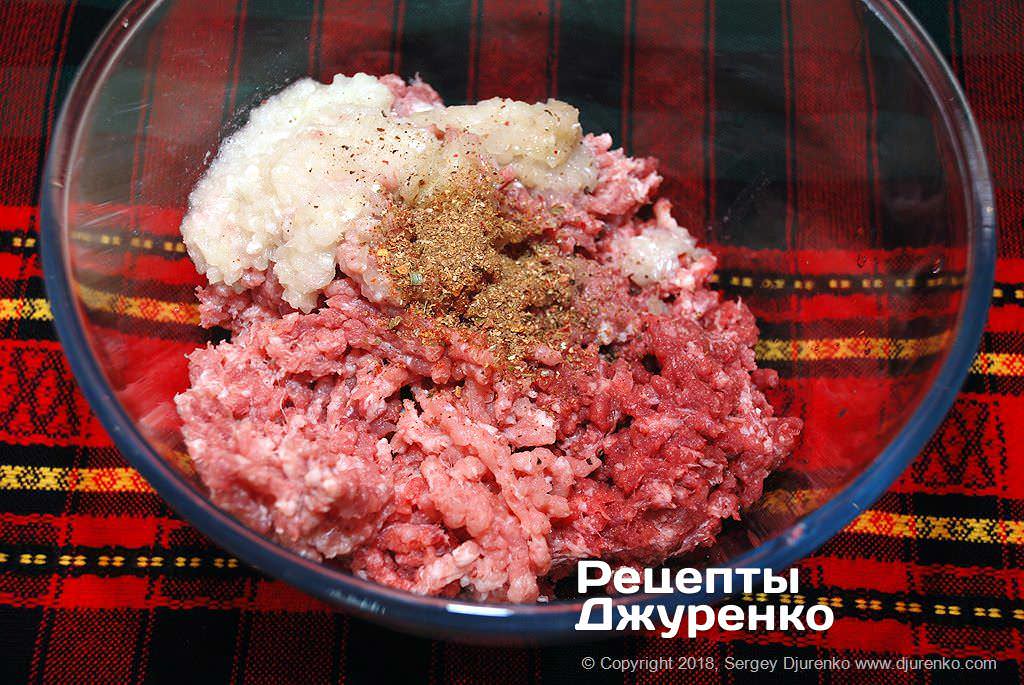
- Store-bought pelmeni, even when made with real meat, usually have a filling close to sausages in density and texture. I do not like that; I prefer the filling fairly coarse and spicy. Grind the pork and beef in a meat grinder, and grind the peeled onion too. If you want a finer filling, you can put the meat through two or three times. Add black pepper, a little coriander and a pinch of chili to the meat and onion. Salt the filling to taste. By the way, instead of salt you can add 1-2 tbsp of soy sauce: it is salty enough and makes the filling juicier. Knead the filling thoroughly until it is as uniform as possible.
- Rolling out the dough
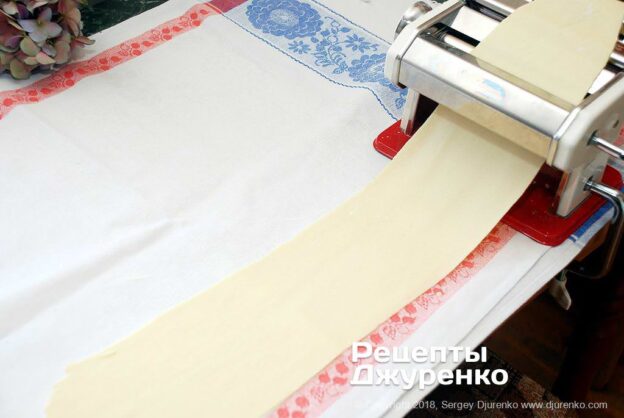
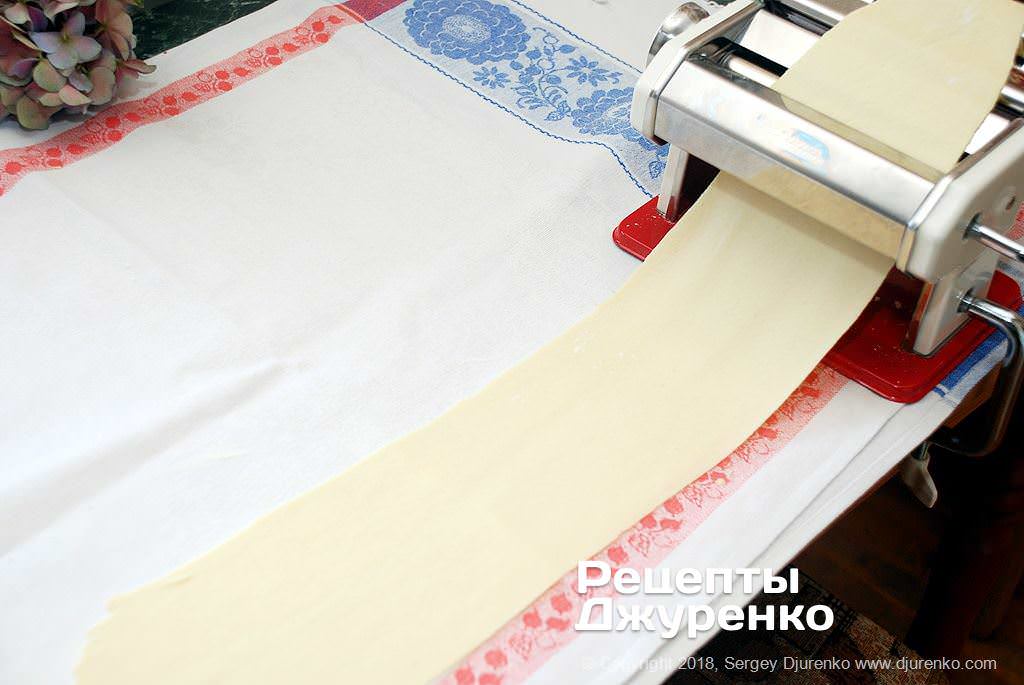
- Meat pelmeni are at their best when the dough is very thin and does not tear during boiling. Knead the dough by hand once more; if it sticks to your hands a little, add a touch of flour. In the vast majority of cases the dough is rolled out with a rolling pin, but as it turns out, a pasta machine is very handy for it. It does a great job with dough for fettuccine and homemade lasagna, and copes perfectly with pelmeni dough as well. The dough should end up about 1 mm thick.
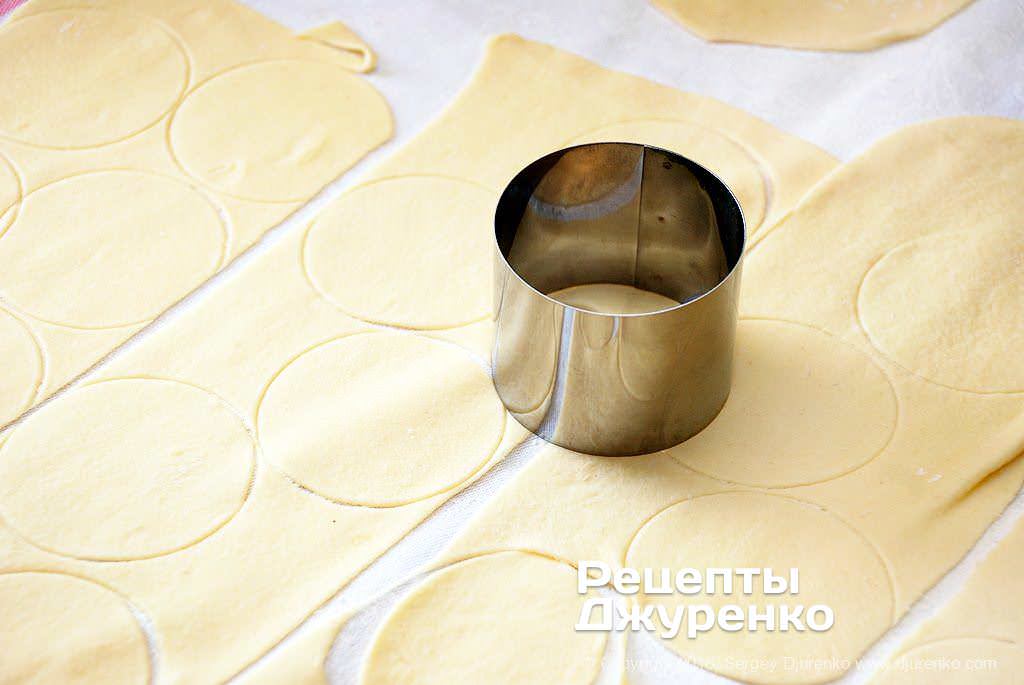
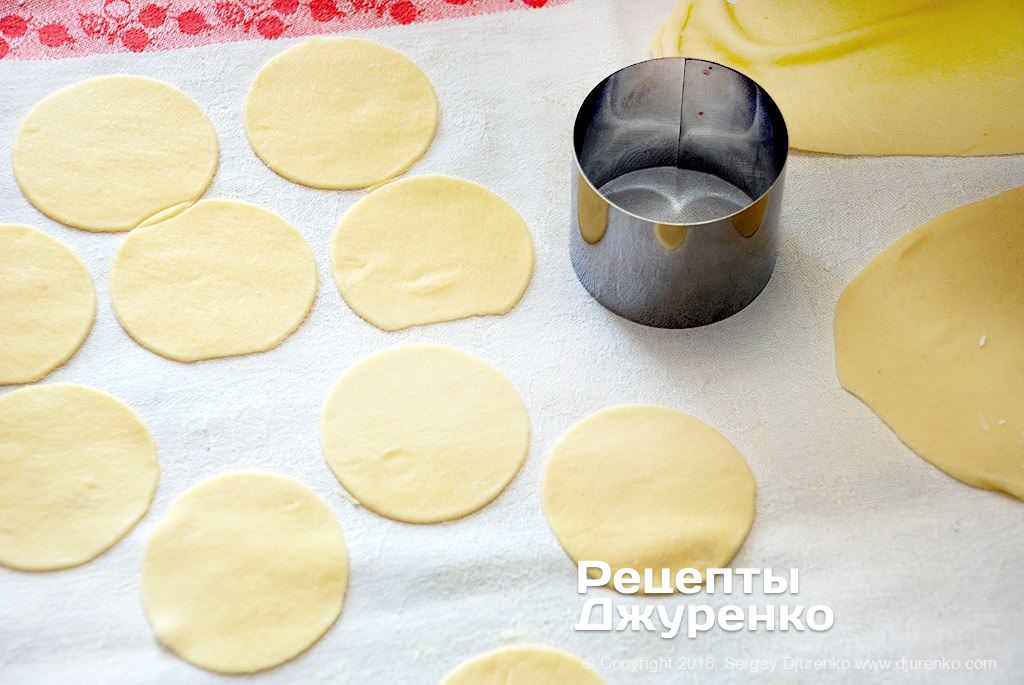
- To cut circles out of the dough, an upturned wine glass will do just fine, but a round cutter 6-7 cm in diameter is even better. With a 6 cm cutter my pelmeni came out at an average of about 12 grams each; a bigger cutter will give bigger ones.
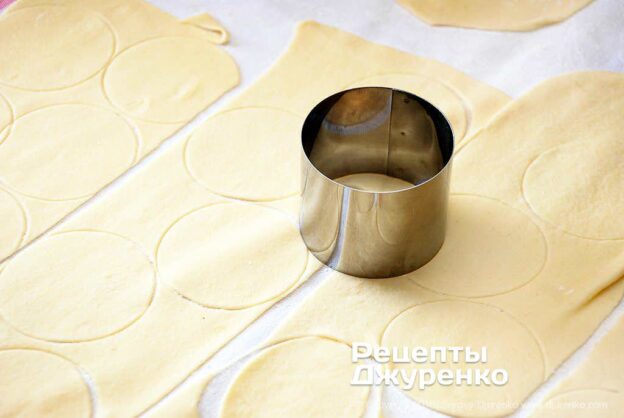
- Cut circles from the rolled-out strip of dough with the cutter. Gather the scraps, knead them again and roll out once more. In the end all the dough will become thin round wrappers for shaping. If the edge of a wrapper is not quite even, do not worry: when you start shaping the pelmeni, the dough stretches and the edges fold together, so it will not show. Milk dough dries out quickly, so shape the pelmeni right away and do not cut all the wrappers in advance; it is better to work in batches.
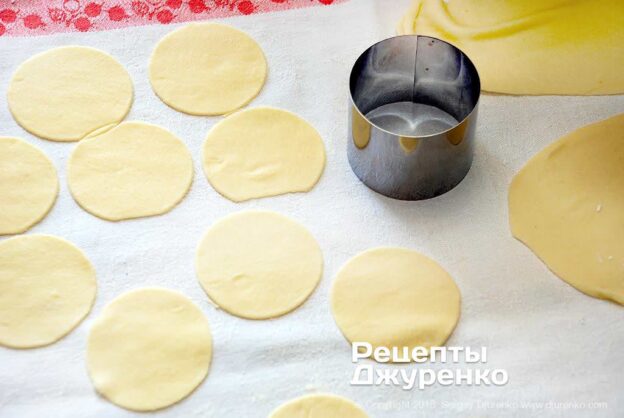
- How to shape them
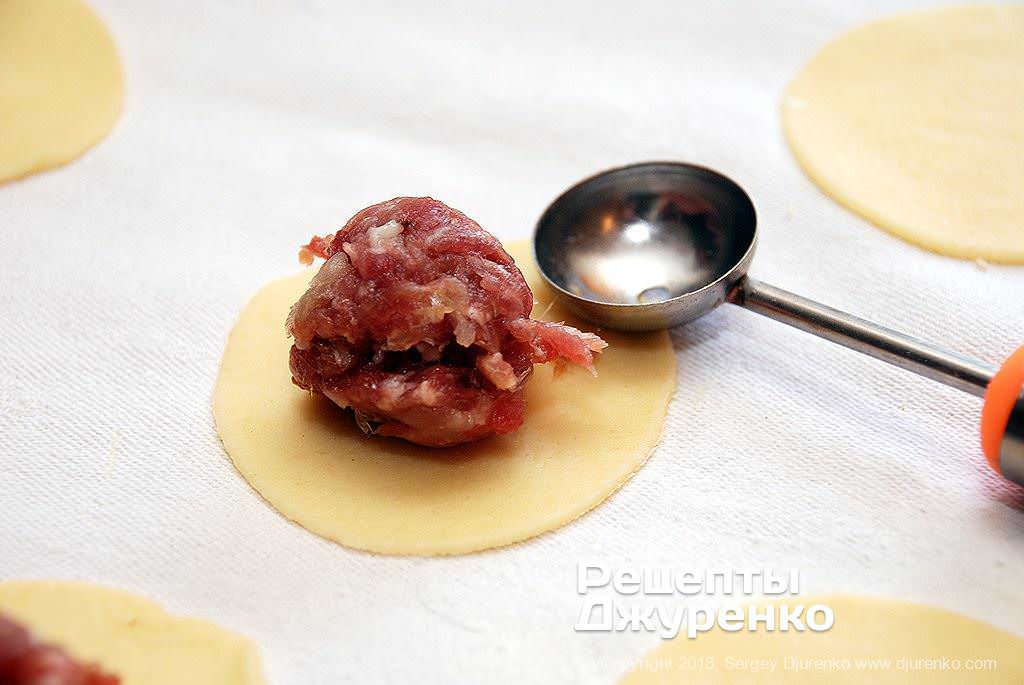
- Shaping is a fun, sociable job. Lay out all the prepared wrappers on a cloth or a floured table; large boards or sheets of plywood are often used, whatever suits you. Place a ball of filling on each circle of dough, about 2.5-3 cm in diameter. If you have a round measuring spoon of the right size, the job gets much easier and shaping goes faster.
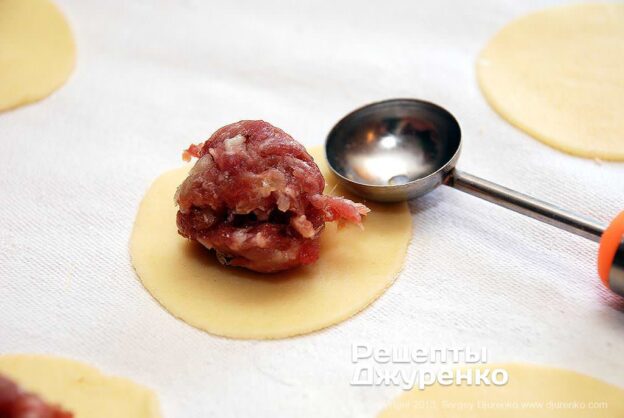
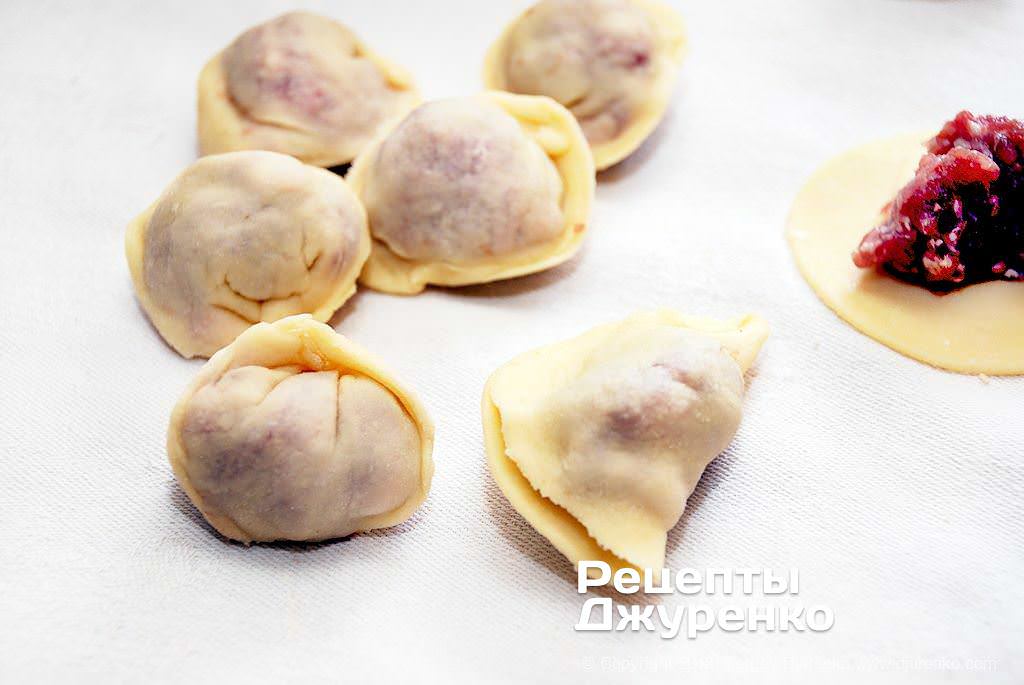
- Using your fingers, wrap the dough around the ball of filling, stretching it slightly and folding it in half. The dough should cover the filling completely and fold over on one side with some to spare. You get a half-moon of dough with the filling inside. No need to pinch the edge yet; it is enough for the dough to simply fold over. By the way, if the dough does not stick well, brush the very edge with a little egg white.
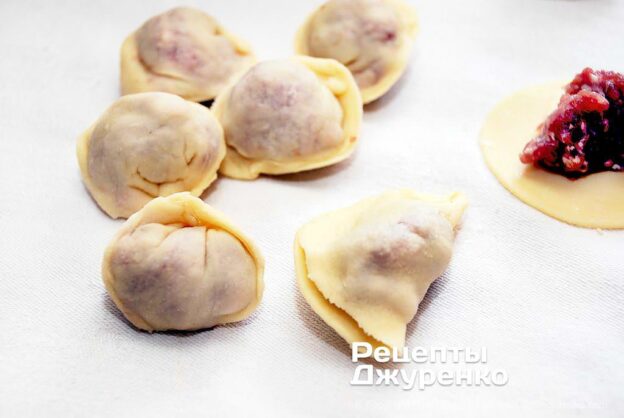
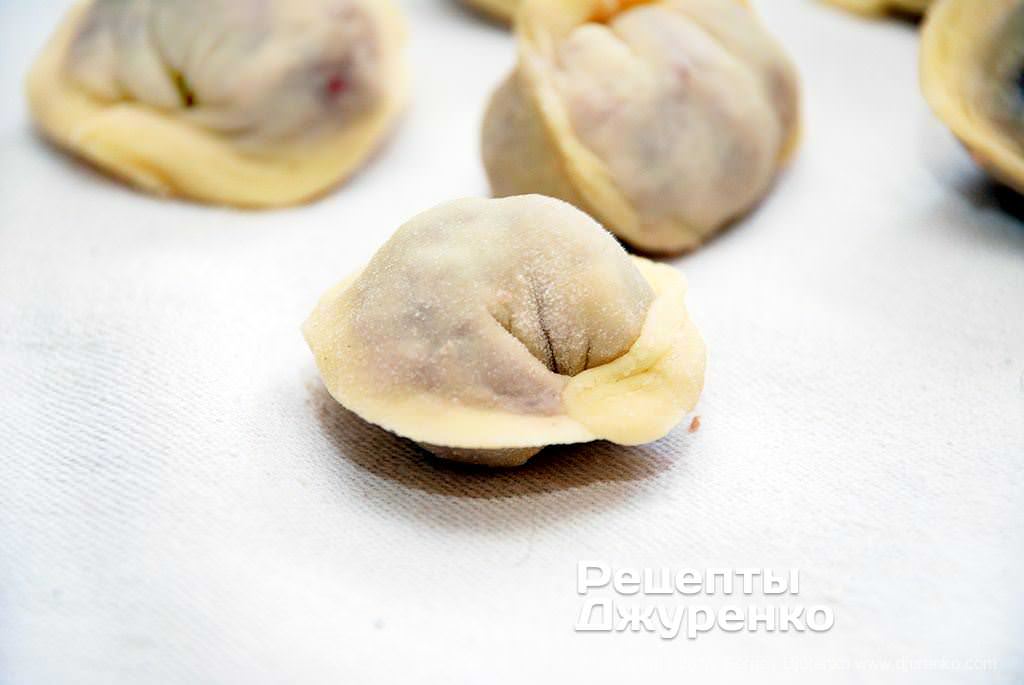
- Pull the ends of the half-moon towards each other so the dumpling curls up into a ball with a rim. Pinch the ends of the half-moon together so it keeps its shape while boiling. Then it is very easy to pinch the folded edges of the dough with your fingertips, decoratively and fancifully if you like. The finished pelmen looks like a ball of dough with the filling faintly showing through and a rim of thin dough.
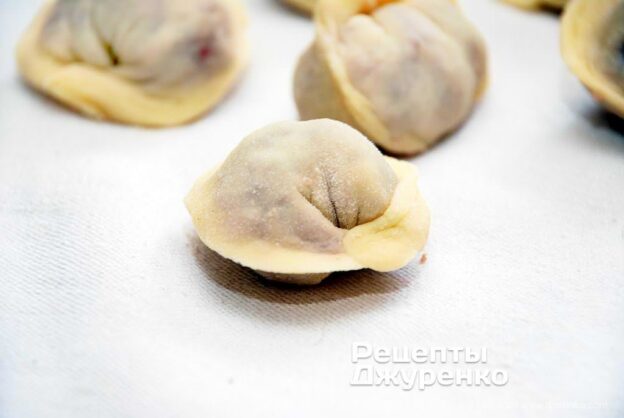
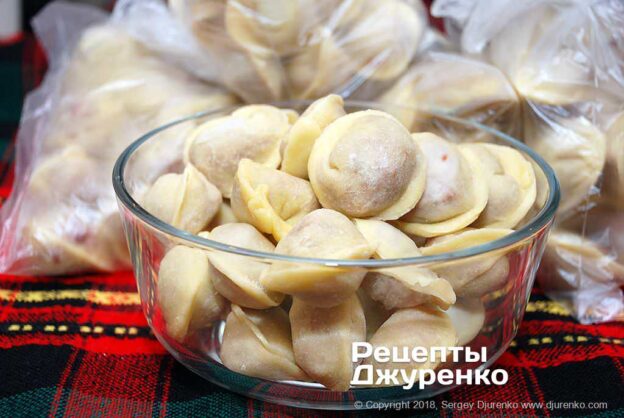
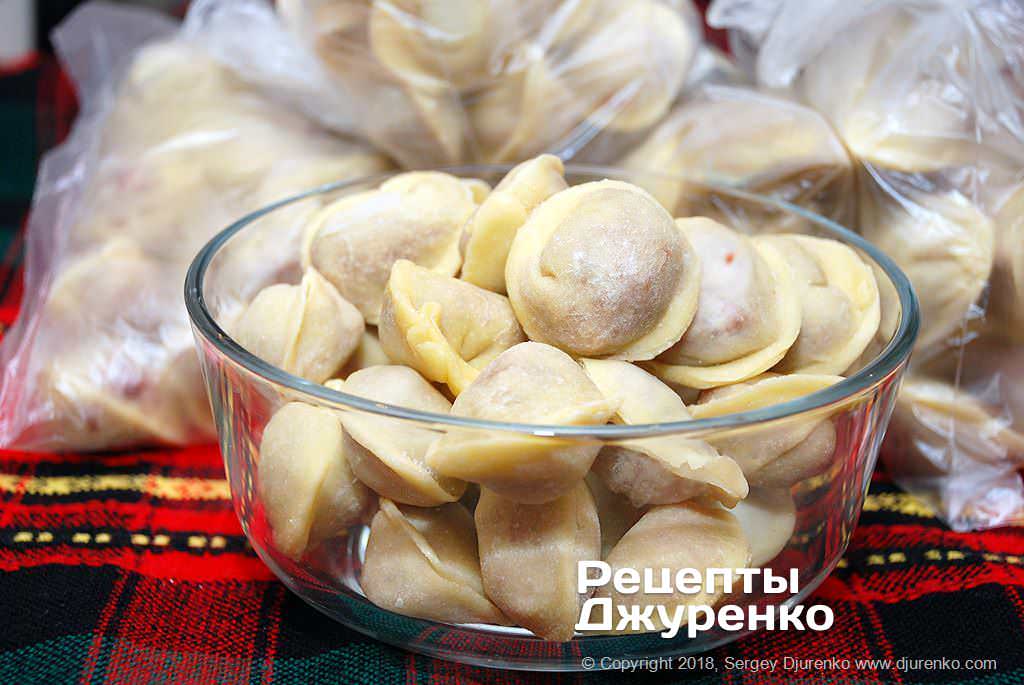
- Keep shaping until either the filling or the dough runs out. If there is filling left, you can always make a little more dough, and leftover dough can be turned into fettuccine. Lay the finished pelmeni on a board, dust with flour (a small sieve helps) and put them in the freezer. Homemade pelmeni freeze very quickly: after just 15-20 mins they are hard as pebbles and can be poured into plastic bags, 20-25 per portion.
- How to cook them
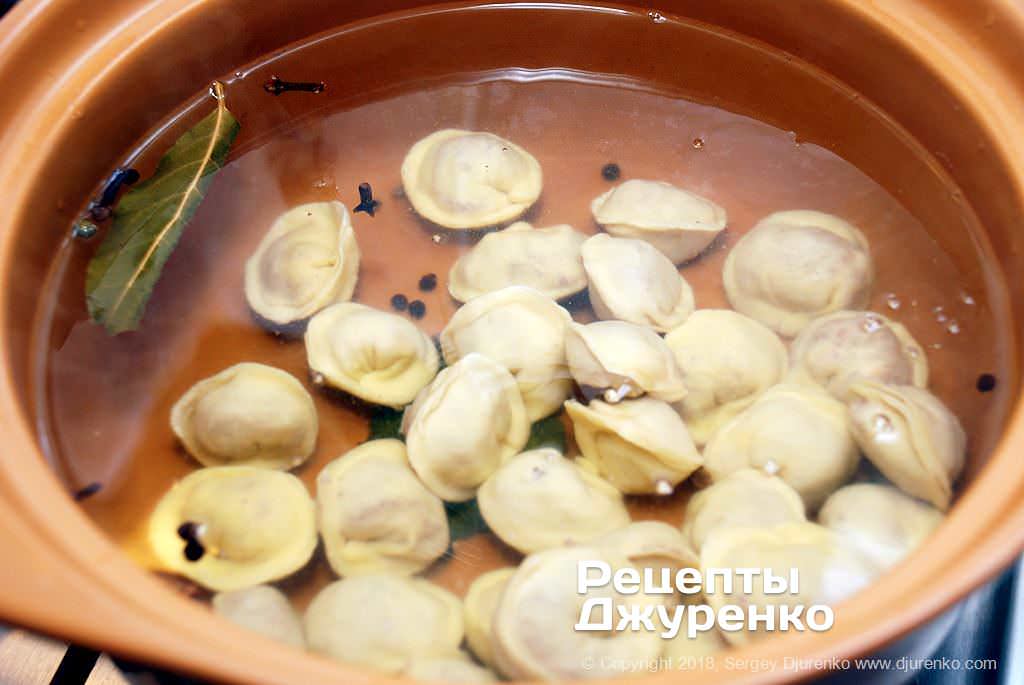
- There are many opinions and arguments about how to cook them. It brings to mind the joke: to be considered a gourmet, add a bay leaf to the water. Yes, meat pelmeni boiled in plain water turn out fine, but self-respecting people cook them in broth or, at the very least, add aromatic spices to the water. For the simple version, bring 2-3 l of water to the boil, salt it and add a bay leaf, black pepper, allspice and cloves. Let the water boil with the spices for a few minutes.
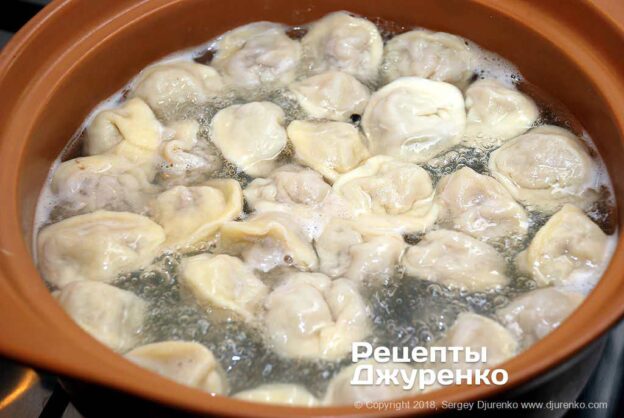
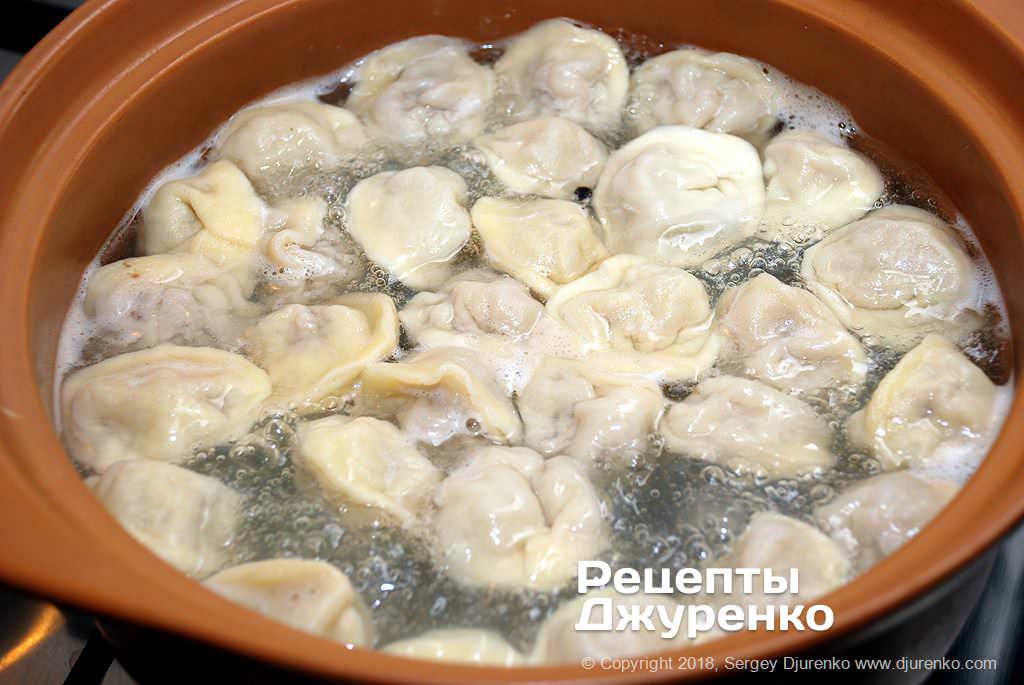
- Drop the pelmeni into rapidly boiling water. Take them out of the freezer right before cooking, not in advance. They almost immediately try to stick to the bottom of the pot, so stir them very gently; a wooden spoon or spatula is best, so as not to damage the thin dough.
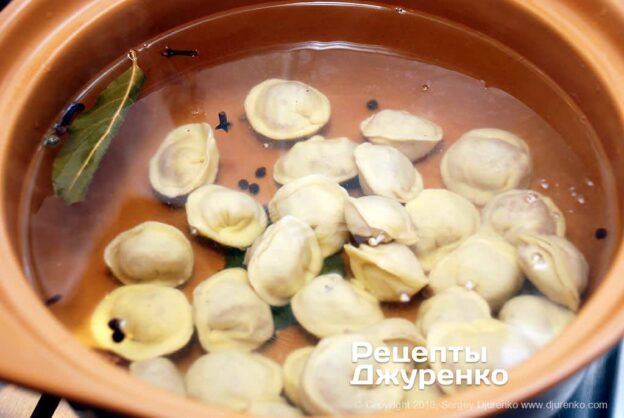
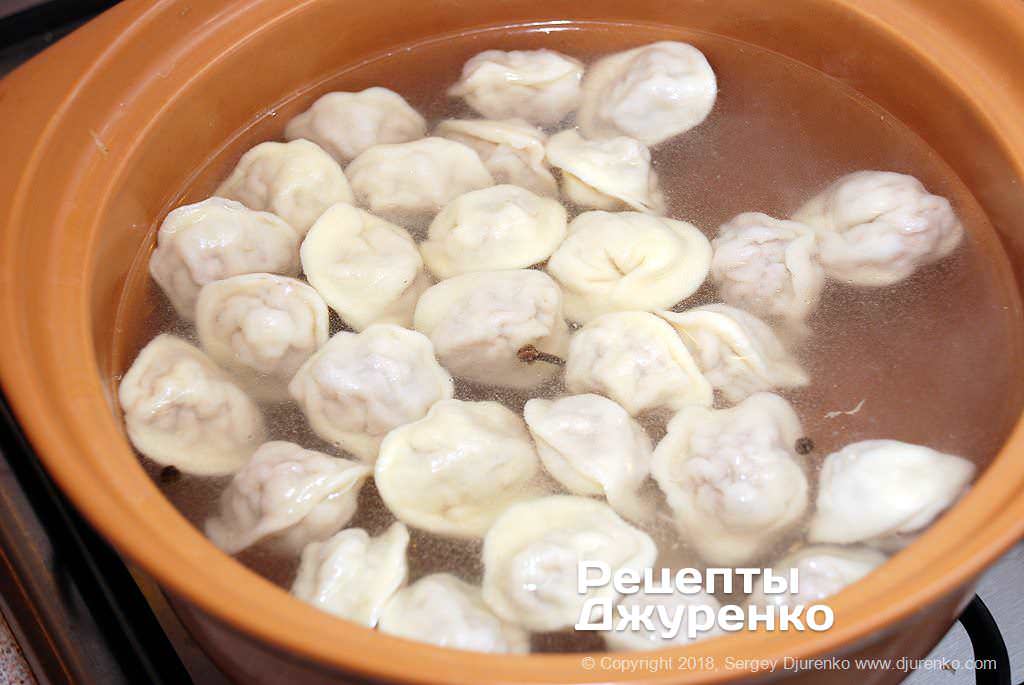
- The frozen dumplings cool the water a little and the boiling stops. As it heats up again, they float to the surface, an amazing property of many dough foods: vareniki, ravioli, dumplings, halushky and so on. At bachelor parties, as soon as my friends see the pelmeni floating, they shout: “They're done, dish them up, they'll overcook!”
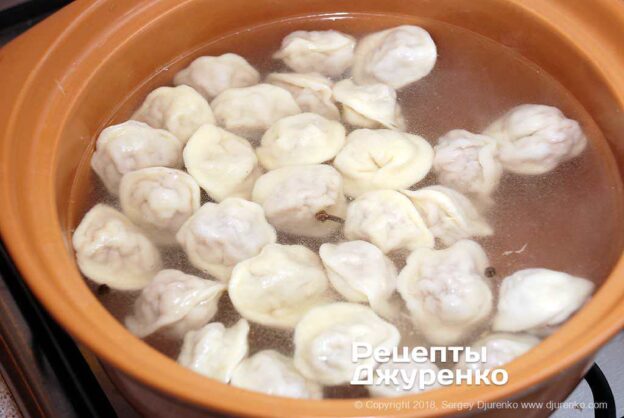
- Do not rush: let the pelmeni cook for 3-5 mins. Firstly, the meat inside is frozen and needs a little time to cook through. Secondly, the spices in the broth should flavour the dough and filling. And thirdly, as it boils the dough swells slightly and becomes as soft as can be.
- Sauce
- Carefully transfer the cooked pelmeni to plates; a slotted spoon is very handy for this. Only a little liquid should end up in the plate. Chop dill and parsley very finely. Season the pelmeni with a little pepper and sprinkle with the herbs. Be sure to top them with a knob of butter, the best you can get.
- Many people love them with sour cream, and I am one of them. Unfortunately, real homemade sour cream is not always available, and the store-bought kind only spoils the meal. My father liked a simple sauce he made by mixing table vinegar with ready-made mustard and then seasoning it generously with ground black pepper. In China a sauce of soy sauce, vinegar and garlic is popular; I tried it and was impressed.
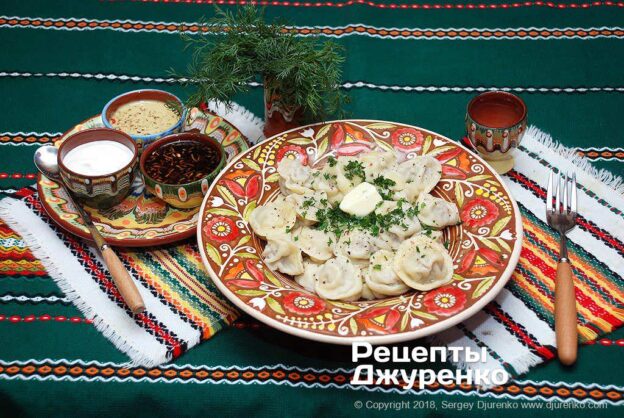
- I read somewhere that self-respecting people serve pelmeni in clay pots with broth and eat them with a wooden spoon. I admit it looks lovely, but I prefer a hearty vegetable soup with pelmeni: a special dish whose aroma tickles your nose and makes you faint with hunger. No time or energy for fancy extras. Eat your pelmeni while they are hot.
| Makes: | 120-130 pcs |
| Calories: | 201 |
| Prep: | 1 h 30 mins |
| Cooking: | 30 mins |
| Ready in: | 2 h |
| Category: | Main Dishes |
| Cuisine: | European |
| Rating: |
⭐
⭐
⭐
⭐
⭐
4.5
(4)
|