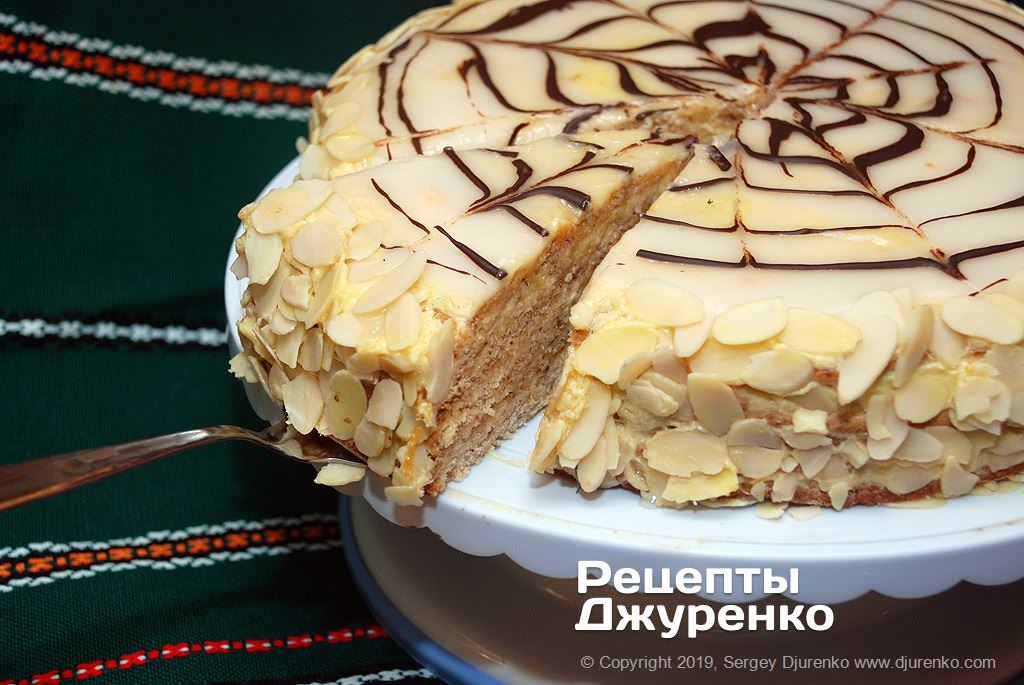
Esterhazy Cake
Ingredients
8 servings
- For the cream
- Milk 1.5 cups (300 ml)
- Cornstarch 2 tbsp (20 g)
- Vanilla, liquid concentrate 10-15 ml
- Sweetened condensed milk, in a tin can 0.5 can
- Butter 200 g
- For the layers
- Eggs 8 (all the whites go into the layers, 4 yolks into the cream)
- Sugar 1.5 cups (3-4 tbsp for the cream, the rest for the layers) (270 g)
- Walnuts (kernels) 150 g
- Flour 2 tbsp (20 g)
- Salt a pinch
- For assembly and decoration
- Apricot jam or preserves, thick 3 tbsp (60 g)
- Rum or cognac 2 tbsp
- Sliced almonds for the sides and for serving
- Powdered sugar 150 g
- Lemon juice 1 tbsp
- Boiling water a few tsp
- Dark chocolate 50 g
Step-by-step recipe
Custard cream
It is best to make Esterhazy cake the day before the celebration so that it has time to soak up the cream. Baking the meringue layers and preparing the cream are two parallel processes. The main thing is not to rush and to put your heart into it. The only difficulty may be baking the layers. If they don’t turn out, thin sponge layers will do just fine. At the very least, you will get a tasty nut cake that looks similar to the original.
Among the variety of cream fillings, we chose the familiar custard cream with boiled condensed milk and butter added. We sometimes make this cream for filling choux pastries, and the mixture of butter and condensed milk is the favorite filling of the Ryzhik honey cake.
You will need natural condensed milk in a tin can. Put the can in a pot, cover it completely with water and boil for about 1 hour. Then let the can cool.
By the way, you can eat half of the can right away once it has cooled, a pleasant bonus.
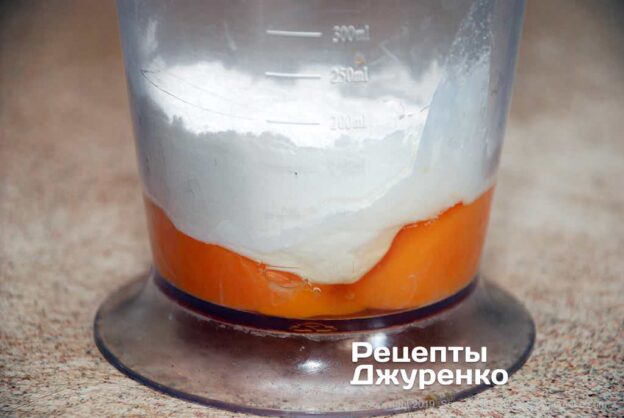
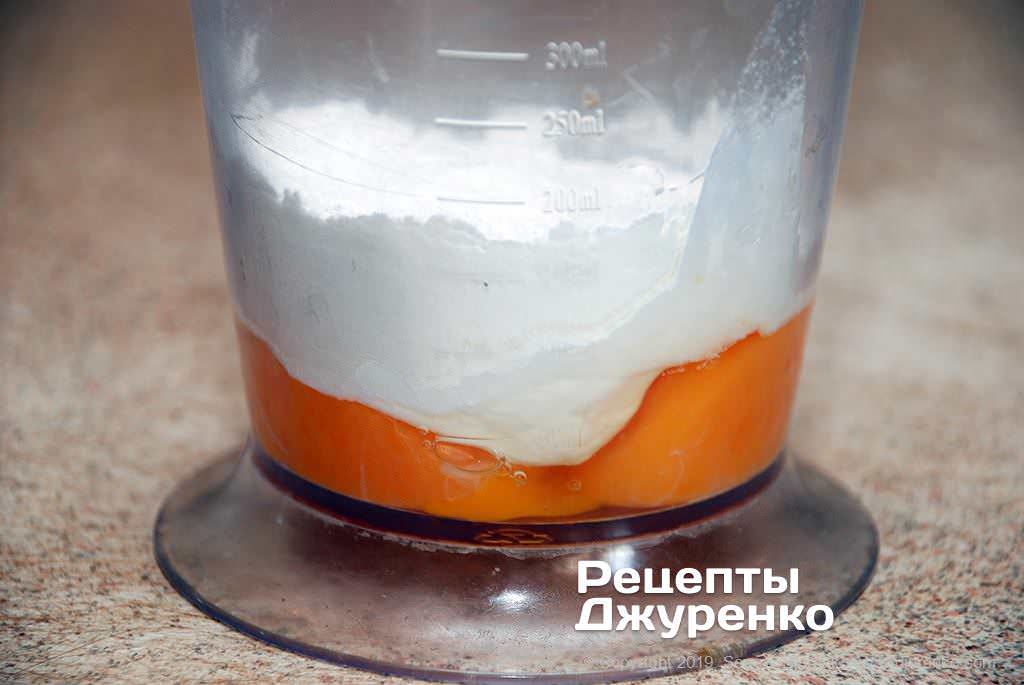
In a pot, mix the milk and 3-4 tbsp of sugar (41–55 g). Put the pot over medium heat. While the milk heats up, take four eggs and separate the whites from the yolks into different bowls. The whites will be needed later, for baking the layers. Mix the yolks with 2 tbsp of cornstarch (20 g) and add vanilla; liquid concentrate is convenient, about 10-15 ml. Mix thoroughly until completely smooth.
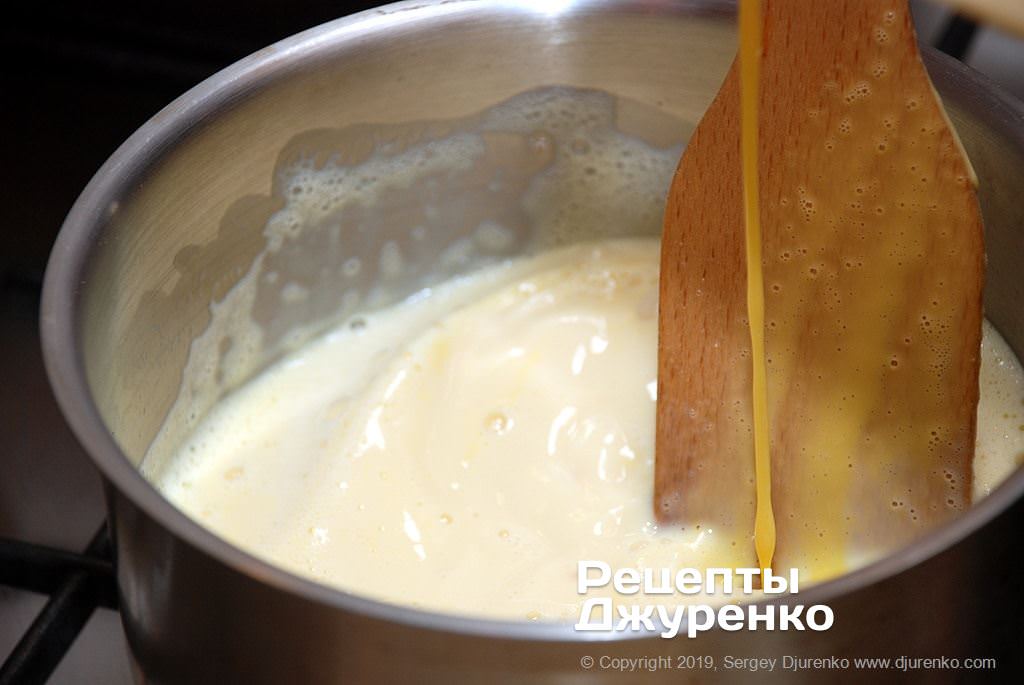
When the milk is well heated and the sugar has dissolved, pour in the egg mixture, stirring constantly with a spoon or spatula. It is important to pour the egg mixture in slowly while stirring constantly.
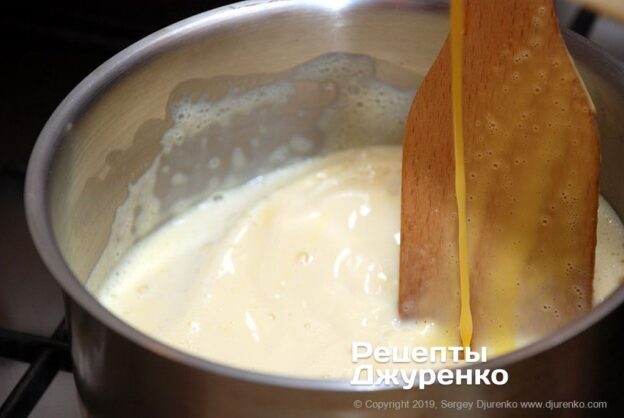
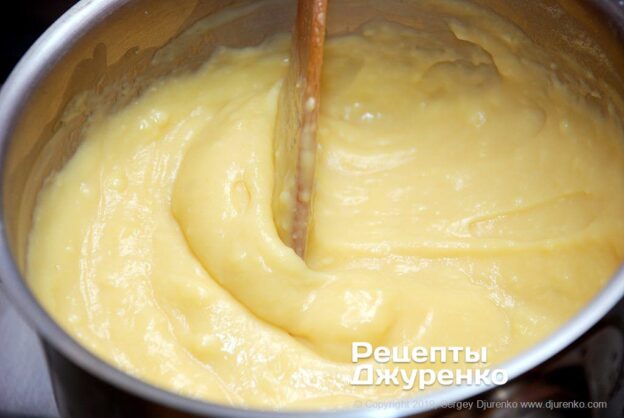
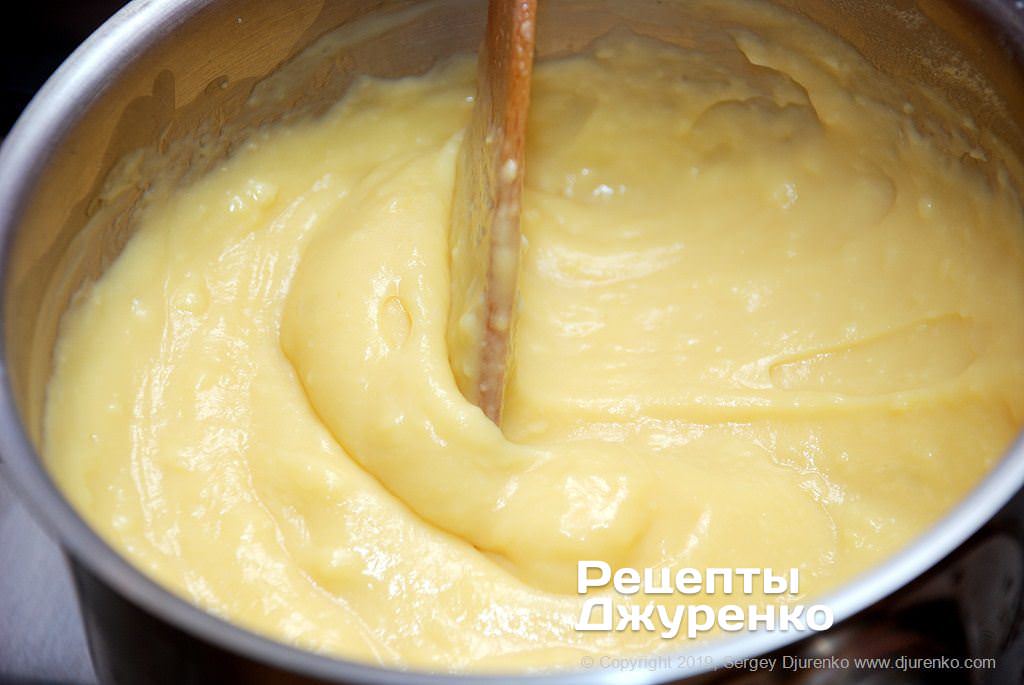
Continue heating, stirring all the time: the mixture will begin to thicken and “set”, which is why it is called custard. When the cream has thickened and become fairly viscous, remove the pot from the heat.
Cool the cream at room temperature. The cream must be perfectly smooth, with no specks or lumps. To be sure, I advise also rubbing the cream through a sieve or a mesh strainer. By the time you spread the cake, the cream must be chilled.
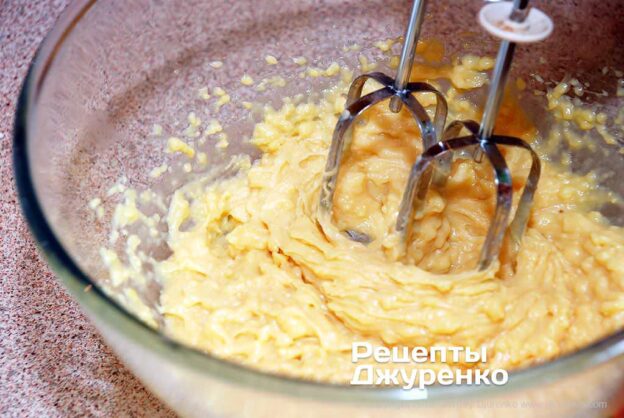
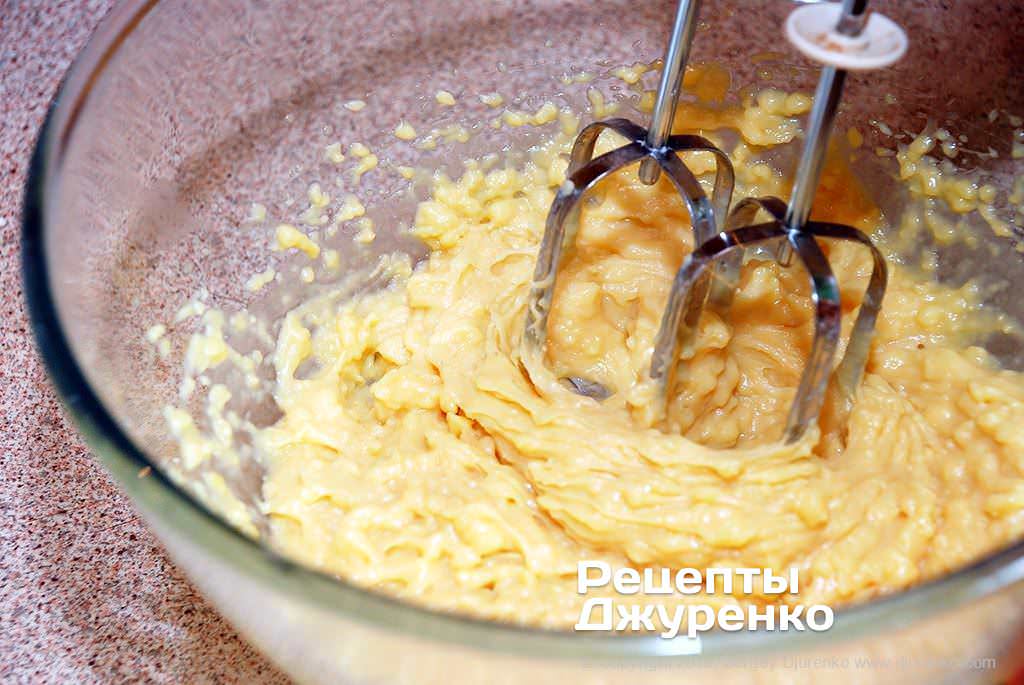
Right before spreading the layers, add the remaining half can of boiled condensed milk to the chilled custard cream. Mix the cream with the condensed milk with a mixer until completely smooth. Add 200 g of butter softened at room temperature and mix again. Put the cream in the refrigerator.
Meringue layers
Baking the layers is a fairly complicated process, but if you do everything quickly, it works out the first time.
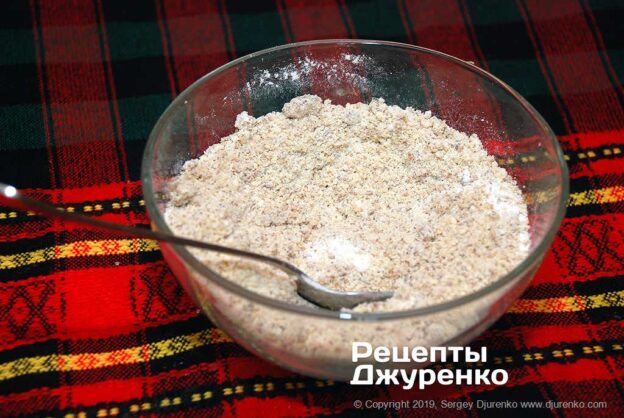
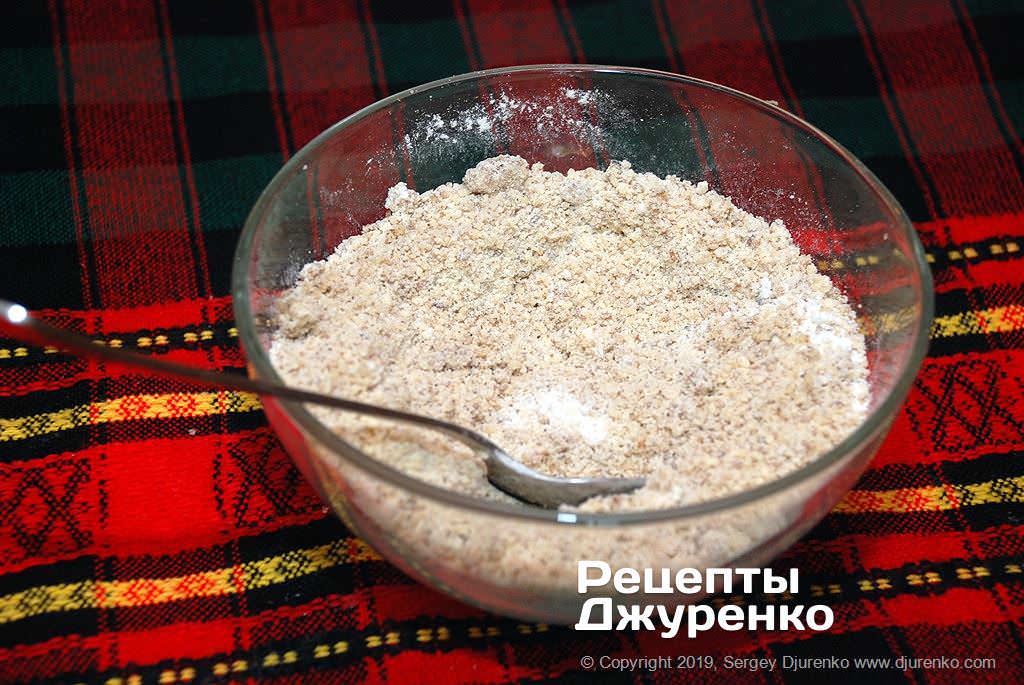
Finely grind the shelled walnut kernels with a blender or coffee grinder. There is no need to toast the nuts, but if they are too moist, you can dry them out a little. Add 2 tbsp of wheat flour (20 g) to the ground nuts and mix.
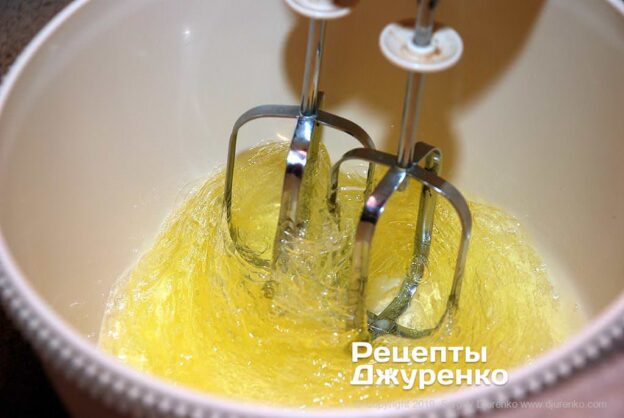
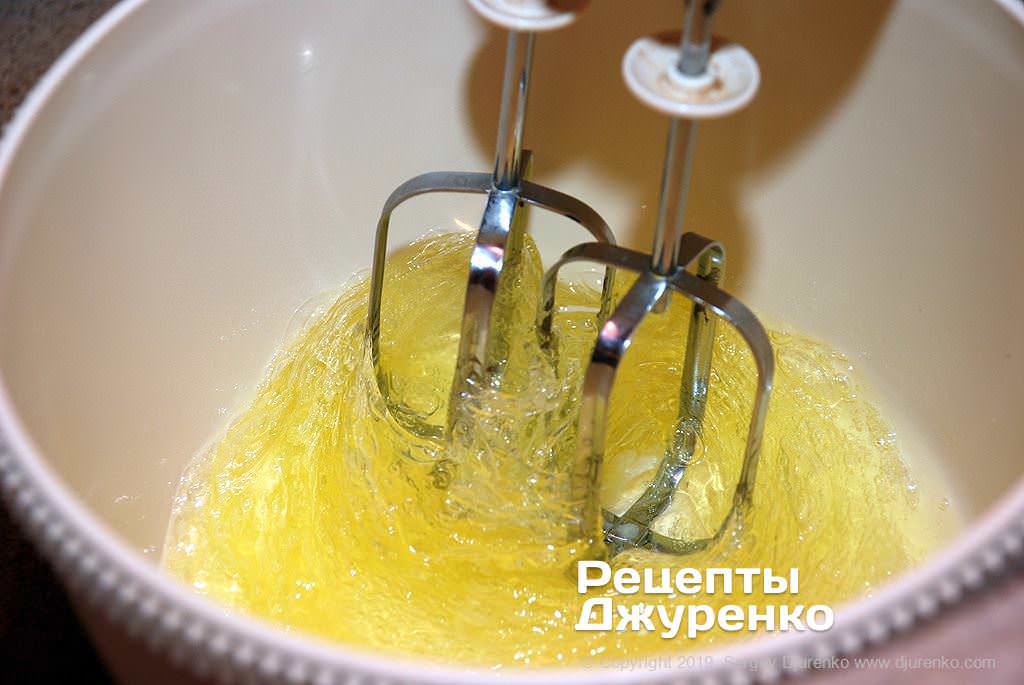
Add 4 more egg whites to the whites left over from preparing the custard cream. That makes 8 whites in total. Put the mixer bowl in very cold water, ideally adding ice cubes, pour the egg whites into the bowl, add a pinch of salt and whip at low speed. Gradually add the remaining sugar and keep whipping. This is roughly how meringue or the filling for lemon tarts.
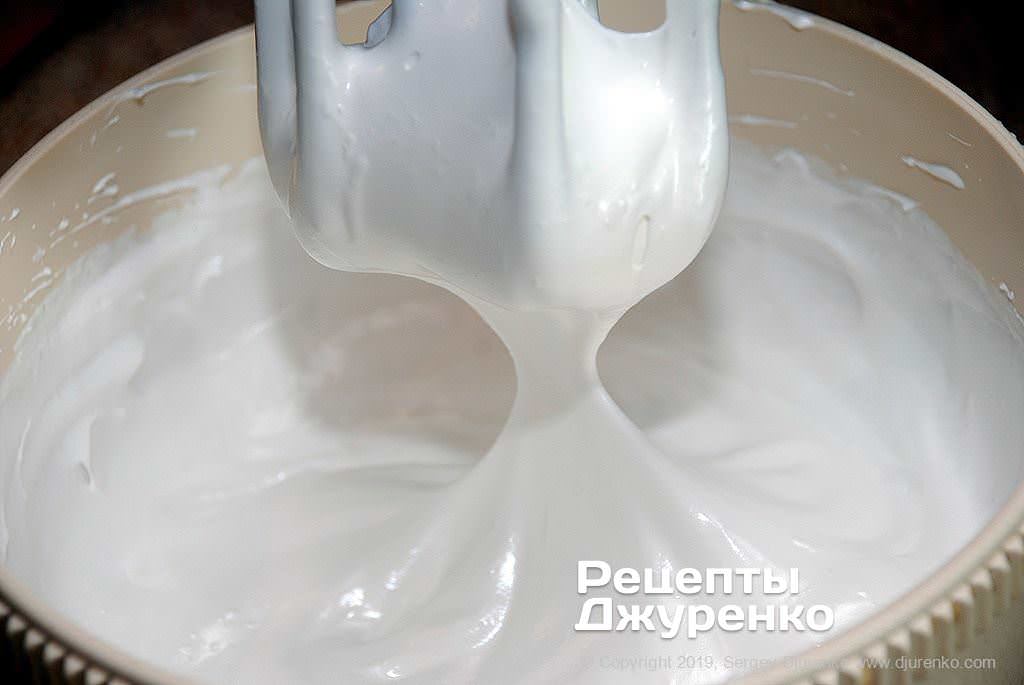
Whip until very stiff. Well-whipped whites don’t pour out of the bowl at all and don’t even “move” when shaken or turned upside down. It may look like whipped cream or set panna cotta.
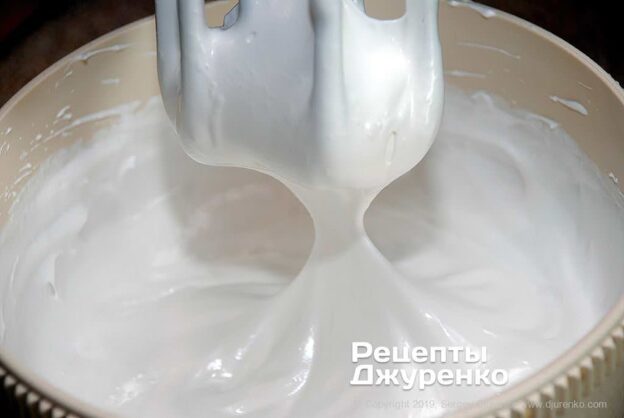
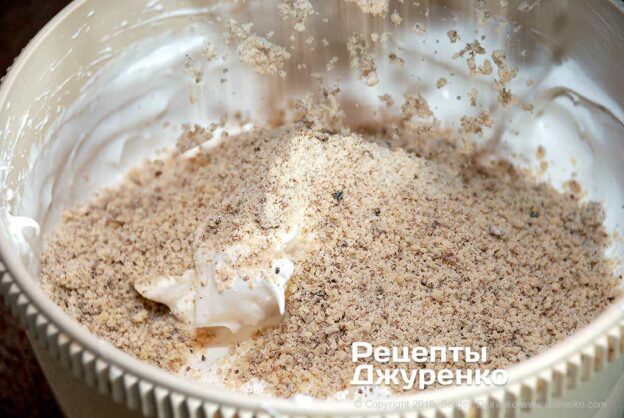
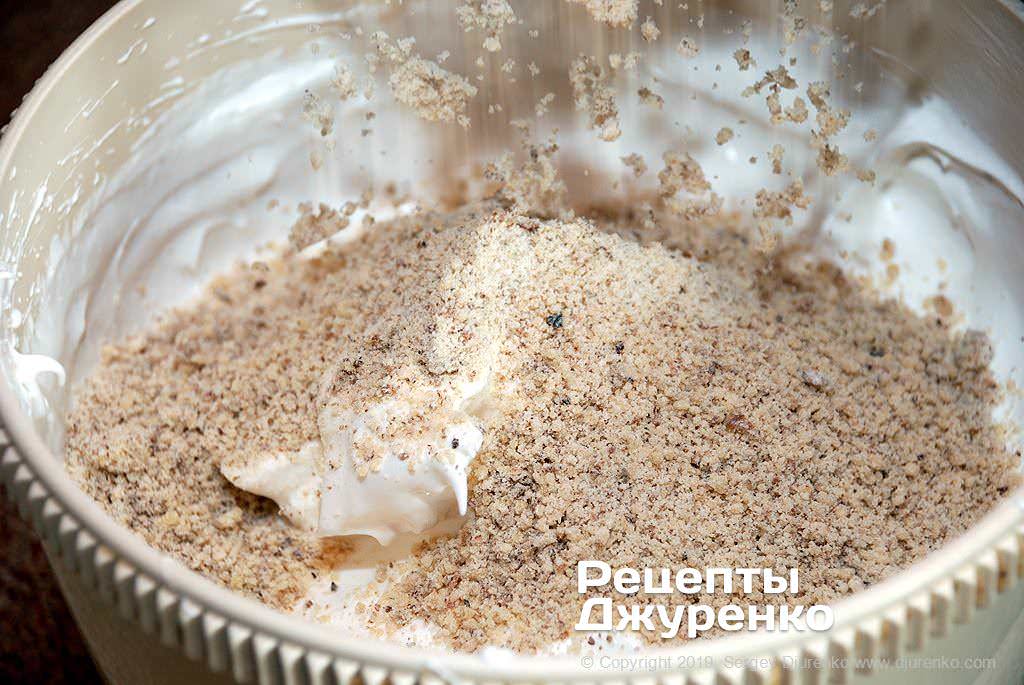
Add the ground nuts with the flour to the bowl with the whipped whites. Although the classic Esterhazy cake is baked without flour, a small amount is needed to bind the nuts to the whites. You won’t need the mixer anymore. With a wooden or silicone spatula, very carefully fold the mixture, distributing the nuts evenly. It is important that the whites don’t “deflate”.
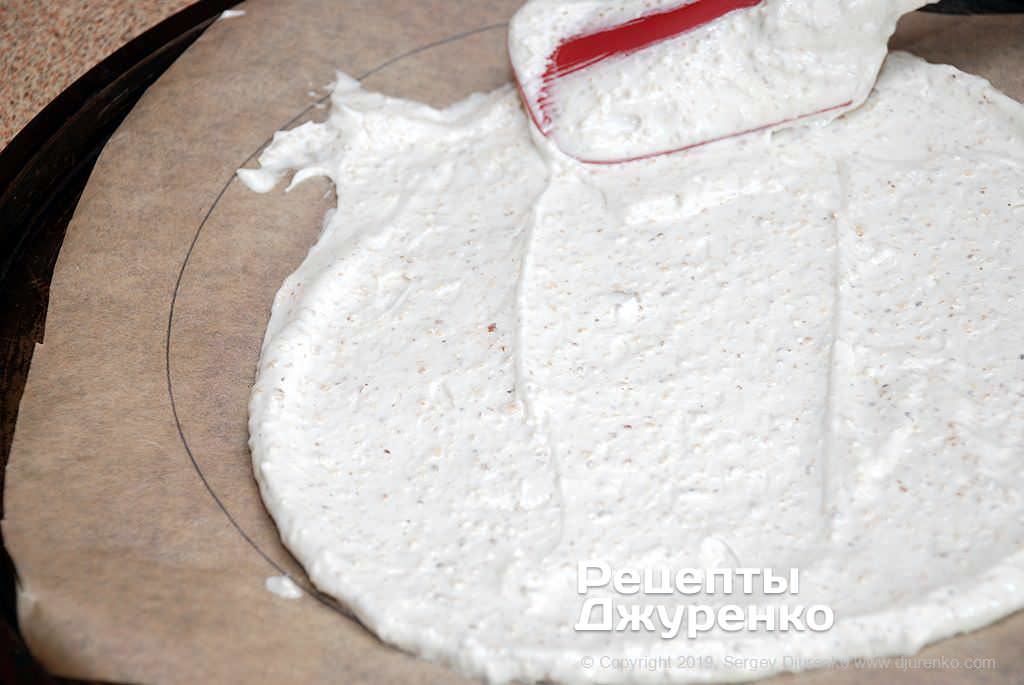
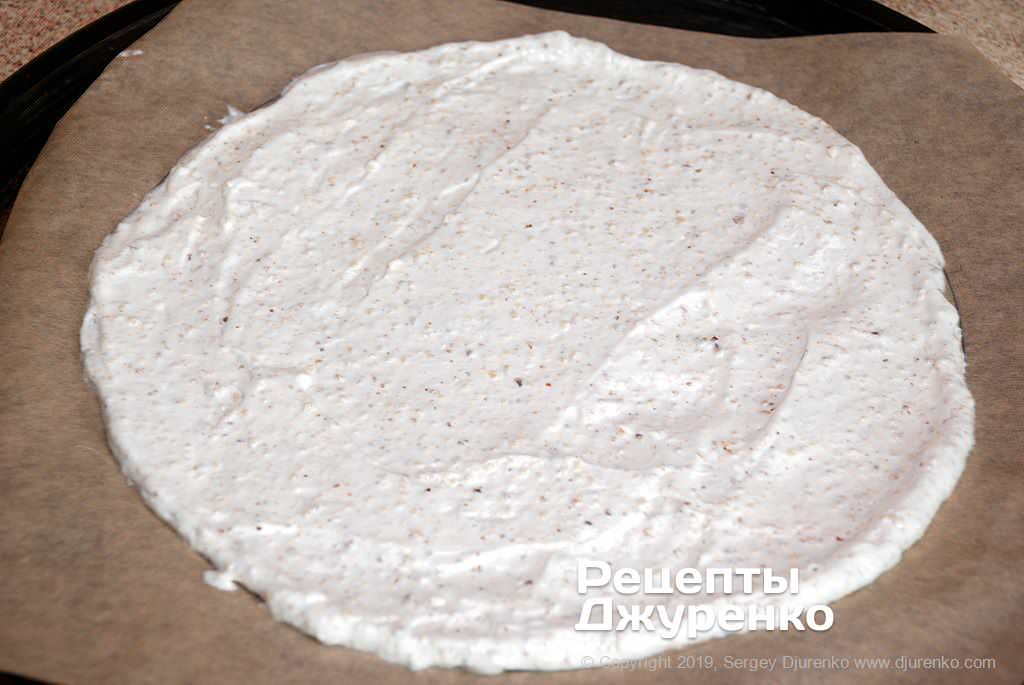
Preheat the oven to 180°C. Prepare 5 sheets of baking paper. To bake identical round layers, draw circles of the same size on the paper, using the bottom of any baking pan, a plate or a school compass as a template. Divide the meringue mixture into five parts. Place one fifth of the mixture onto the marked paper and level it with a spatula along the drawn line. The meringue layer should be 5-6 mm thick.
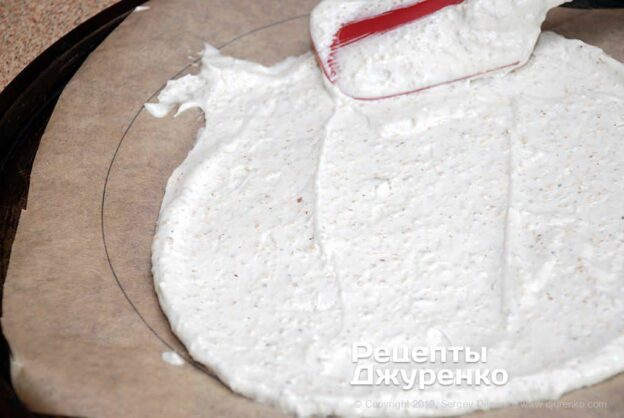
Right away, spread 1-2 more layers onto paper in the same way: the meringue mixture tends to settle, so try to bake all the layers in one go, or two at most. If that is hard to arrange, it is better to prepare half of the mixture, bake it, then prepare the second half and bake that too. By the way, if you end up with 6 layers, that is fine; nobody pays attention to the number of layers anyway.
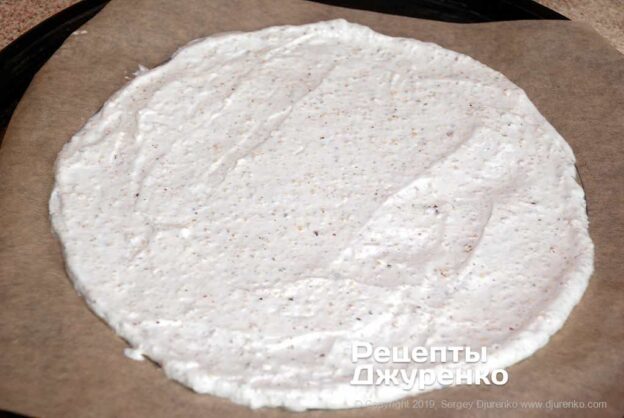
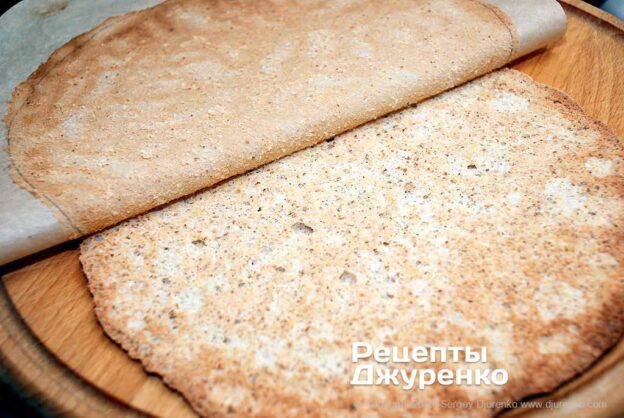
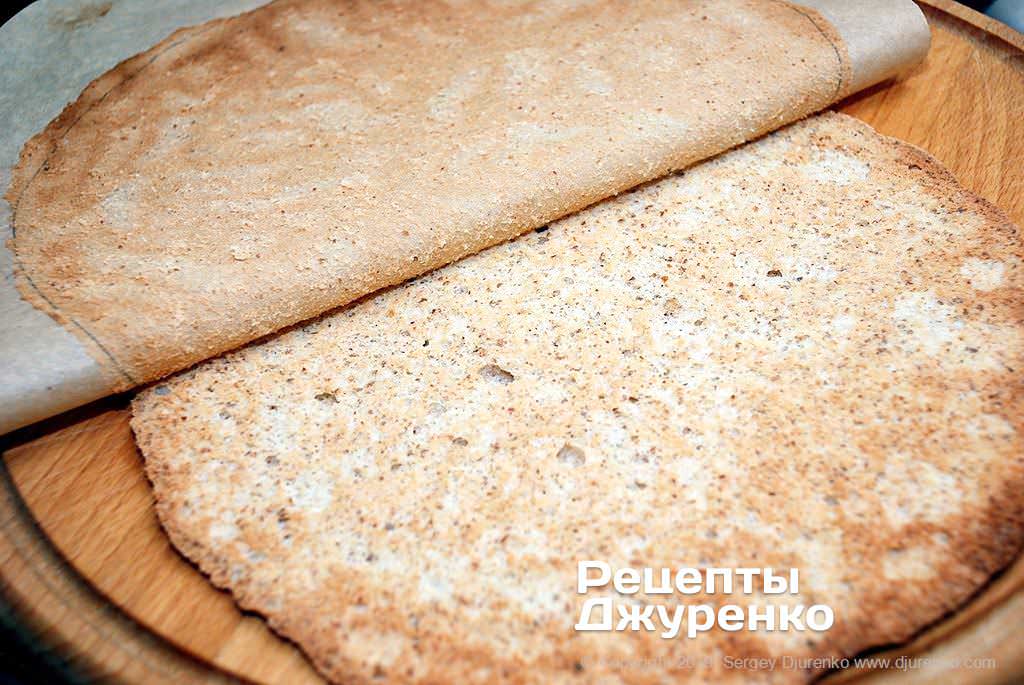
Put 2 or 3 baking sheets with layers in the oven at the same time. As it turned out, pizza pans are very convenient for baking. It is hard to give an exact time in advance. You can only judge doneness by eye: the layer becomes firm, slightly stiff and starts to darken. Under no circumstances overbake the layers. Take the finished layers out of the oven, flip them onto the table and quickly peel off the baking paper. It comes off very easily, like the paper liner from baked tasty muffins for tea. If the paper tears, remove the pieces one by one. Be careful not to damage the layers. The layers need to cool, which happens quickly.
Assembling the cake
Usually, despite your efforts, it is hard to make perfect layers. There may be small tears or crumbling. By and large, that is not a problem.
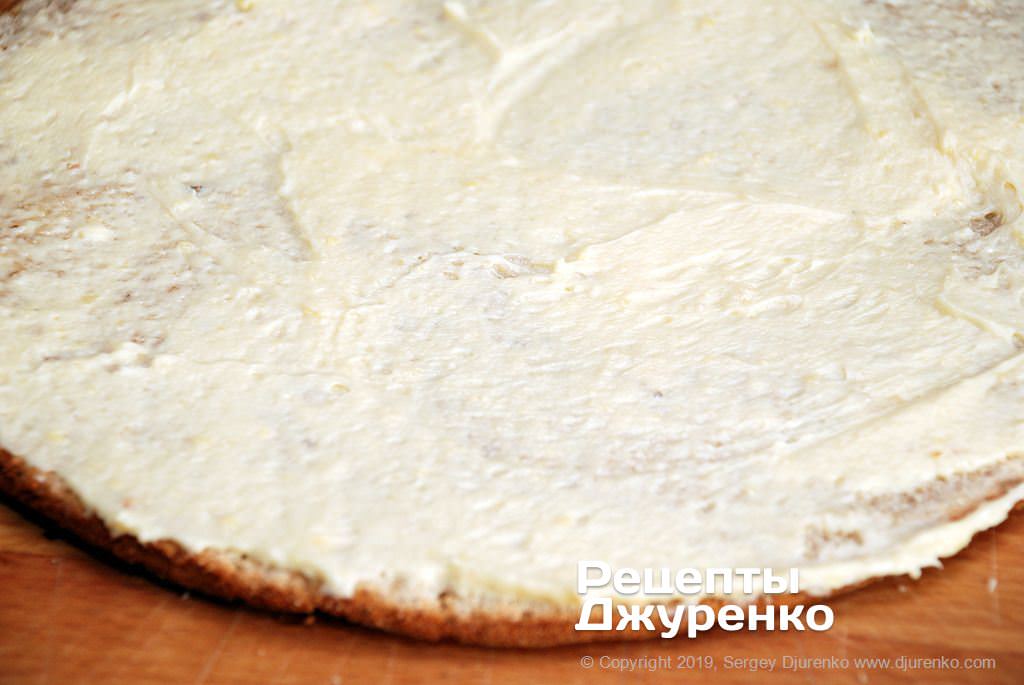
Lay the fully cooled layers out on the table. Choose an intact layer for the very bottom of the cake and another for the very top, so the cream doesn’t leak. Spread the first layer with the prepared chilled cream, generously, without holding back. There is plenty of cream, and some will be left over.
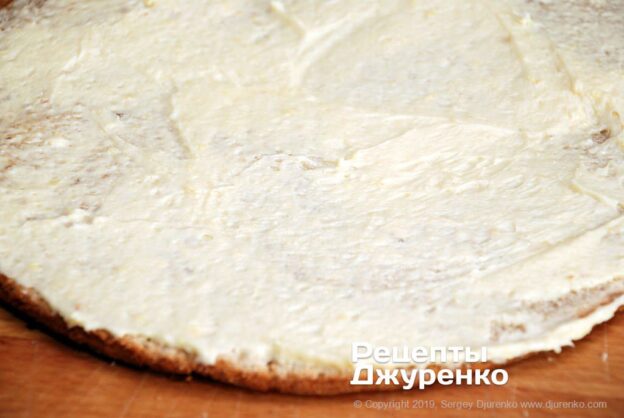
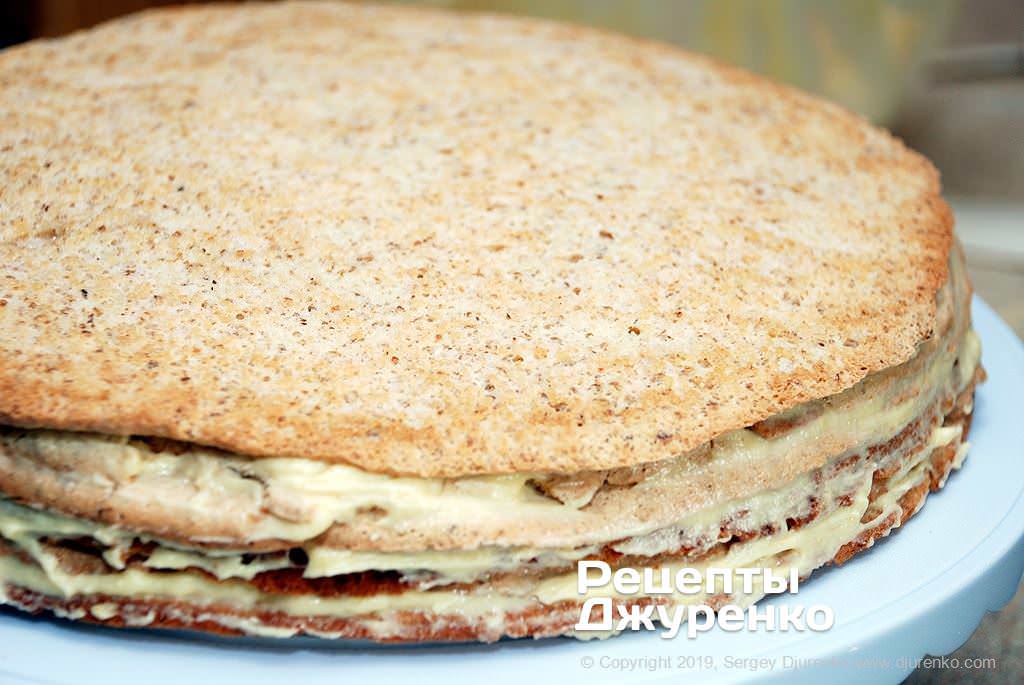
Place the second meringue layer on top of the cream and press it down lightly. Then spread it with cream and place the third layer. Spread and stack all the layers this way. You will get a round cake about 6-7 cm tall. Do not spread the topmost layer with cream; for it we will prepare a special filling to our own taste. It may not be entirely canonical, but it turned out incredibly well.
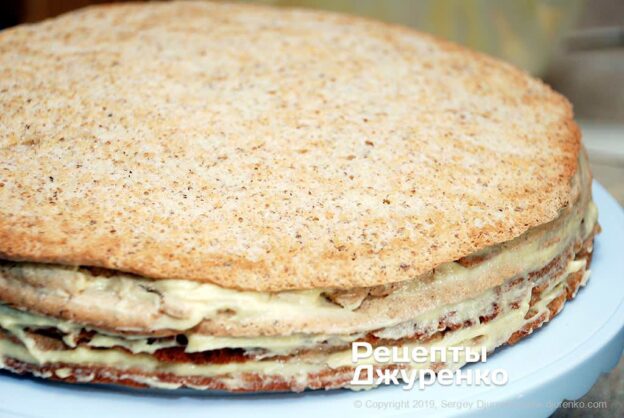
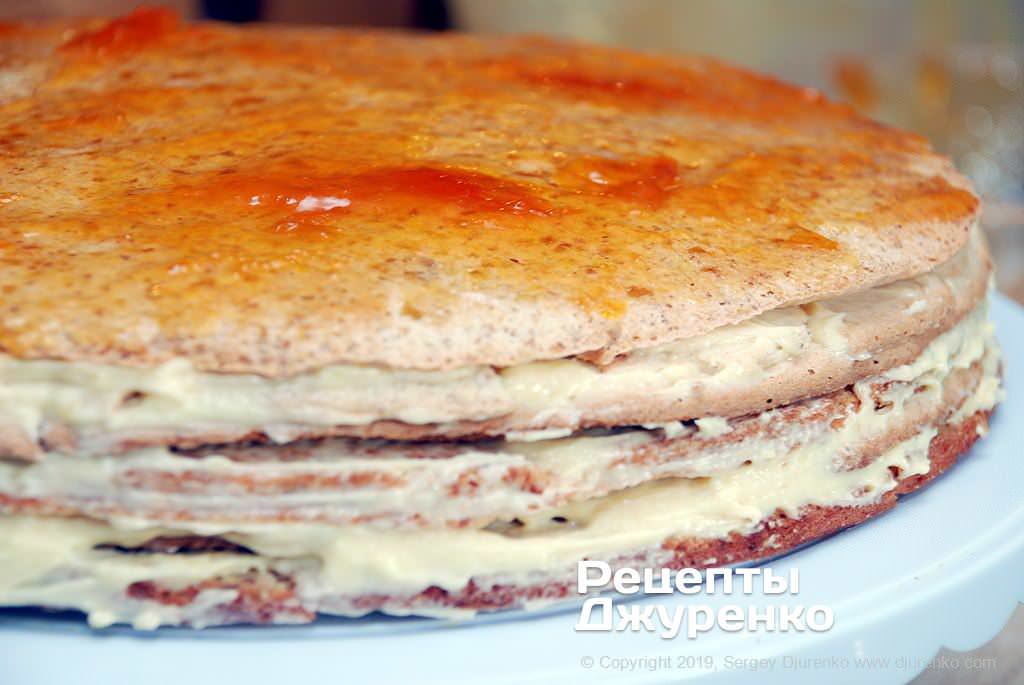
In a cup, mix 3 tbsp of thick apricot jam (60 g) or preserves with 2 tbsp of rum or cognac. Mix the mixture thoroughly and carefully spread it over the whole top layer of the cake. The layer of jam can be fairly thick.
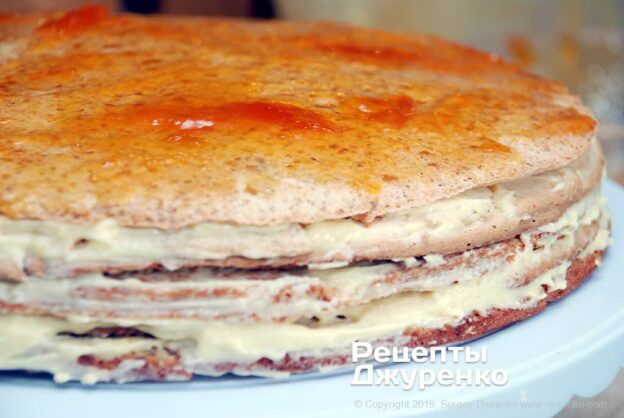
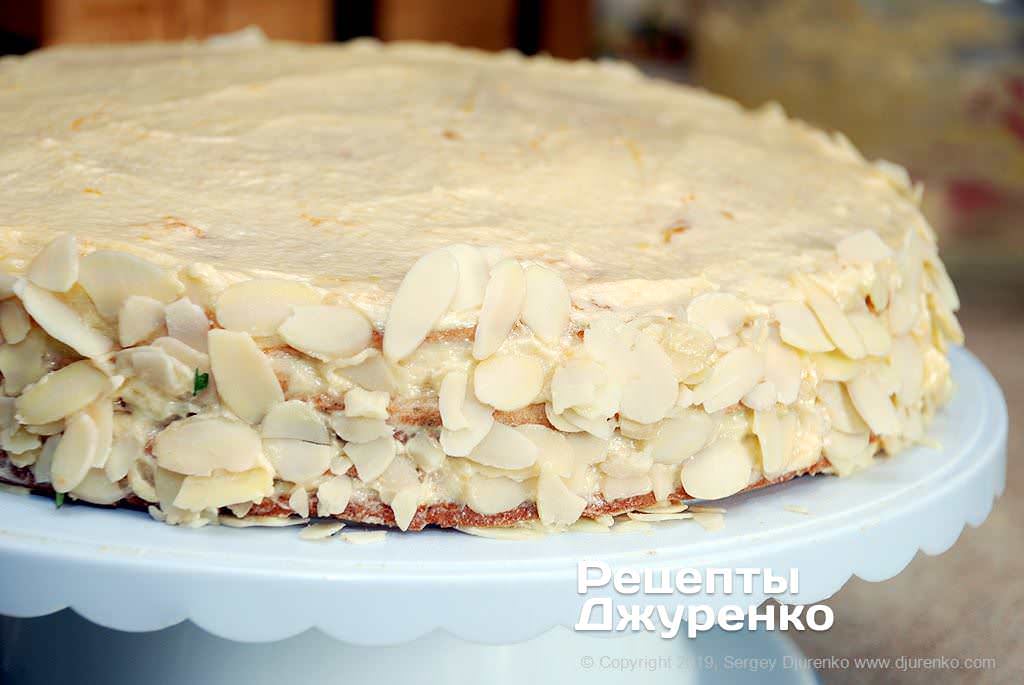
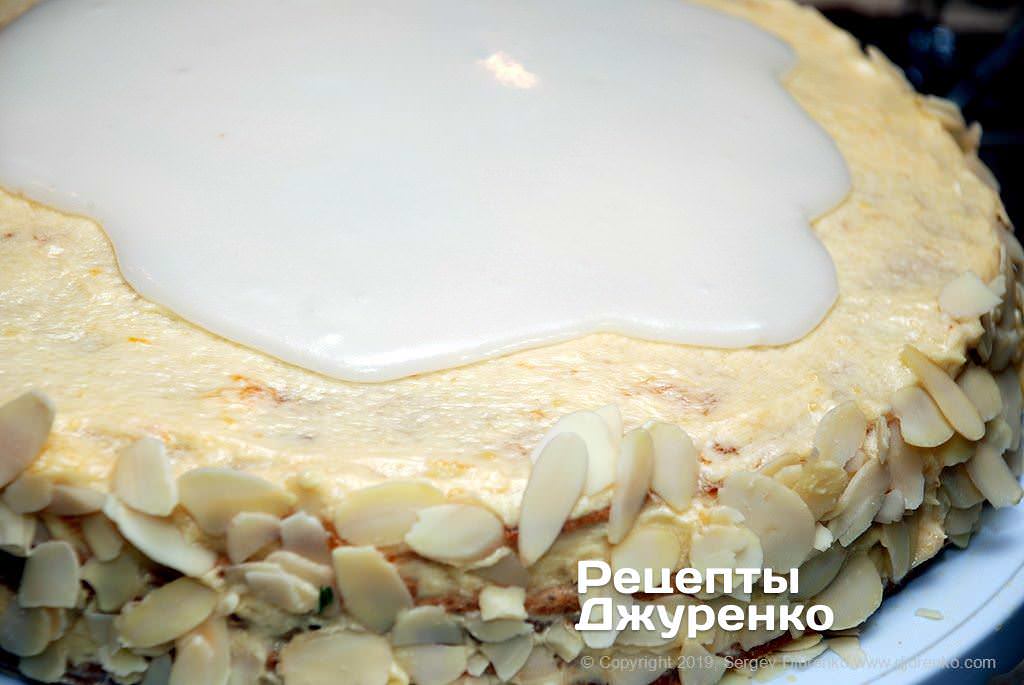
Spread cream over the apricot jam on the top layer. Spread cream on the sides of the cake too; this is convenient to do on a turntable. Coat the sides thoroughly with cream so that the meringue layers are practically not visible. Press thin sliced almonds onto the sides of the cake, pressing them lightly into the cream.
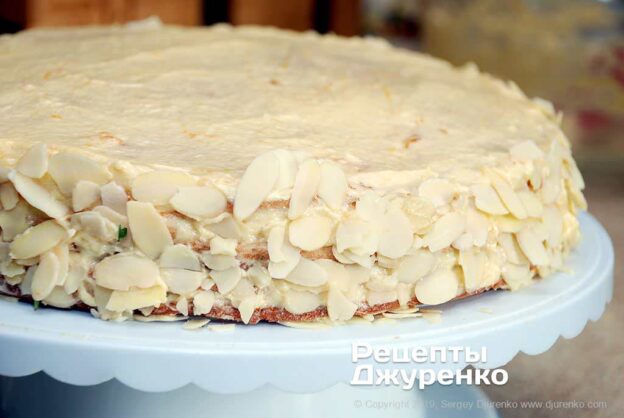
Decoration
Sugar fondant is widely used in confectionery. It is used to hide the hole after filling eclairs with cream, and to glaze rum babas and pastries. Fondant is extremely simple to make.
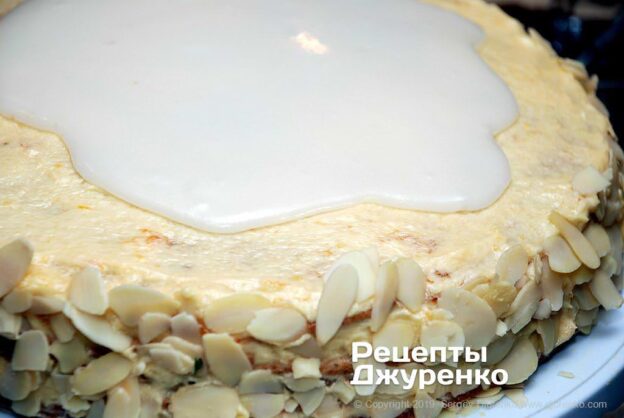
In a cup, mix 150 g of powdered sugar and 1 tbsp of lemon juice. Gradually add boiling water, 1 tsp at a time, stirring until the mixture is thick and viscous but not wet. While it is still warm and liquid, pour the fondant onto the cake, then spread it evenly to the edge with a spatula. Do everything quickly; the fondant sets in 2-3 minutes.
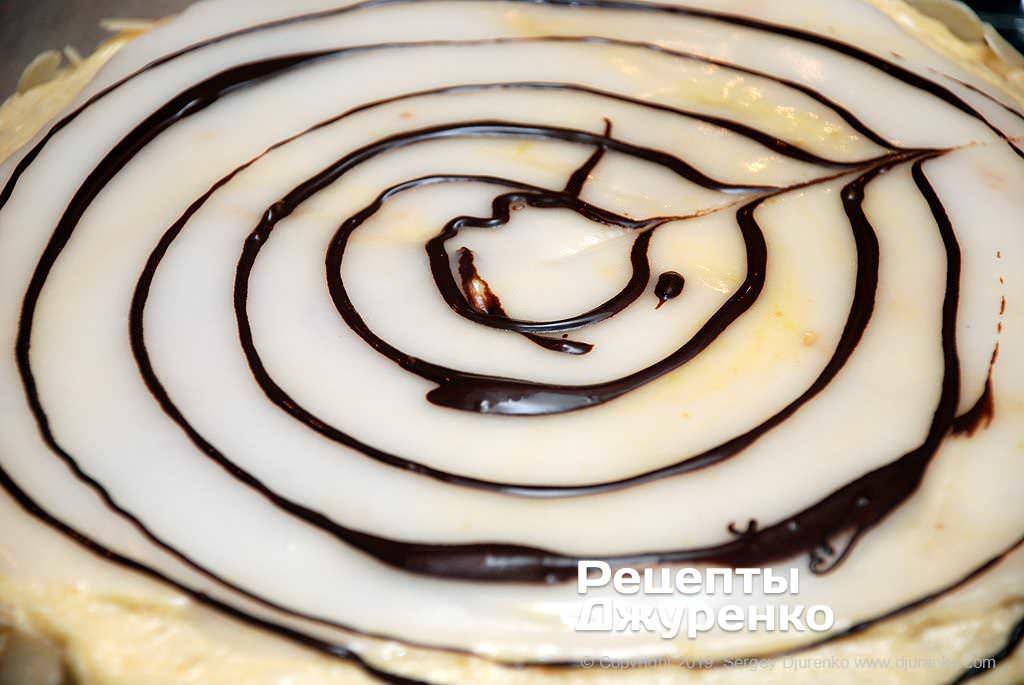
Melt the dark chocolate in a cup, either in the microwave for a few minutes or over a water bath. While the fondant has not yet set, use a piping bag or a syringe to draw thin concentric circles of chocolate 2-3 cm apart, or draw a spiral line, whichever is more convenient.
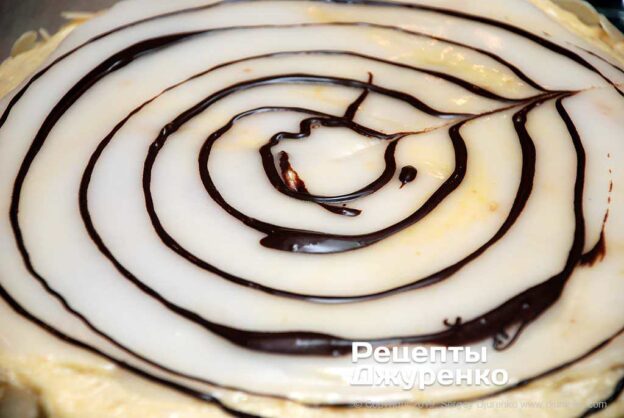
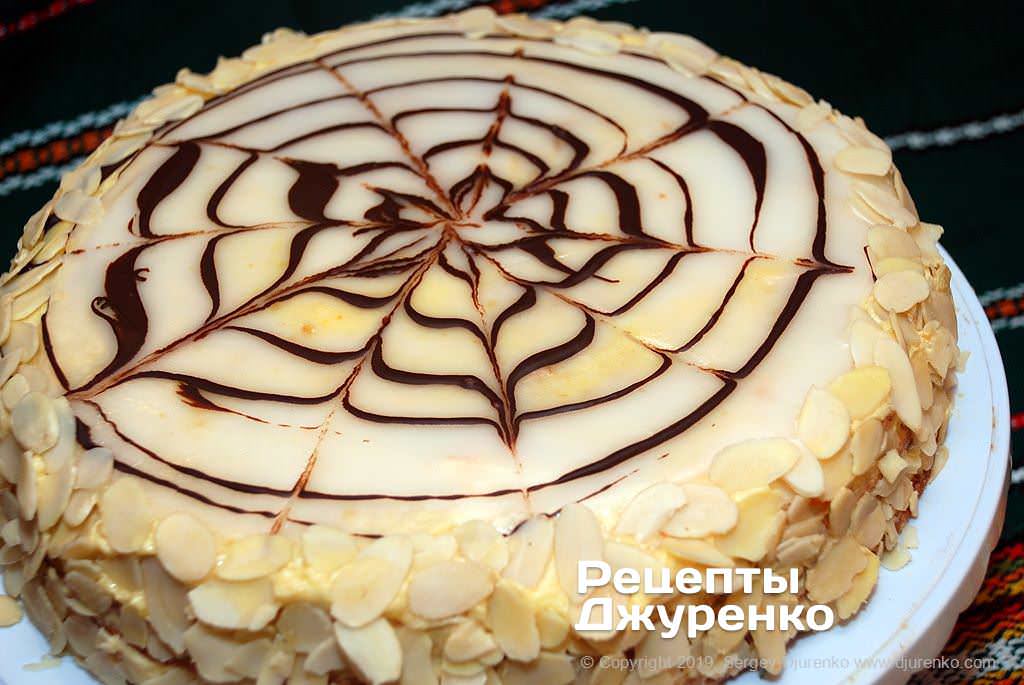
With a stick or toothpick, draw 8-10 radial lines from the center to the edge, smearing the chocolate into thin arrows. The resulting pattern looks like a spiderweb, and that is how Esterhazy cake is recognized.
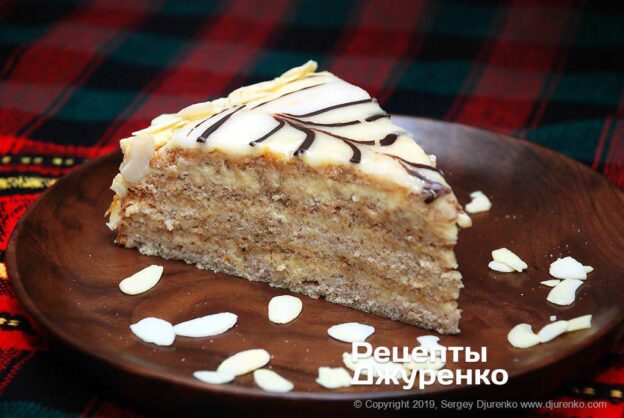
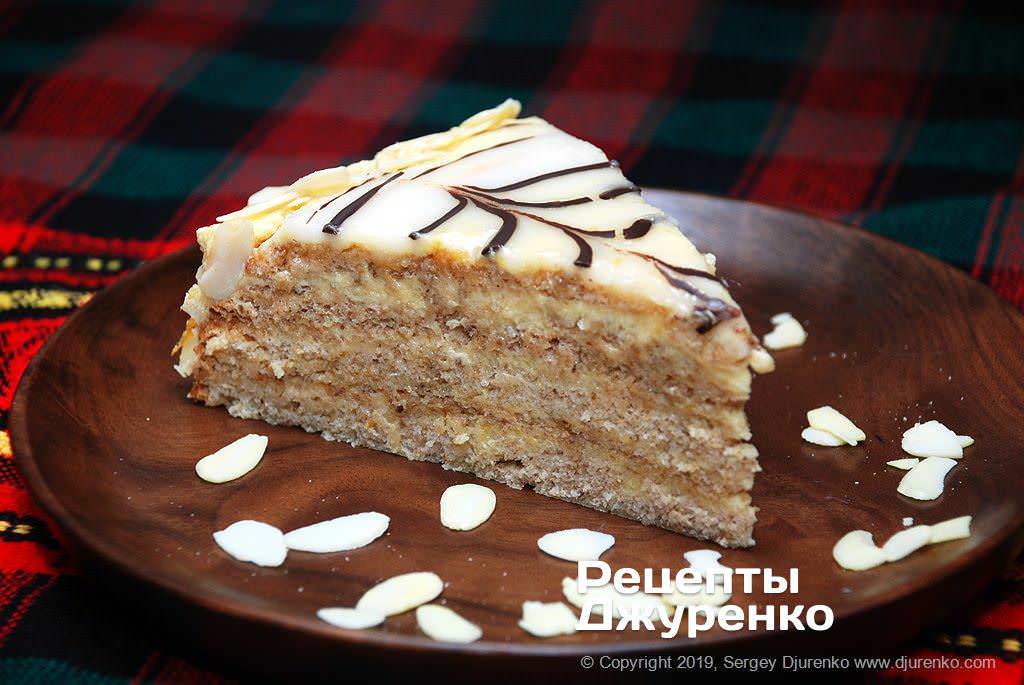
Put the fully prepared and decorated cake in the cold for at least 2 hours. It is best if the cake stays in the cold overnight. Then the cream will soak into the layers beautifully, and the cake will become unusually tender. Serve the finished cake cut into portions. To preserve the pattern, it is better to cut midway between the radial lines. If you like, sprinkle each slice with sliced almonds on the plate.
Esterhazy cake is very sweet. It is an unimaginably delicious dessert. It goes exceptionally well with tea or coffee; I like it with a cappuccino or sweet wine. The cream often includes cognac, so be careful, children won’t understand. Sometimes layers of cream are combined with layers of nut paste.

Calories and macros
620 kcal
Serving ≈ 200 g
- Protein13 g8% of kcal
- Fat41 g58% of kcal
- Carbs54 g34% of kcal
100 g317 kcalProtein 6.5 gFat 20.7 gCarbs 27.6 g
Calculated from the recipe ingredients, excluding salt and spices. Data: USDA and Matvaretabellen.
 Silicone cake panAliExpress
 Piping bag with nozzlesAliExpress
 Kitchen scale up to 5 kgAliExpress
 Pull chopper for garlic and onionAliExpress
 Oil sprayerAliExpress
 Vegetable chopper with handleAliExpress