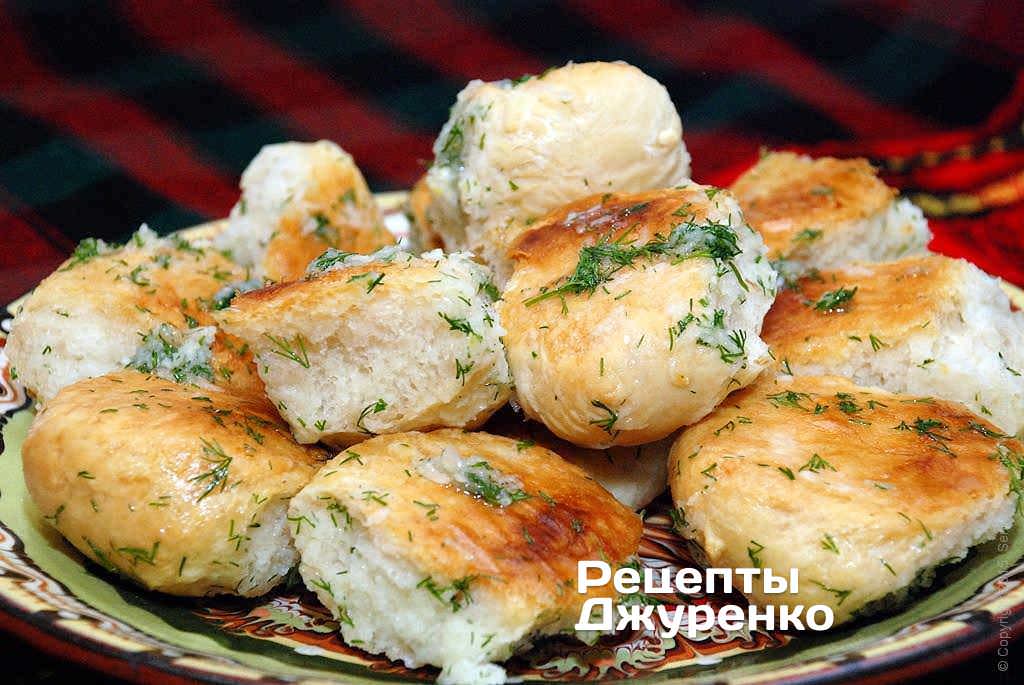
Garlic Pampushky Recipe: Ukrainian Garlic Buns for Borscht
Borscht and garlic pampushky, generously sprinkled with herbs, always remind me of spring. For me, spring has nothing to do with the calendar. It is more about the lilac coming into bloom. Here the lilac usually blossoms by May 1, Labour Day, when working people used to march in parades with red flags and red noses. But that was a long time ago.
This year spring is very late: the apricot trees have barely blossomed and the first leaves have only just turned green. The lilac has not even properly woken up yet. And the soul longs for something bright and pleasant, light and big.
So that is how it went this morning: riding a wave of craving, just in the mood, we cooked a big pot of proper Ukrainian borscht. With meat and beans. And what kind of proper borscht comes without traditional garlic pampushky?
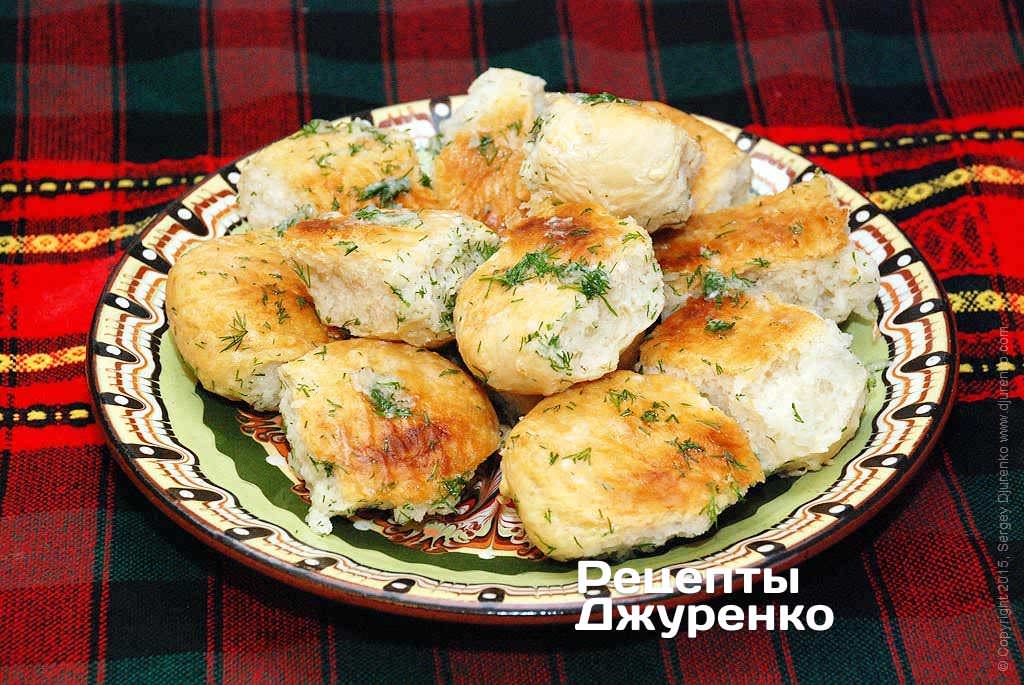
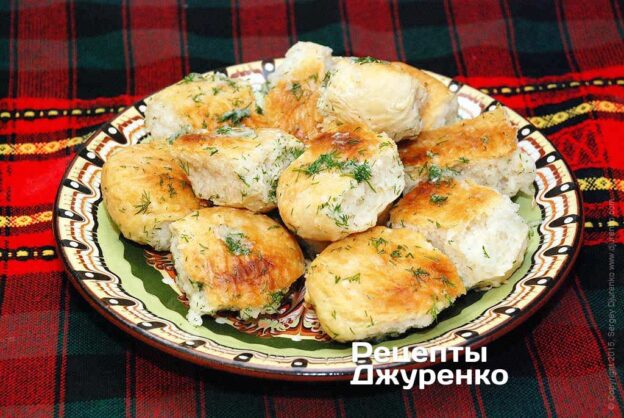
A pampushka is a small wheat-flour bun with a garlic dressing. They are usually baked in large batches, drizzled with garlic sauce or even soaked in it. And the more garlic, the better, anyone will tell you that.
Without pampushky, borscht is not really borscht, just some soup. And you can simply eat them on their own, when the mood strikes, with a shot of vodka. Garlic pampushky are a classic of Ukrainian cuisine. The buns are really easy to make. While the Ukrainian borscht is simmering, you have plenty of time to bake something to go with it.
Ingredients
2 servings
- Wheat flour 3 cups
- Instant yeast 1 packet
- Vegetable oil 3 tbsp
- Sugar 1 tbsp
- Garlic 1 head
- Salt to taste
Step-by-step recipe
- Not many ingredients, right? And no fuss either.
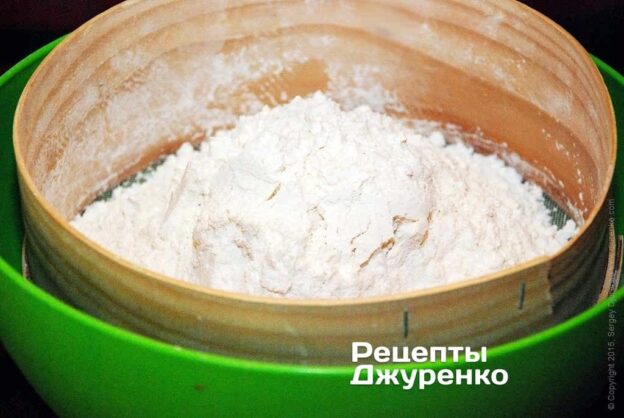
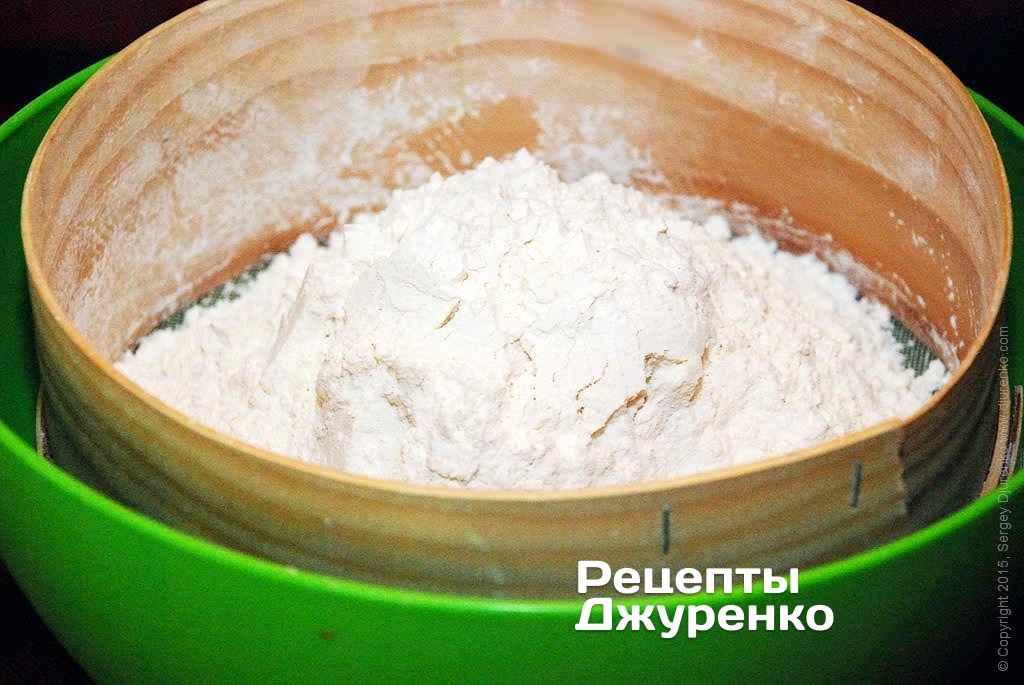
- Sift the flour: it will become fluffy and anything unwanted will be left behind.
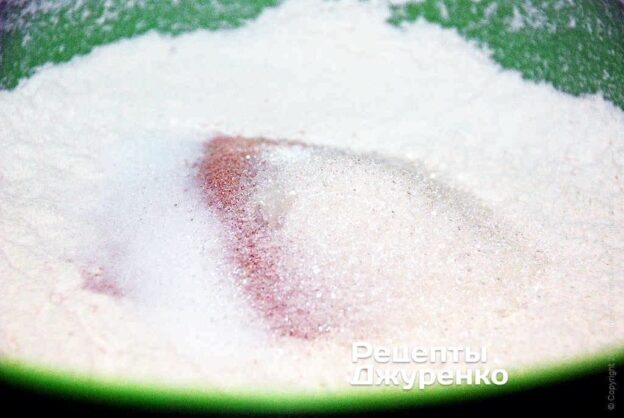
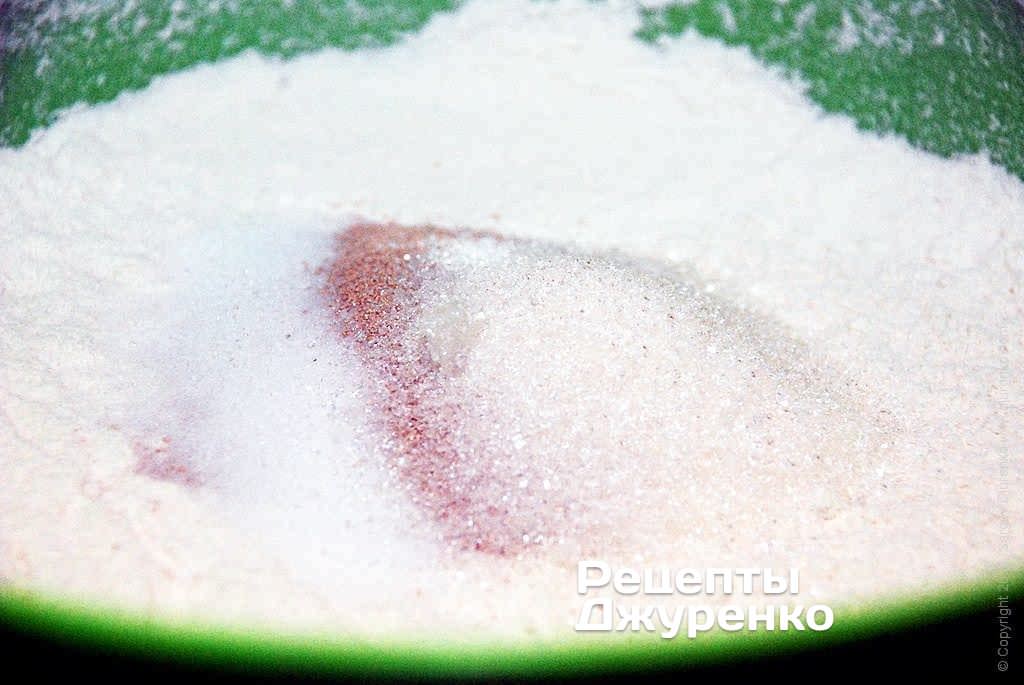
- Mix the flour with the instant dry yeast, salt and sugar.
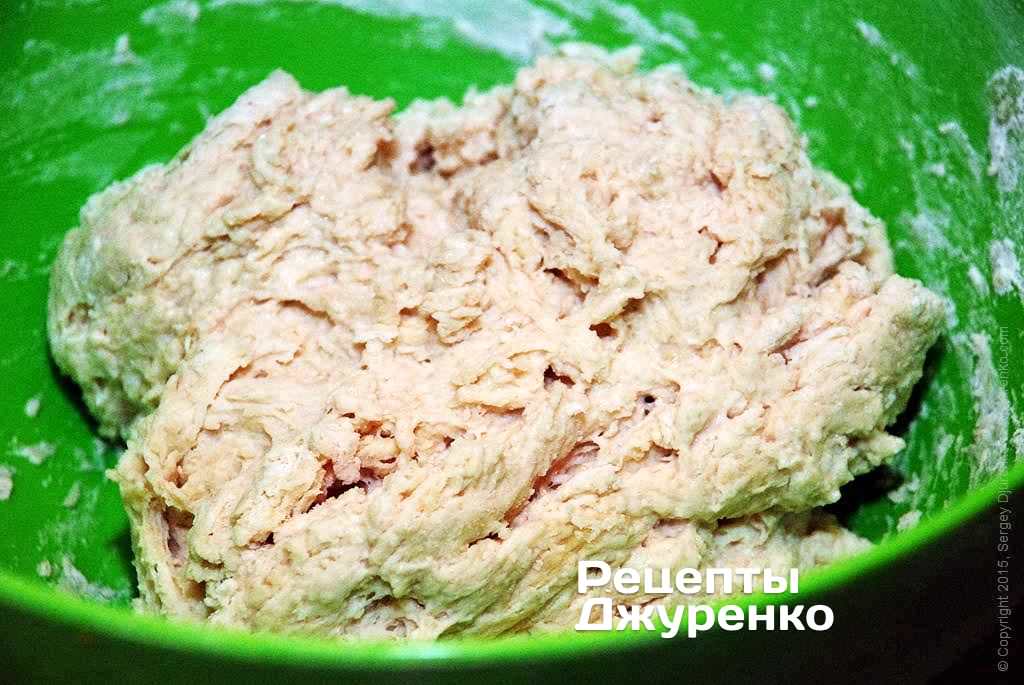
- Stir everything very thoroughly with a fork. Adding water gradually, knead a soft dough that sticks to your hands a little. For three faceted glasses of flour (filled to the rim line) you need 250-260 ml of water plus 2 tbsp of vegetable oil.
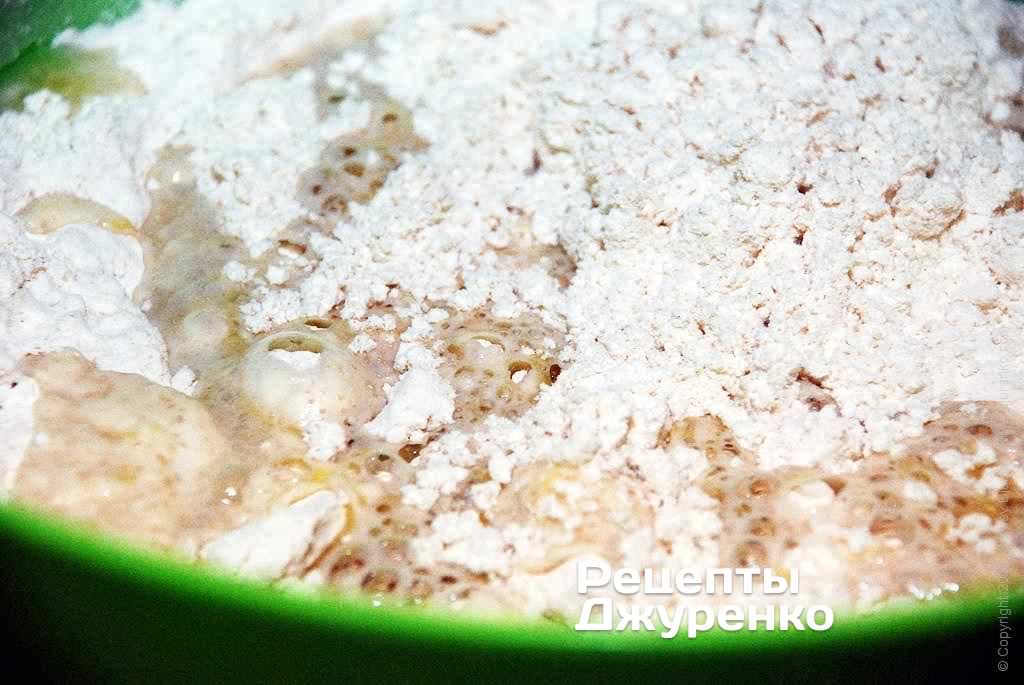
- Pour the water and oil into the flour mixture.
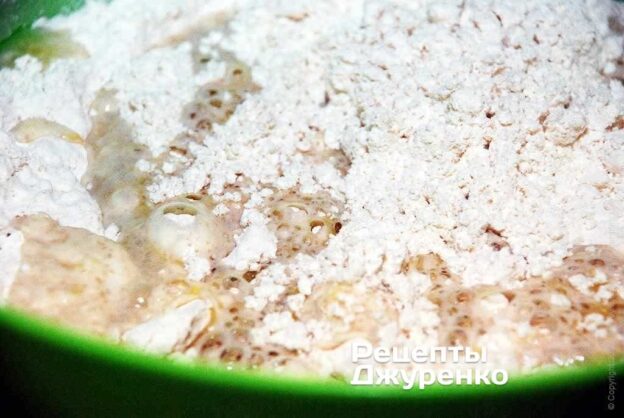
- Important: the dough should be slightly runny, so that you bring it to the right consistency by adding flour, not water. So let there be just a little more water than needed.
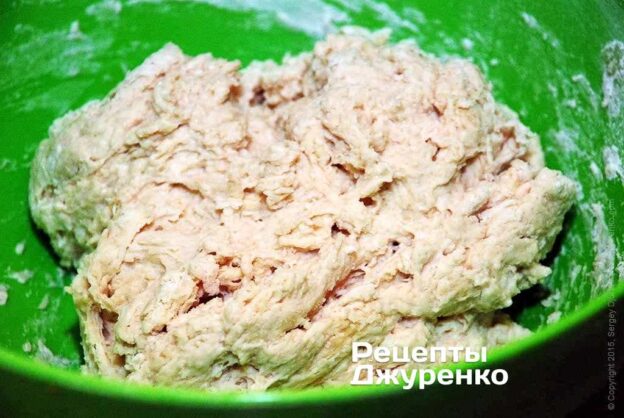
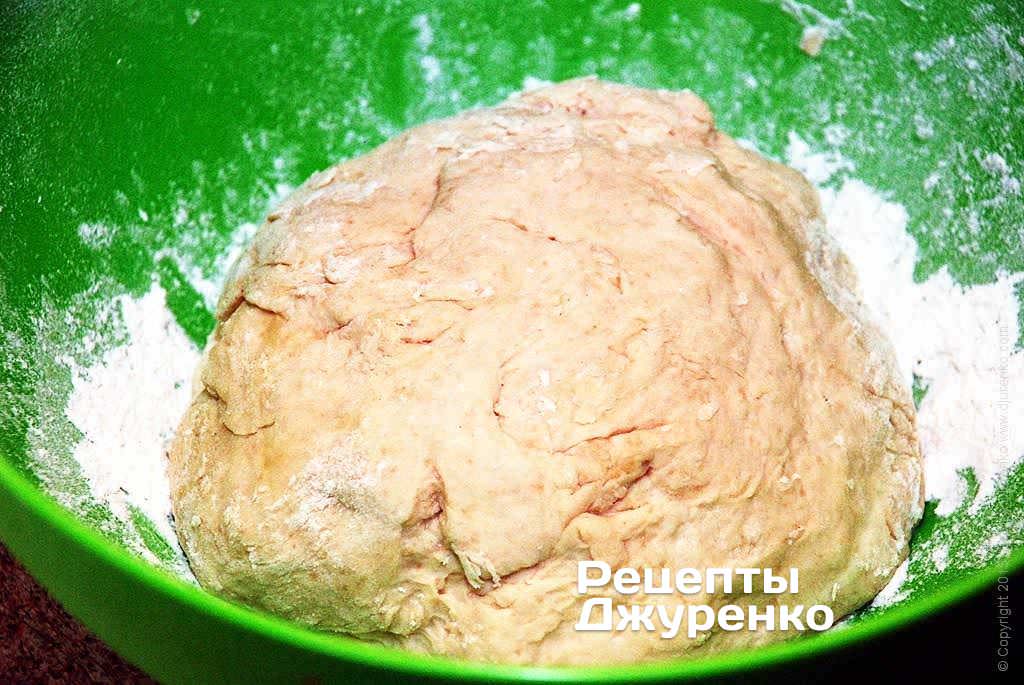
- Adding flour, knead a very soft, stretchy dough that does not stick to your hands.
- Roll the dough into a ball, place it in a deep bowl dusted with flour, cover with a clean cloth and leave in a warm place to rise. About 1 hour.
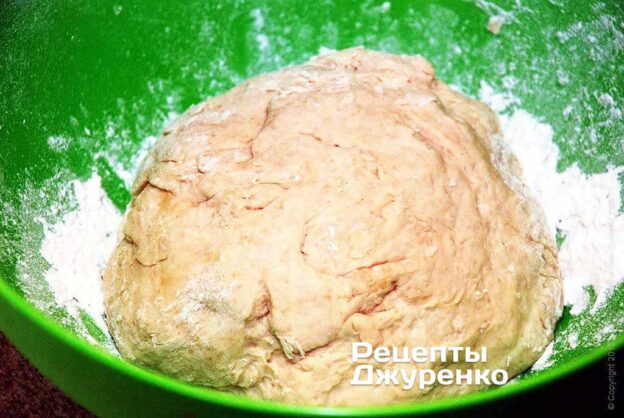
- Once the dough has risen, knead it again, adding a little flour.
- Line a baking sheet with parchment paper and grease it with vegetable oil.
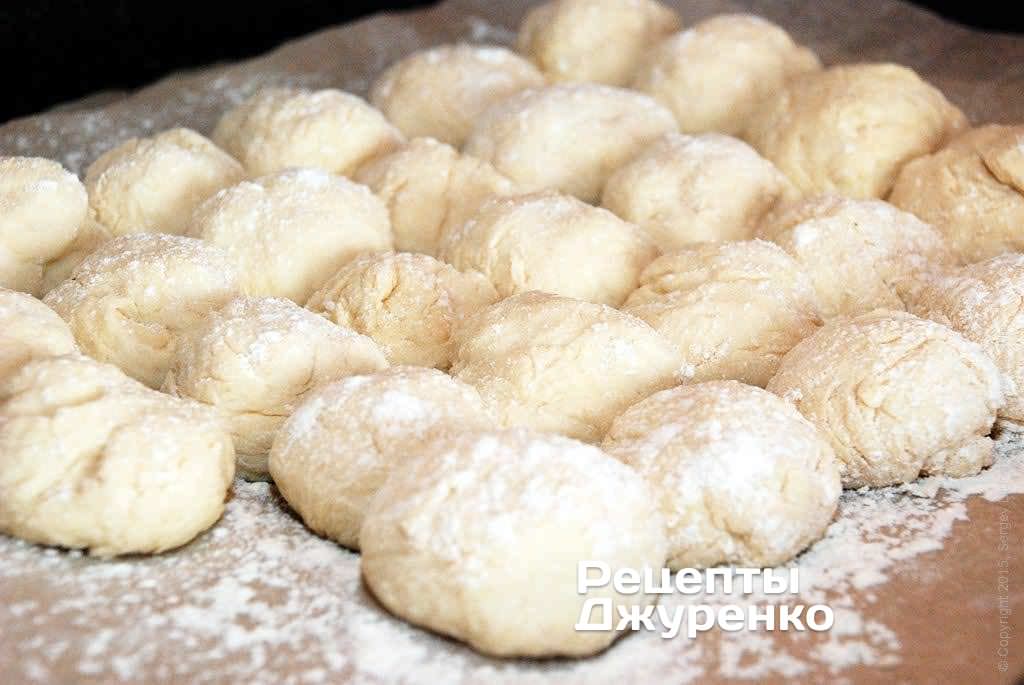
- Pinching off pieces of dough, roll them into balls slightly larger than a plum. To keep the dough from sticking, dip your hands in flour now and then.
- Place the dough balls on the baking sheet so that they touch each other.
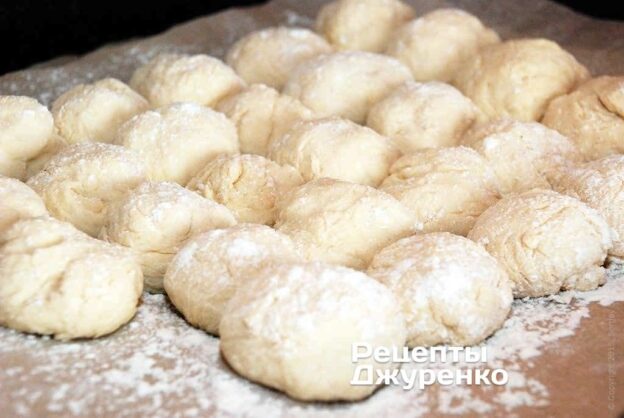
- Cover the dough balls with a cloth and let them rest while the oven heats up.
- Preheat the oven to 180-190 °C, no higher.
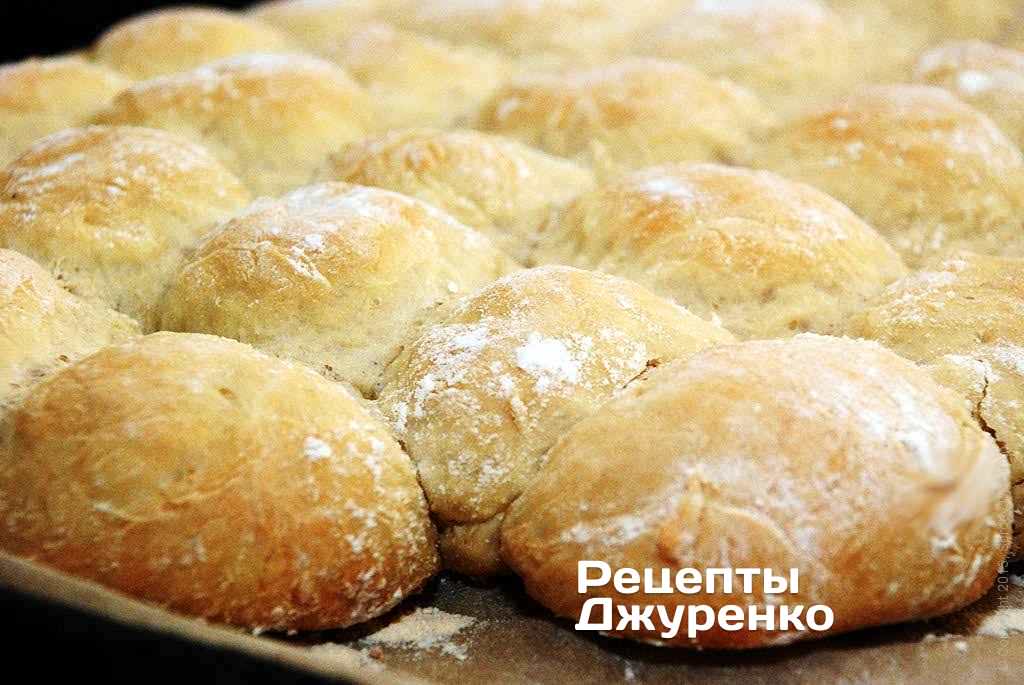
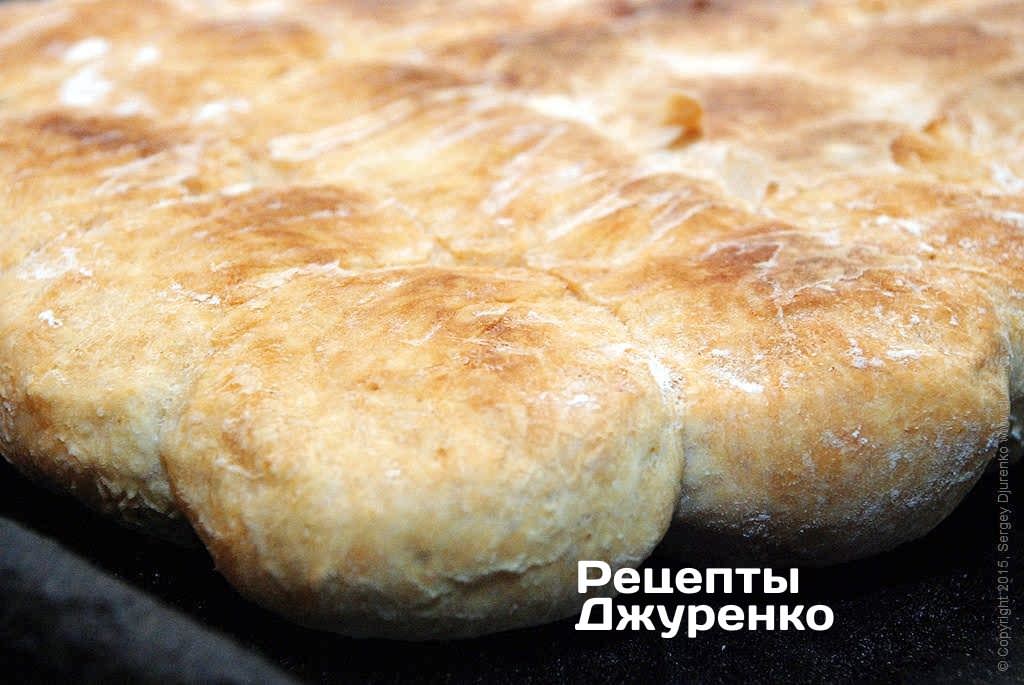
- Put the baking sheet in the oven. Bake for 30 minutes. The dough will bake through either way. The buns should only just begin to take on colour: literally a deep yellow with a hint of brown.
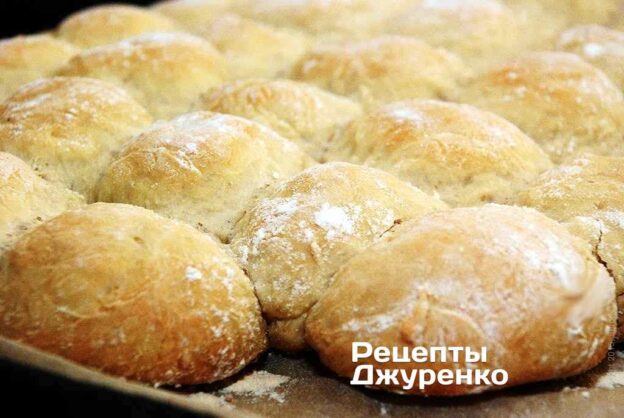
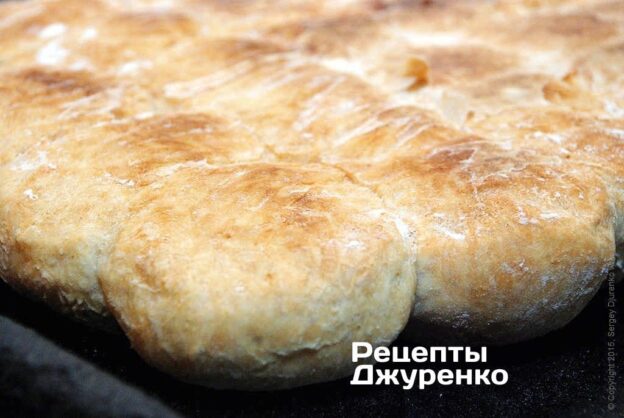
- Do not bake them to a dark golden crust. Garlic sauce simply will not stick to the crust and will not soak into the soft crumb. A straw colour is just right. That said, you can put the hot baked buns under the grill for a short while.
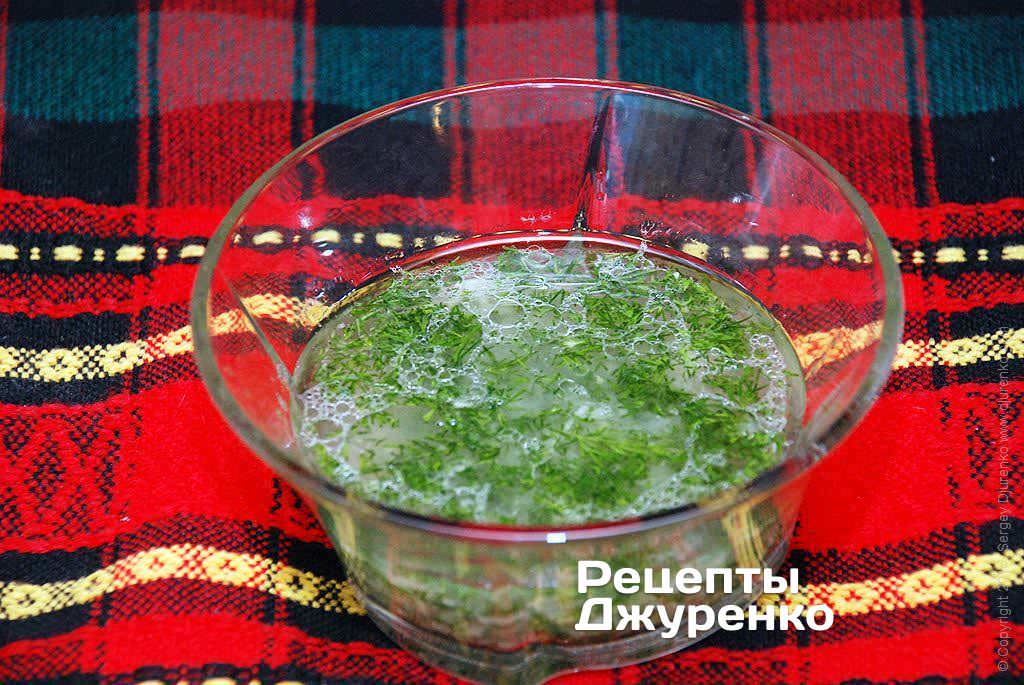
- While the buns are baking, peel a head of garlic. Chop the garlic and crush it with salt. Add vegetable oil and finely chopped dill, and mix.
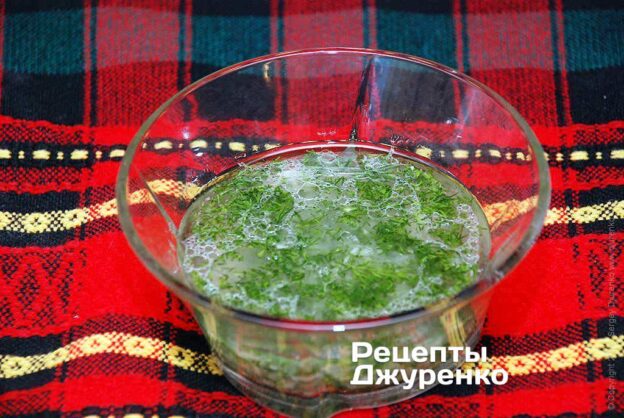
- You can add a little boiled water or, much better, kvass. Then the buns soak up the garlic sauce better.
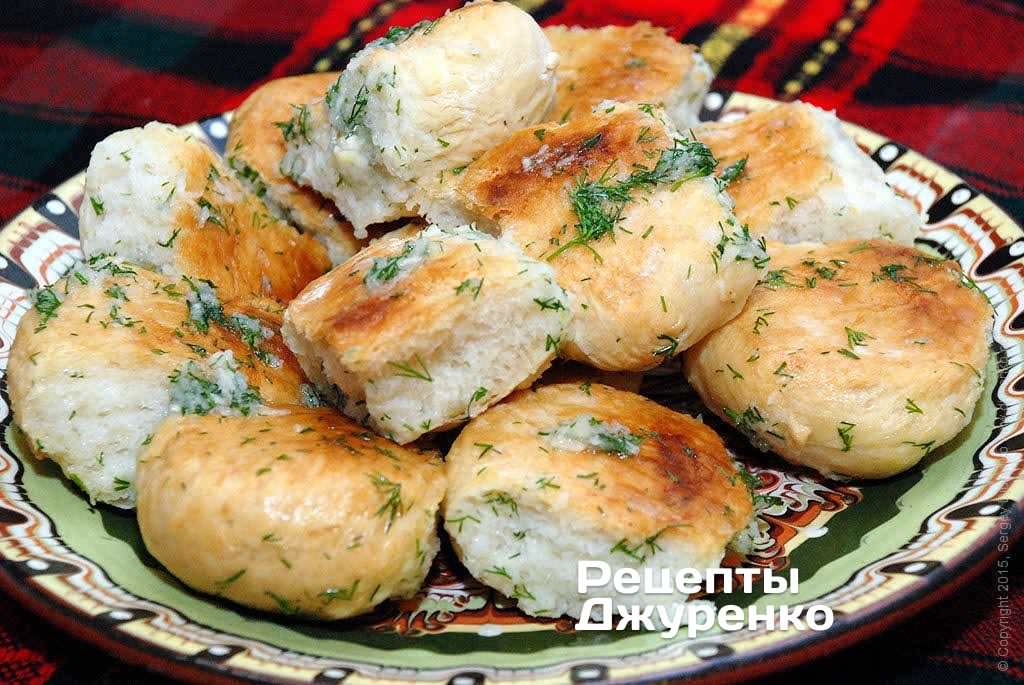
- Let the baked buns cool under a cloth, pull them apart, dip each one in the garlic sauce on all sides and arrange on a plate. Pour over the rest of the sauce.
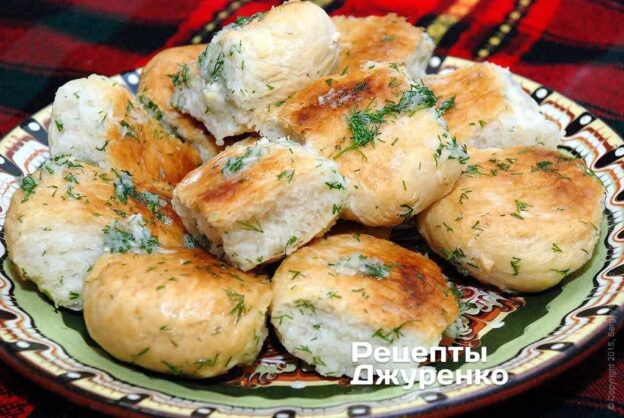
- ATTENTION! Key moment! Pour red or green borscht into a bowl and add sour cream. And start celebrating right away!
| Yield: | 2 servings |
| Calories: | 214 |
| Prep: | 1 h 30 mins |
| Cooking: | 30 mins |
| Ready in: | 2 h |
| Category: | Baking |
| Cuisine: | Ukrainian cuisine |
| Rating: |
⭐
⭐
⭐
⭐
⭐
4.9
(8)
|