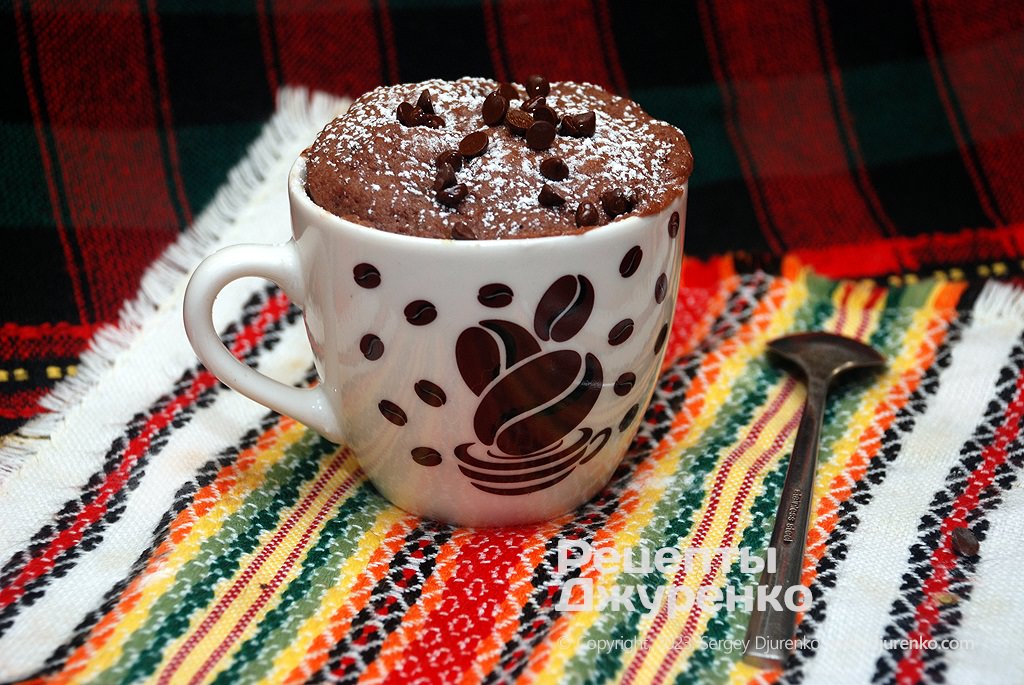
5-Minute Chocolate Mug Cake in the Microwave
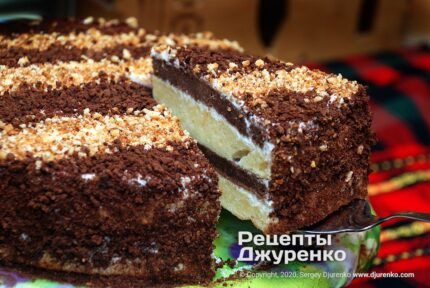
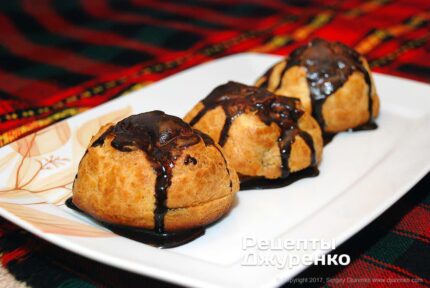
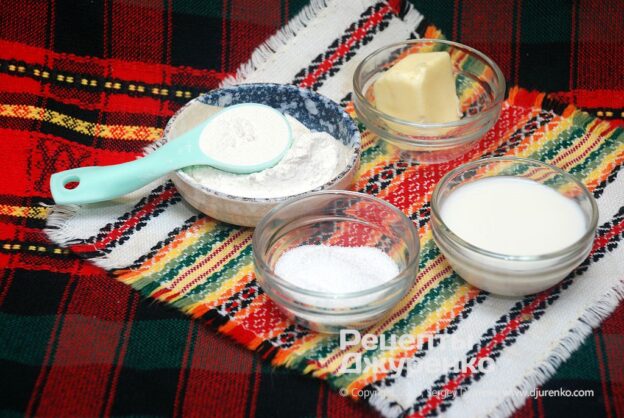
Ingredients
1 serving
- All-purpose flour (7 × 15 ml) 7 tbsp (70 g)
- Sugar (2 × 15 ml) 2 tbsp (27 g)
- Butter 40 g (plus a pea-sized piece to grease the mug)
- Milk (5 × 15 ml) 75 ml
- Cocoa powder (2 × 2.5 ml) 1 tsp (2 g)
- Baking powder (1 × 2.5 ml) 0.5 tsp (2 g)
- Vanilla, chocolate chips, powdered sugar to taste
Step-by-step recipe
How to make the batter
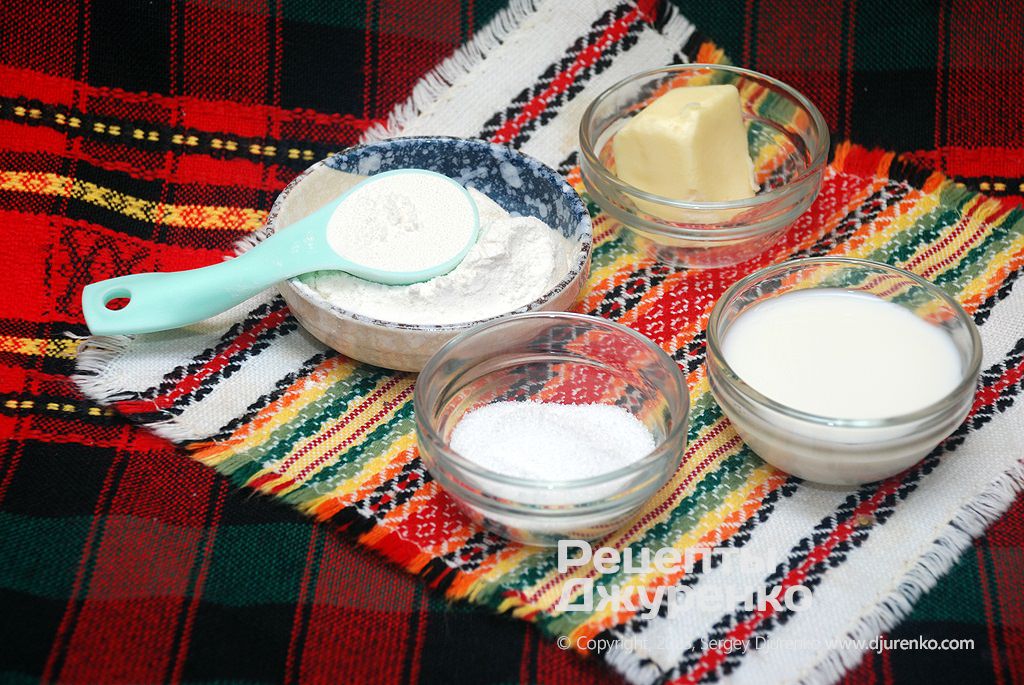
Everything you need to make a mug cake is already in any kitchen – these are the usual ingredients for any baking. The mug is an ordinary microwave-safe ceramic tea mug. A standard cup is considered to hold about 240 ml, give or take, which is half a pint or 8 fluid ounces – you can measure yours. To measure the ingredients, you’ll need 15 ml (1 tbsp) and 2.5 ml (0.5 tsp) measuring spoons – you can buy inexpensive sets of excellent quality.
Measure the ingredients with measuring spoons: scoop up the flour, sugar and so on with the measuring spoon, then level it off with the back of a knife blade – that gives you the exact volume the spoon is designed for. A tablespoon is generally taken as 15 ml, although some countries count it as 20 ml.
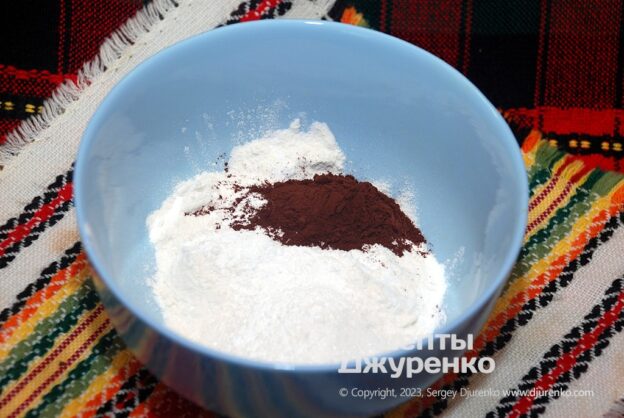
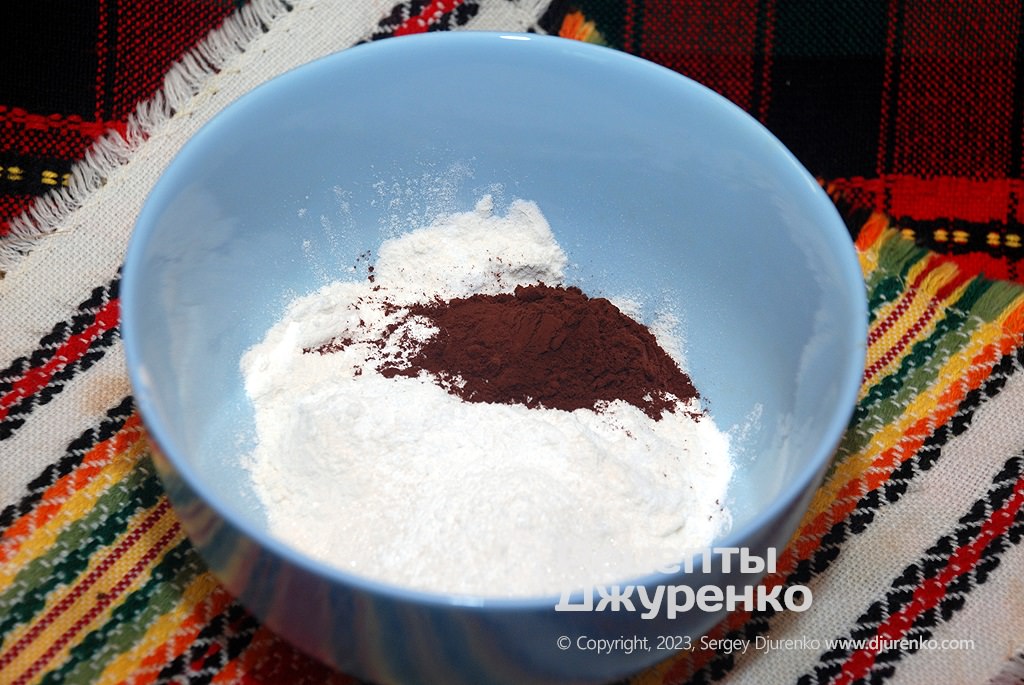
Combine the dry ingredients in a small bowl. Tip all the dry ingredients into the bowl and add vanilla powder to taste, or vanilla sugar. As an example, we’re making a cocoa-chocolate cake, so we add cocoa powder – you can use more if you like. Mix with a fork until the mixture is uniform.
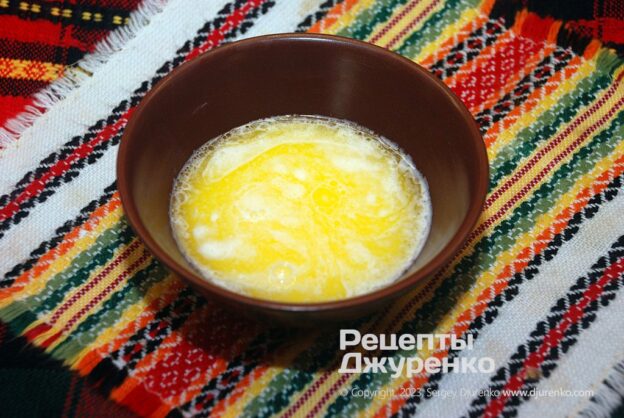
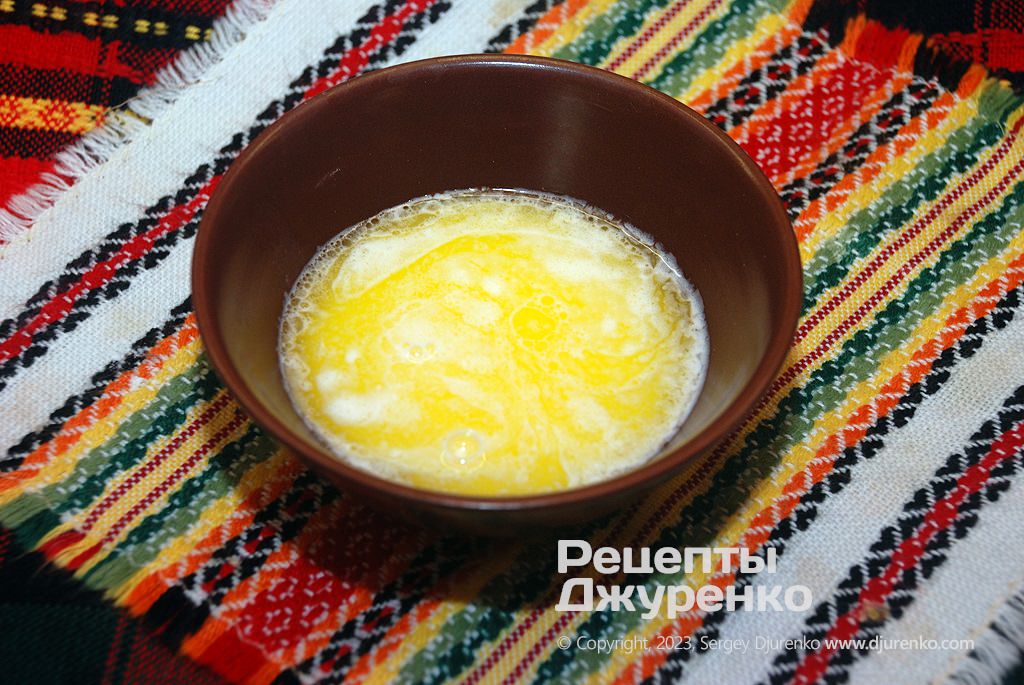
Melt the butter and mix it with the milk. Melt a piece of butter weighing about 40 g in the microwave, but don’t let it get hot. By the way, grease the inside of the mug with butter right away – just pinch off a piece the size of a pea. Grease the rim of the mug especially well so the cake doesn’t stick to the sides and the edge. Pour the milk into the melted butter and stir – I use store-bought milk with 2.5–3.2% fat; make sure it’s fresh.
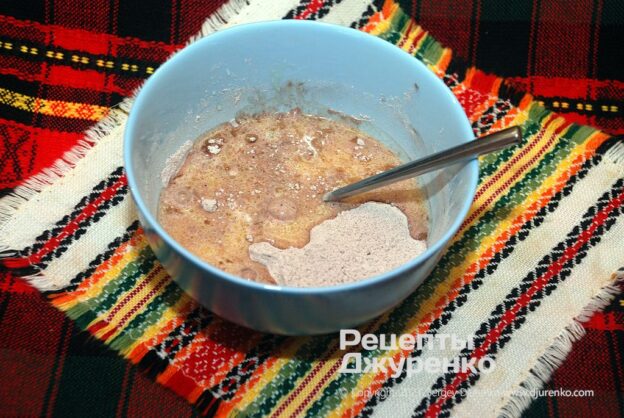
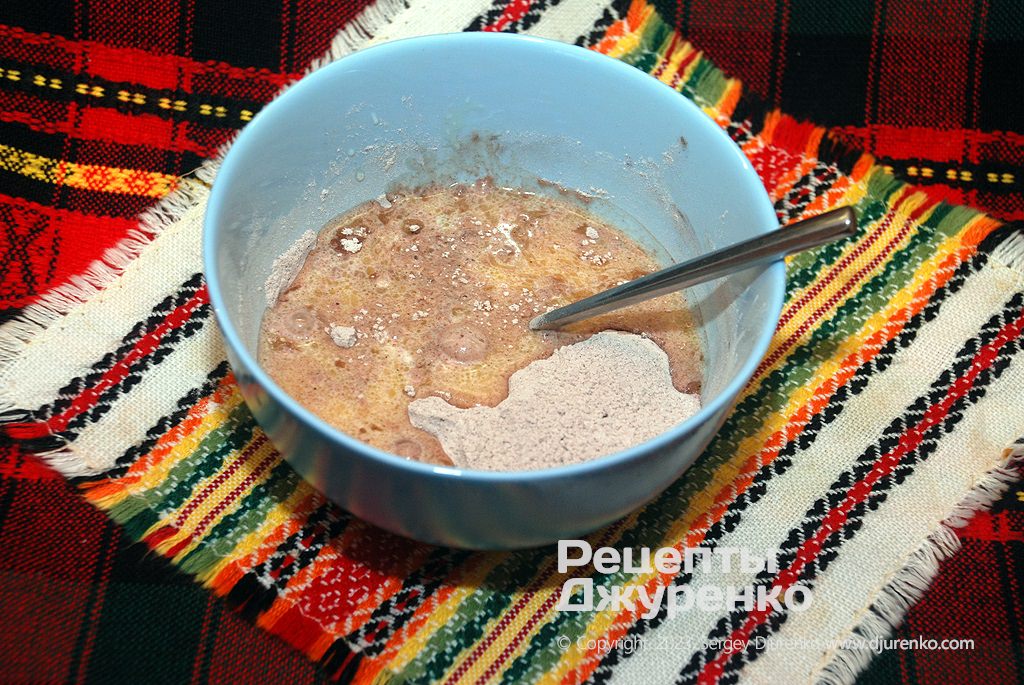
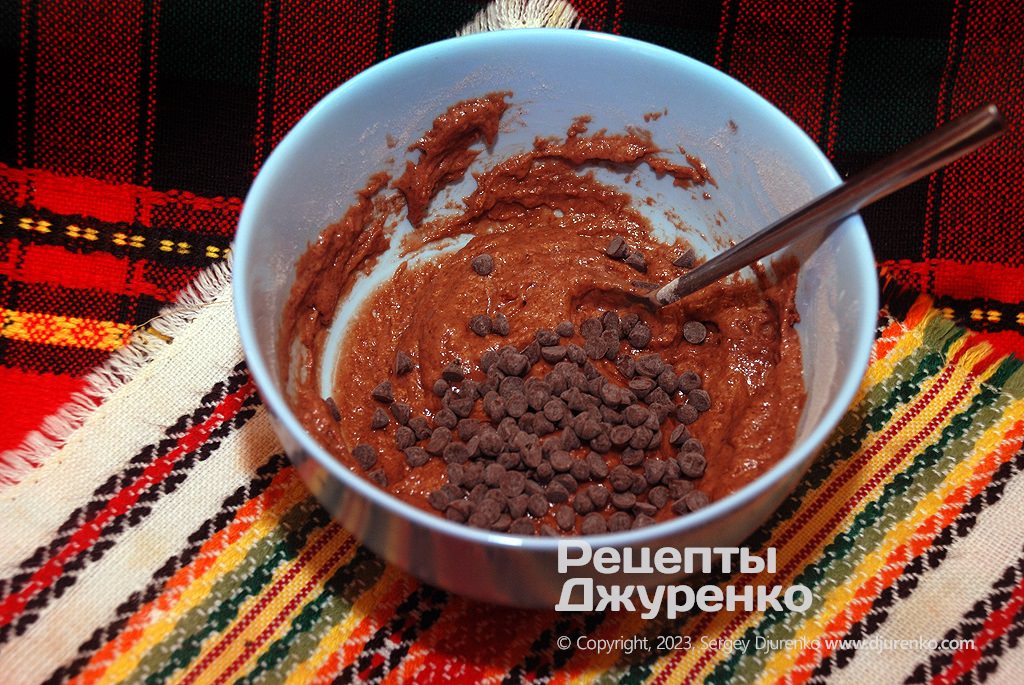
Combine the dry and wet ingredients and mix thoroughly into a semi-liquid batter. It’s important for the batter to be as smooth as possible – then the mug cake will rise evenly and won’t overflow.
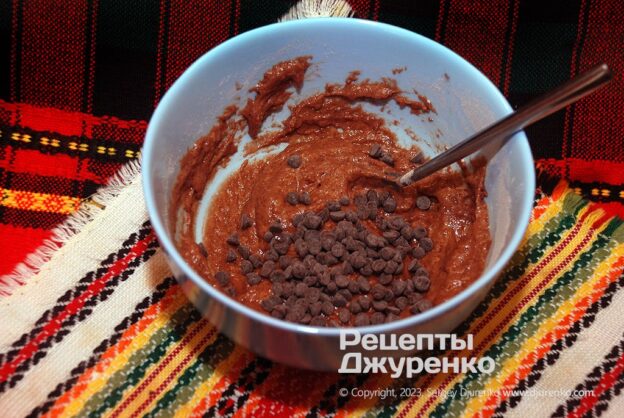
I add chocolate chips to the batter – small milk chocolate drops sold in stores for decorating pastries and for baking; I also add them to brownies and chocolate muffins. Mix the batter thoroughly once more.
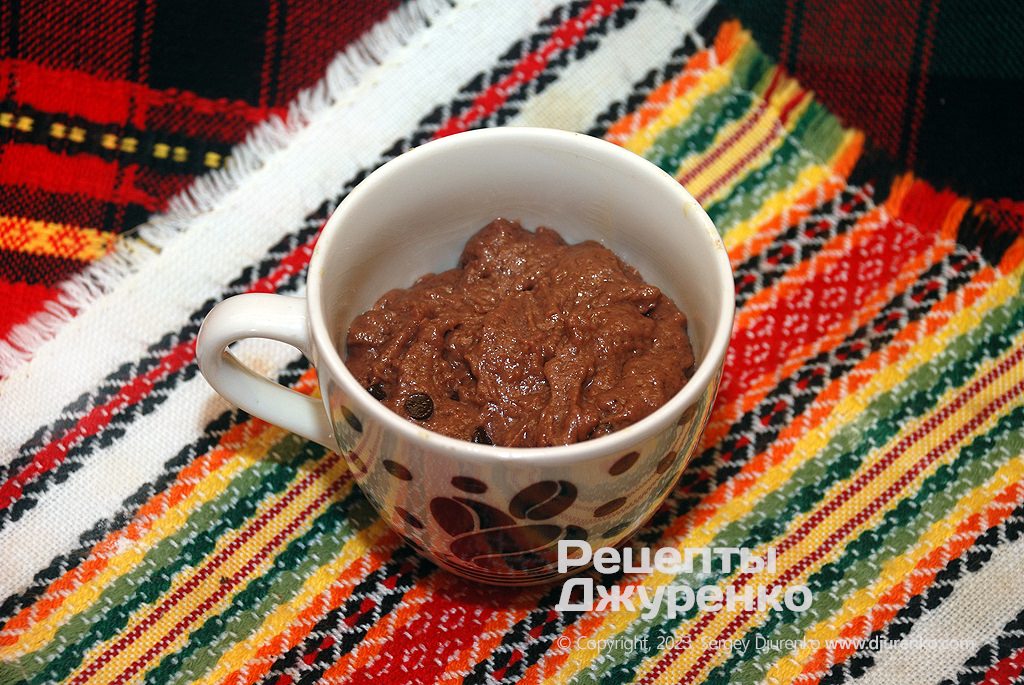
Carefully spoon all the batter into the mug, trying not to smear it on the sides. Smooth the top with the spoon and fill in any large gaps.
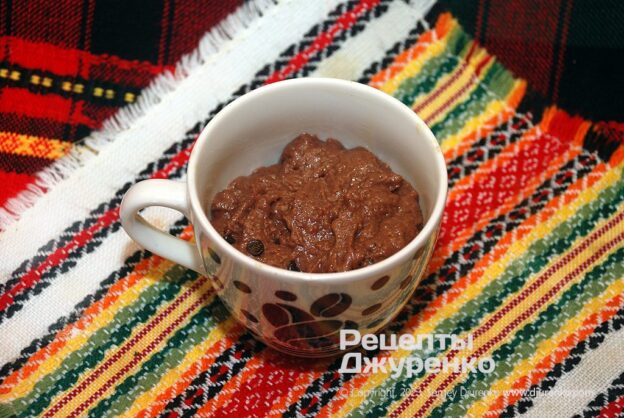
That’s basically it for the prep – you can start baking. If you have a coffee machine at home, you can set it to make a cappuccino right now – it will be ready just in time.
How to bake it in the microwave
The key thing is the power of your microwave. My home microwave has a maximum power of 800 watts, and the cooking time is based on that. If yours is more powerful, you’ll need to reduce the time, if less powerful – increase it a little; experiment. Important: bake it “in one go”. If you decide to add a little more time after the main cycle, the cake will most likely sink and won’t turn out. Don’t overbake it either, or it will get rubbery.
Put the mug with the batter in the microwave and run it for 90 seconds (1 min 30 sec) at 800 watts. Depending on the result, you may need to adjust the time a little next time.
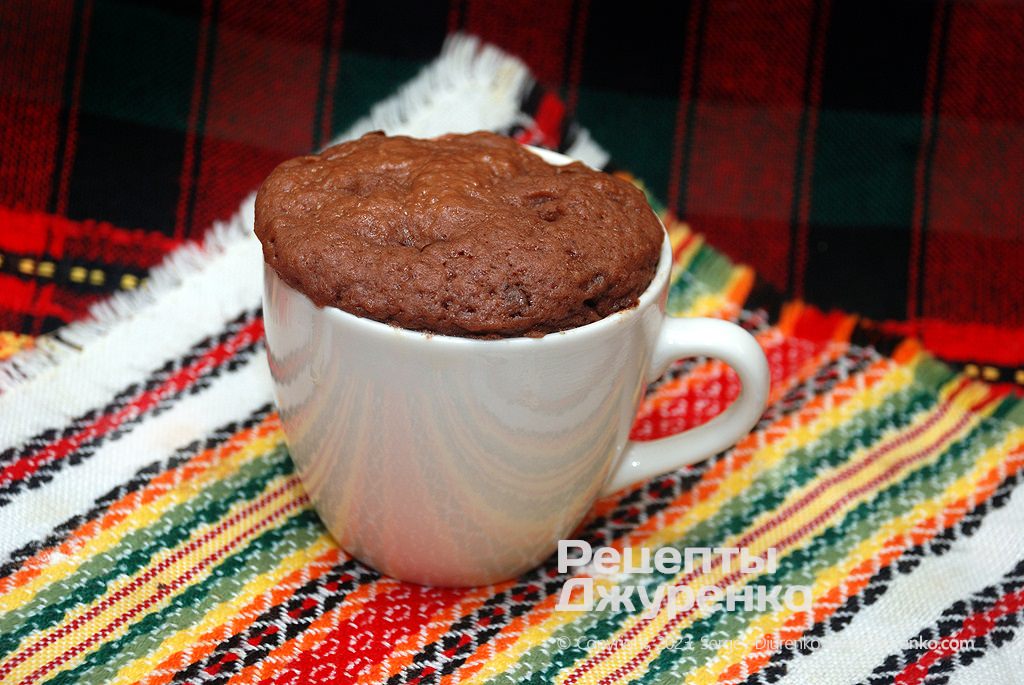
The microwave heats the batter very quickly – it’s simply amazing. If the batter filled a little more than half the mug to begin with, it will rise above the rim in a dome as it bakes and may even “spill over” a tiny bit – which, by the way, looks rather cute when served. You’ll see steam inside the microwave – that’s normal. The mug and the cake are very hot, so don’t grab the mug with your bare hand or you’ll burn yourself.
Let the cake cool a little, but keep it warm. It’s up to you, though. Once the microwave switches off, the cake will sink a little and stay slightly domed above the rim.
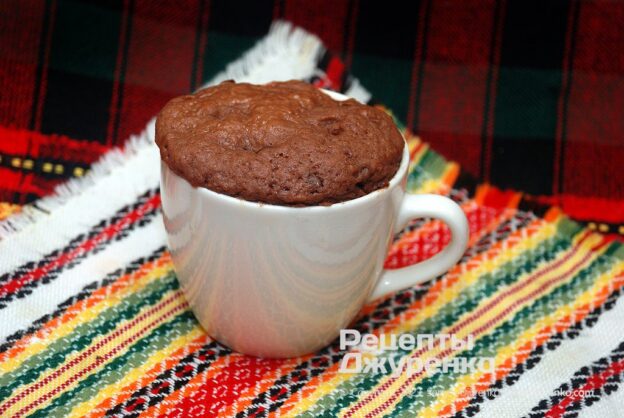
If your mug is a bit bigger, the cake may not reach the rim – it won’t affect the taste at all.
Serving
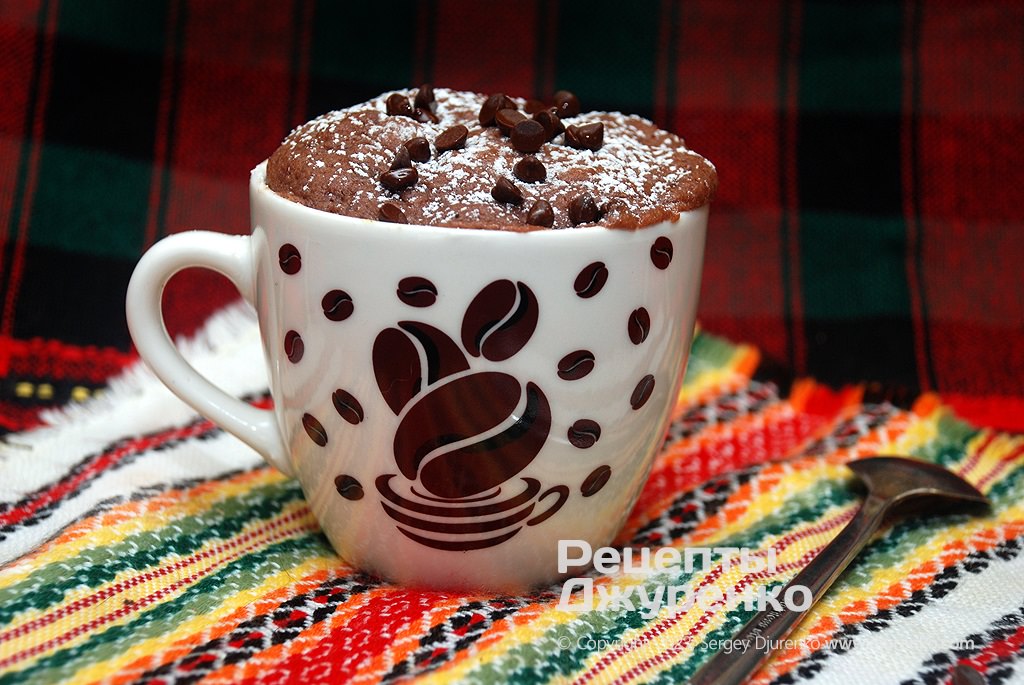
Dust the top of the cake with a little powdered sugar and scatter some chocolate chips over it. Time for a cappuccino with chocolate cake.
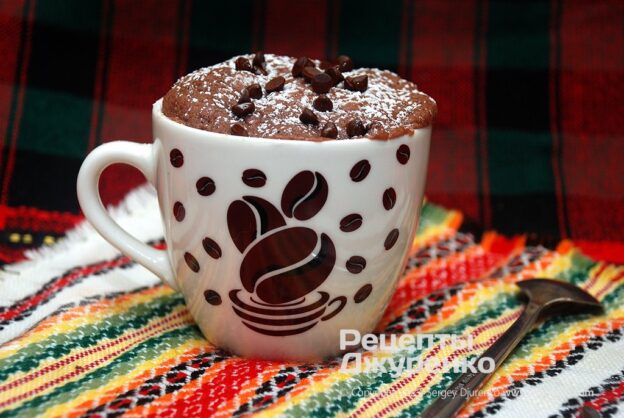
The cake is usually served in the same mug it was baked in. Eat it with a regular dessert fork or a teaspoon. If you like, you can try turning it out onto a plate.
As a variation, you can make the batter without cocoa and chocolate. A vanilla version turns out nicely – you can use liquid extract. We tried adding a little honey, but it doesn’t like the heat. We settled for a drop of honey flavoring – it turned out well, but chocolate is tastier. You can top the cake with a sugar glaze or ganache. By the way, if you decide to skip the cocoa, add a little yellow or orange food coloring to the batter. If the cake has cooled, you can decorate it with cream and berries.
Calories and macros
695 kcal
Serving ≈ 190 g
- Protein10 g6% of kcal
- Fat36 g47% of kcal
- Carbs82 g47% of kcal
100 g363 kcalProtein 5.3 gFat 18.8 gCarbs 43 g
Calculated from the recipe ingredients, excluding salt and spices. Data: USDA and Matvaretabellen.