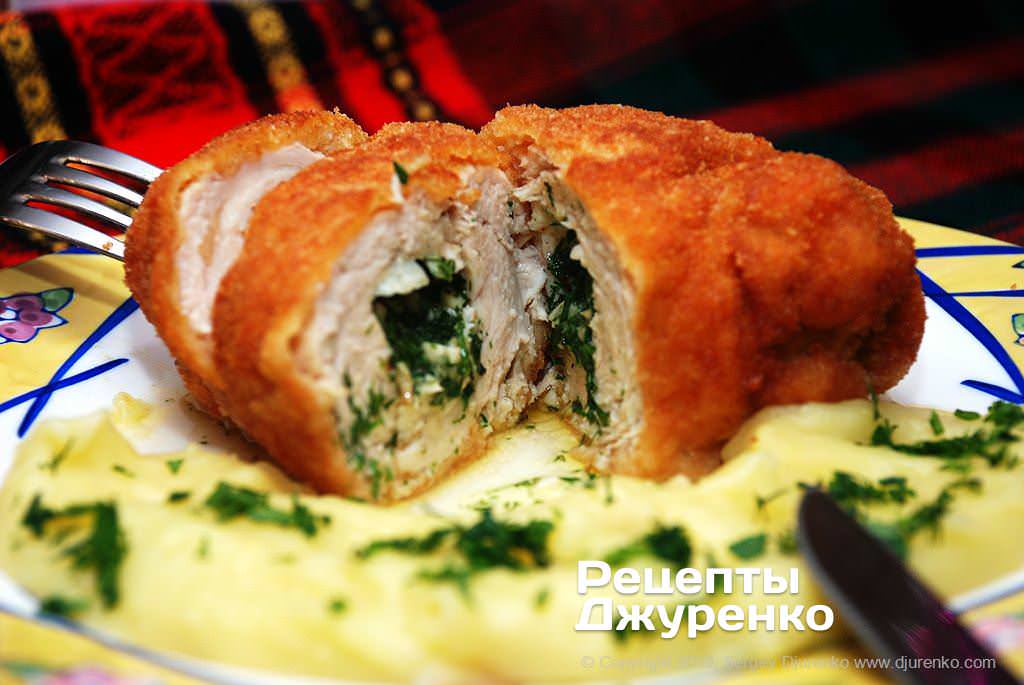
Chicken Kyiv Recipe with Garlic Herb Butter – Step by Step
For me, chicken Kyiv has always been a festive dish. Back in my childhood, when we went out for a walk in town on weekends and holidays, the must-haves of the outing were those special breaded chicken cutlets with a filling, a milkshake and ice cream. At home these cutlets were made very rarely – separate chicken breast fillets were hard to find in the shops. But any decent café always had them on the menu.
Although it looks complicated, chicken Kyiv is fairly easy to make. Chicken breast fillets of different sizes are always on sale, even unfrozen ones. That lets you make cutlets of different sizes. Still, to my taste, a chicken Kyiv should be big. Traditionally, a piece of butter with spices, herbs or cheese is wrapped inside.
There is a lot of debate about the origin of stuffed chicken cutlets, since similar dishes are found all over the world. At the end of the 19th century, one of the restaurants of the Continental hotel was famous for its côtelette de volaille, made from chicken breast with the bone sticking out. A paper napkin was wrapped around the bone so you could hold it in your hand. They say the restaurant was called “Kyiv”, and that is how chicken Kyiv got its name.
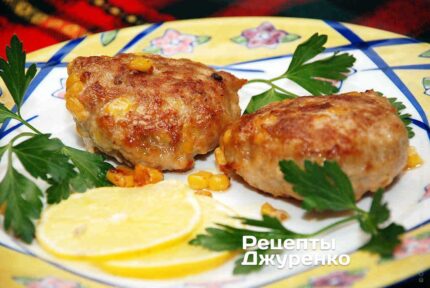
There are plenty of versions of its origin. I remember being offered “chicken Kiev” at a restaurant in the USA, which says a lot. Then again, there is no documented record of where the dish came from, but that doesn't stop it from being popular. In composition, a stuffed fillet cutlet is somewhat similar to Pozharsky cutlets, which are made from minced meat.
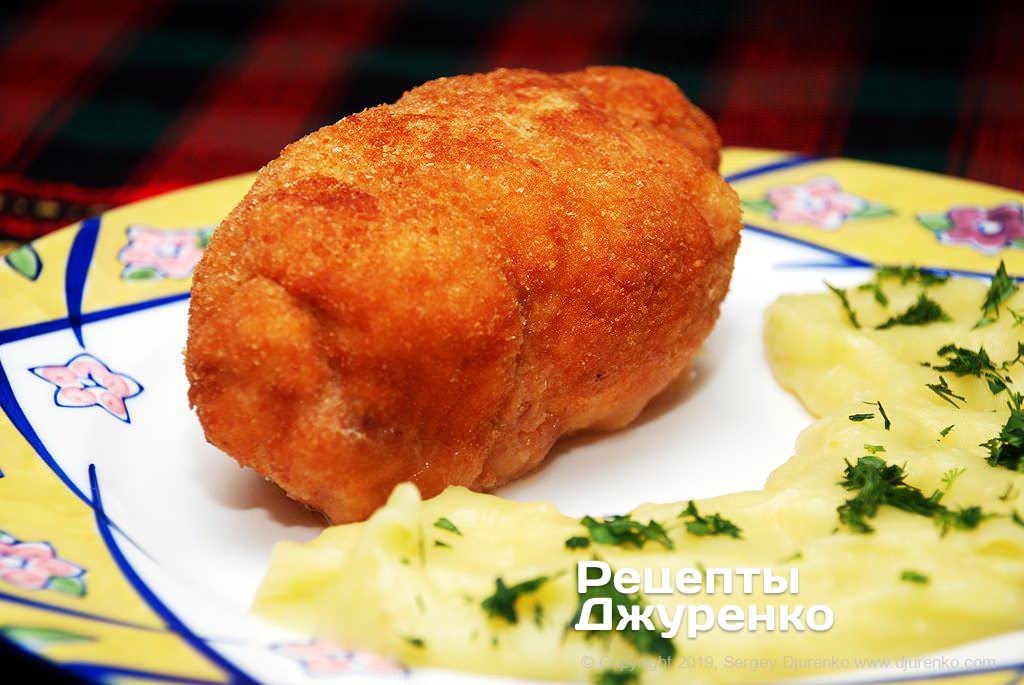
Chicken Kyiv is a piece of butter filling wrapped in thinly pounded chicken breast. The cutlet is breaded and fried, then finished in the oven until fully cooked.
Sadly, the famous bone sticking out of the cutlet is not that common. As a rule, home cooks use boneless store-bought fillets, and hardly anyone buys a whole bird. Besides, modern chickens are so huge that the cutlets come out too big to hold by the bone. So people usually use whatever fillet is available and add the bone only now and then. Thanks to my Yulia for her help in the kitchen.
Ingredients
2 servings
- Chicken breast fillet 2
- Butter 80 g
- Garlic 1 clove
- Dill, parsley 2-3 sprigs
- Eggs 2
- Breadcrumbs 0.5 cup
- Salt, black pepper, chili pepper to taste
- Vegetable oil for deep-frying
Step-by-step recipe
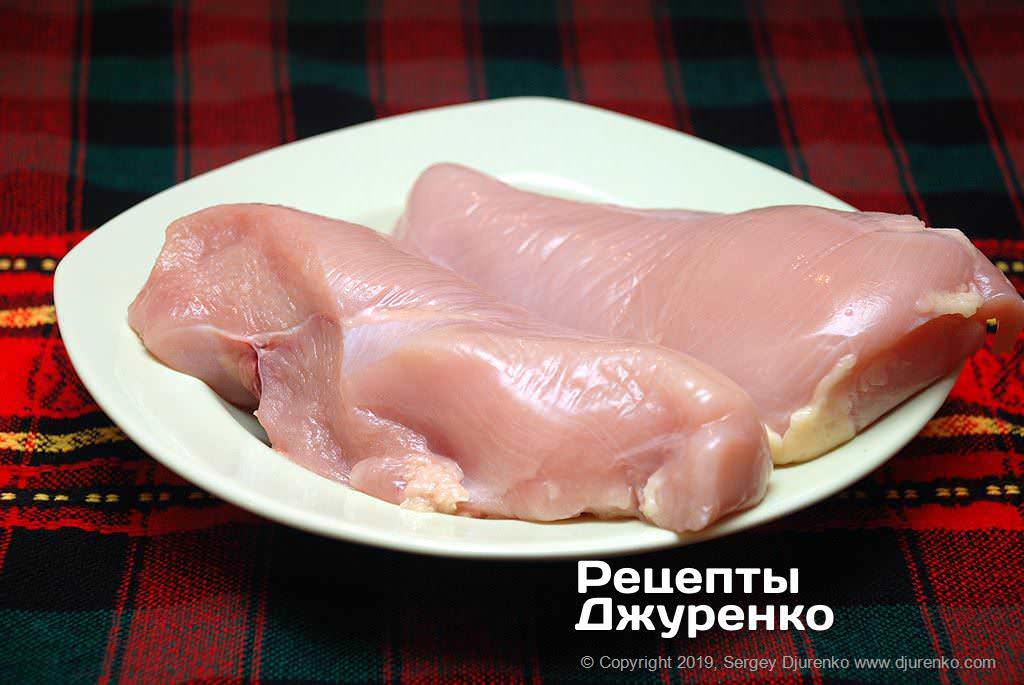
- One chicken Kyiv takes one large chicken breast fillet. If it is cut with the bone, the cutlet will be closer to the classic one. If there is no bone, it won't affect the taste at all. A chicken breast consists of two parts – a small one and a large one; you can easily see them by simply turning the meat smooth side down.
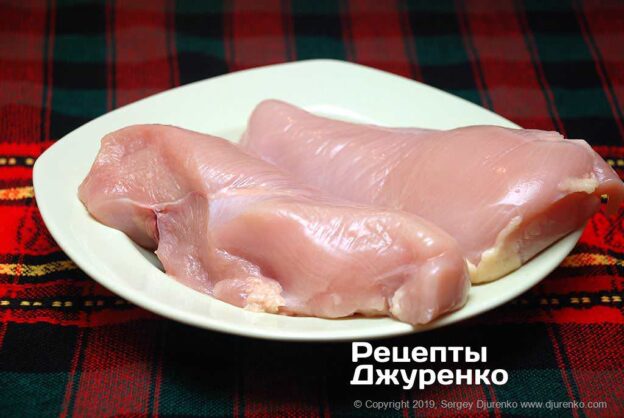
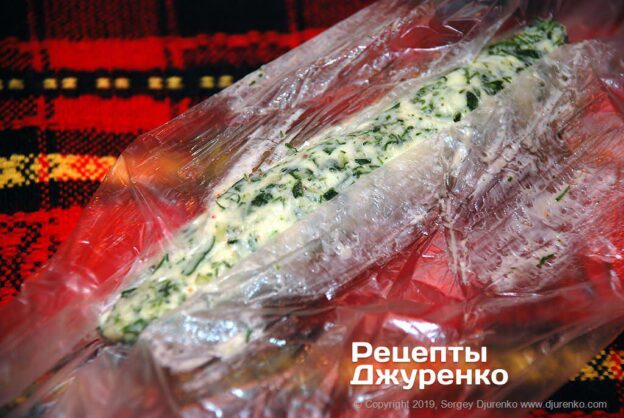
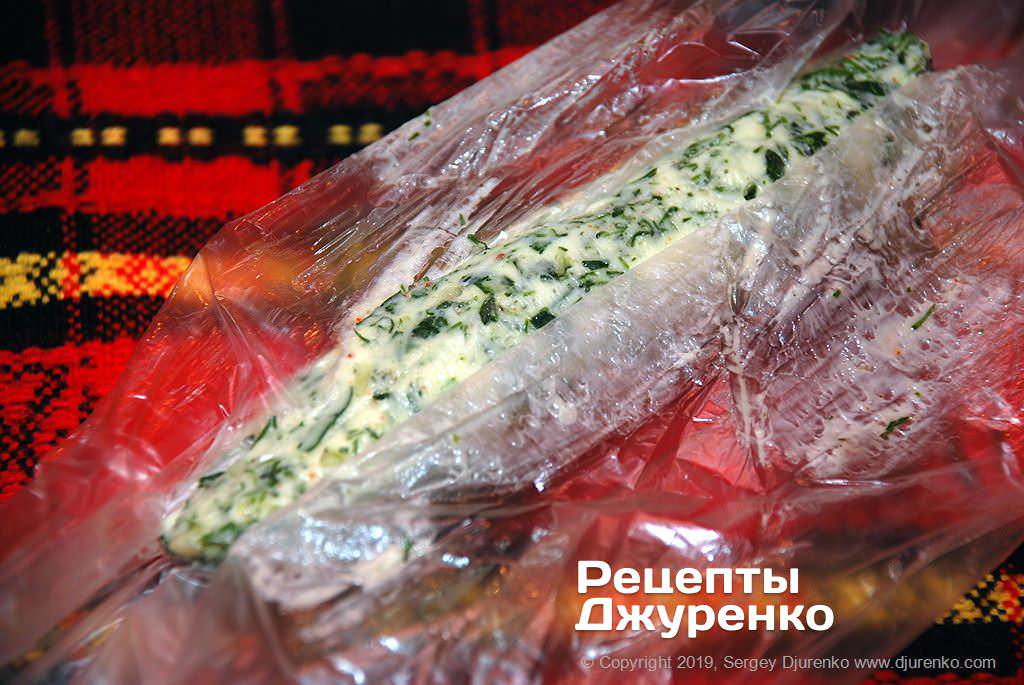
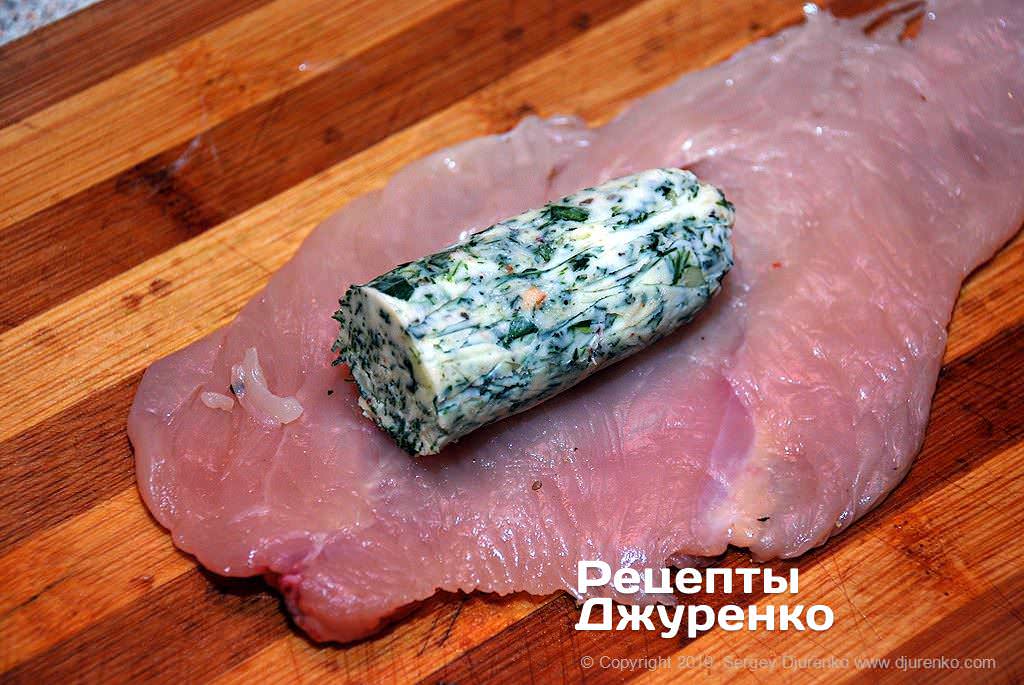
- First, prepare the filling. Mix butter softened at room temperature with very finely chopped herbs and one finely grated or chopped garlic clove. Season the butter with a pinch of salt and add a pinch of chili pepper. Mash the butter thoroughly with a fork so that everything is evenly mixed. Put the herb butter on plastic wrap and roll it into a cylinder about 10-12 cm long. Put the wrapped butter in the freezer – it should freeze solid.
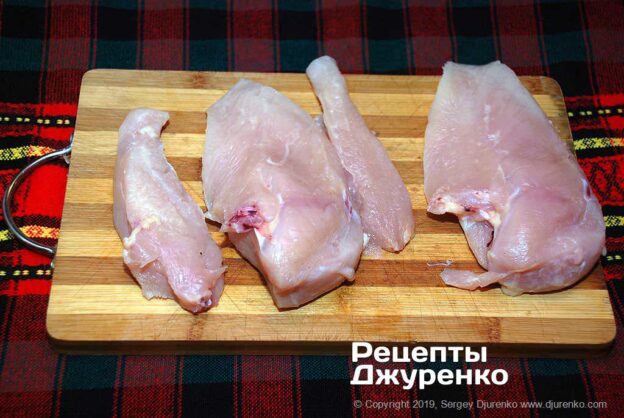
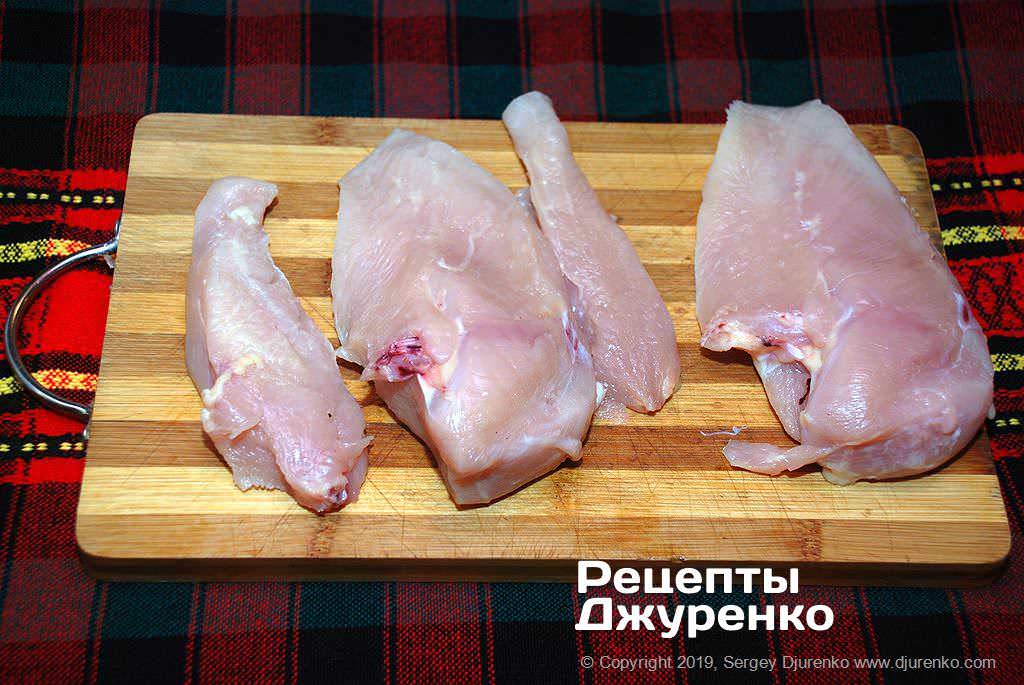
- Use a sharp knife to cut the small fillet (tenderloin) off the whole piece. Carefully trim all the meat of membranes and sinews. In the end, two whole fillets give you two separate large and two small pieces. They will be pounded with a meat mallet. The butter is wrapped in the small fillet, and then the large fillet is wrapped around this bundle. This technique greatly reduces the chance of the filling leaking out during cooking.
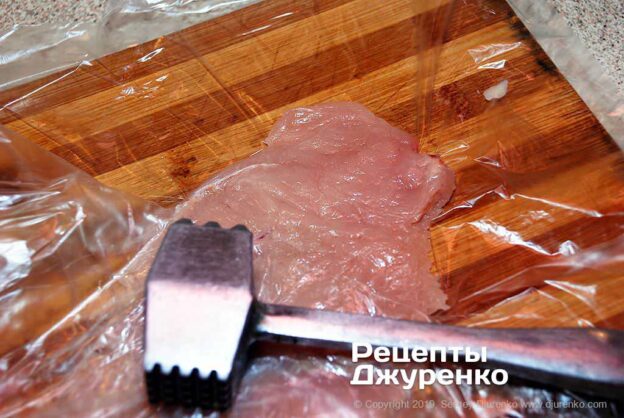
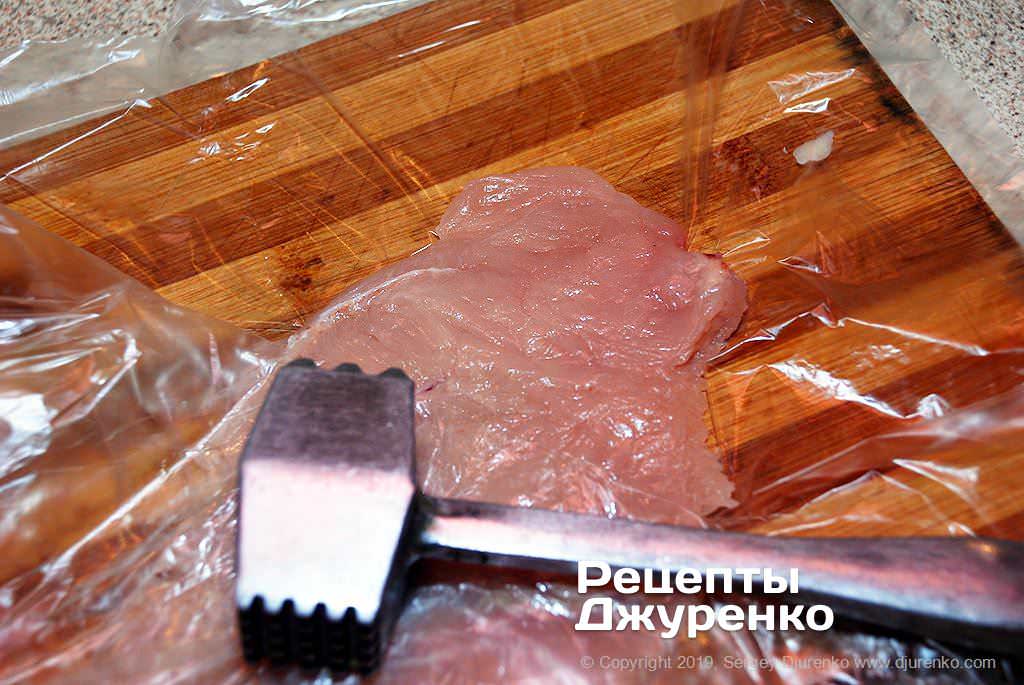
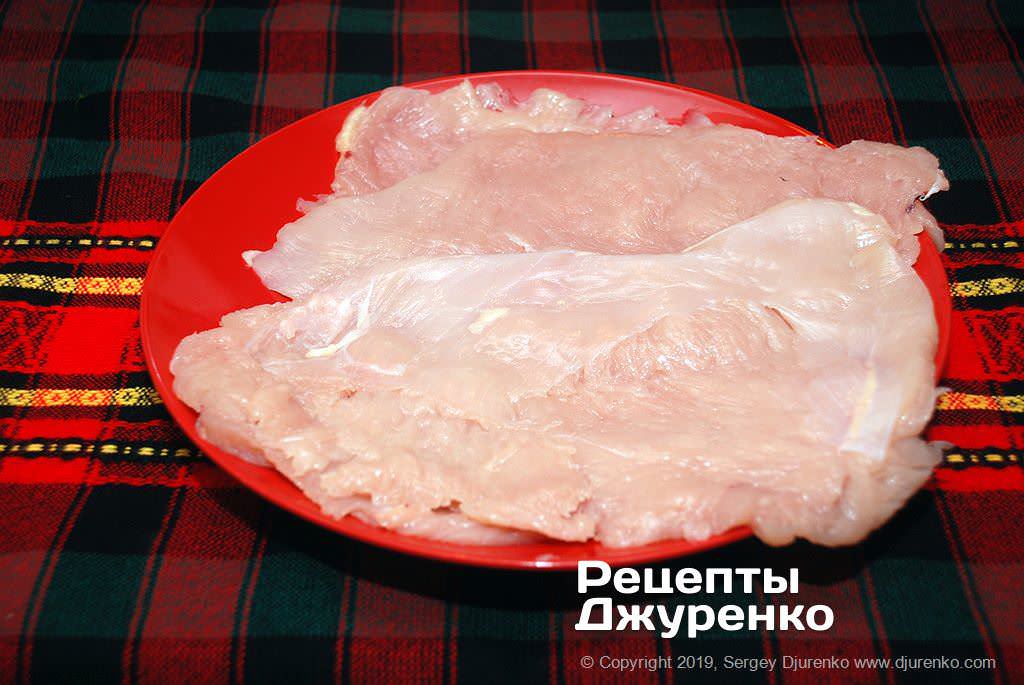
- Next comes the most important step – pound all the pieces of chicken very carefully. The main mistake when preparing chicken breast is pounding it with the ridged side of the mallet. The ridges break up the fibers of the chicken, turning it into mince. That is absolutely unacceptable! Place all the fillets between two layers of plastic wrap and pound them gently with the flat side of the mallet. The goal is to enlarge the pieces and make them thin. There must be no tears or holes in the meat.
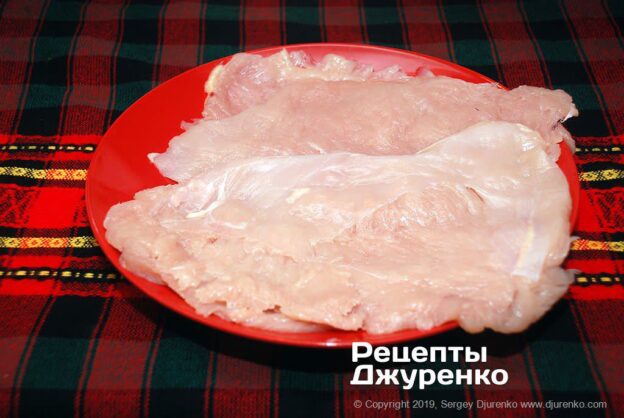
- After pounding, the large fillet should be 5-6 mm thick; the small one can be pounded even thinner. Lay the pounded chicken pieces out on plates. Season each piece with salt and pepper. The chicken is ready for shaping the chicken Kyiv.
- By now the herb and spice butter has frozen. Cut the butter into 2 pieces of equal length. Place a piece of frozen butter on a pounded small fillet and wrap the meat around the butter very carefully. It is essential to wrap it tightly and completely. If there are any gaps or tears, the butter will leak out during frying.
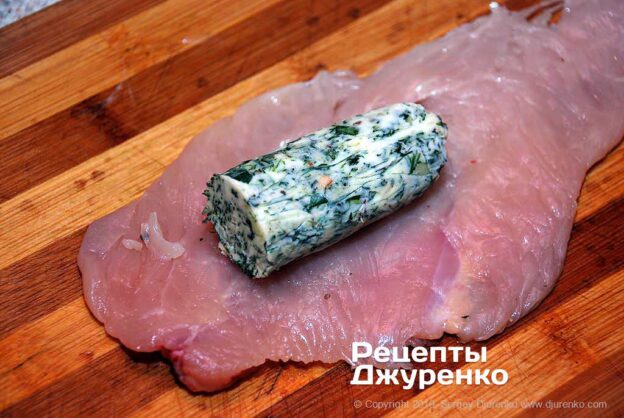
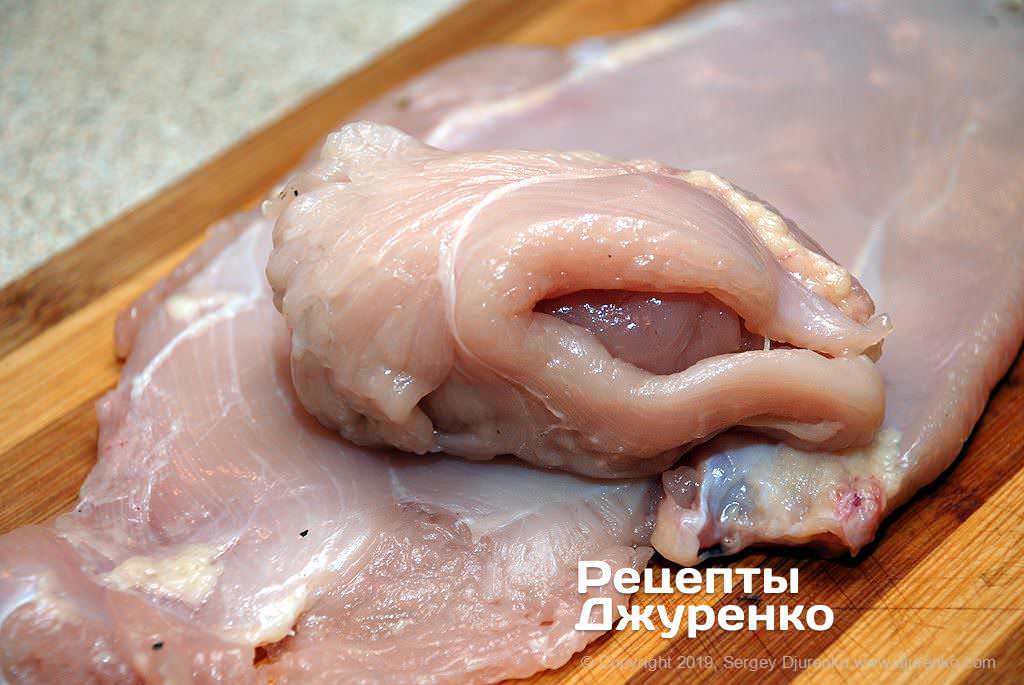
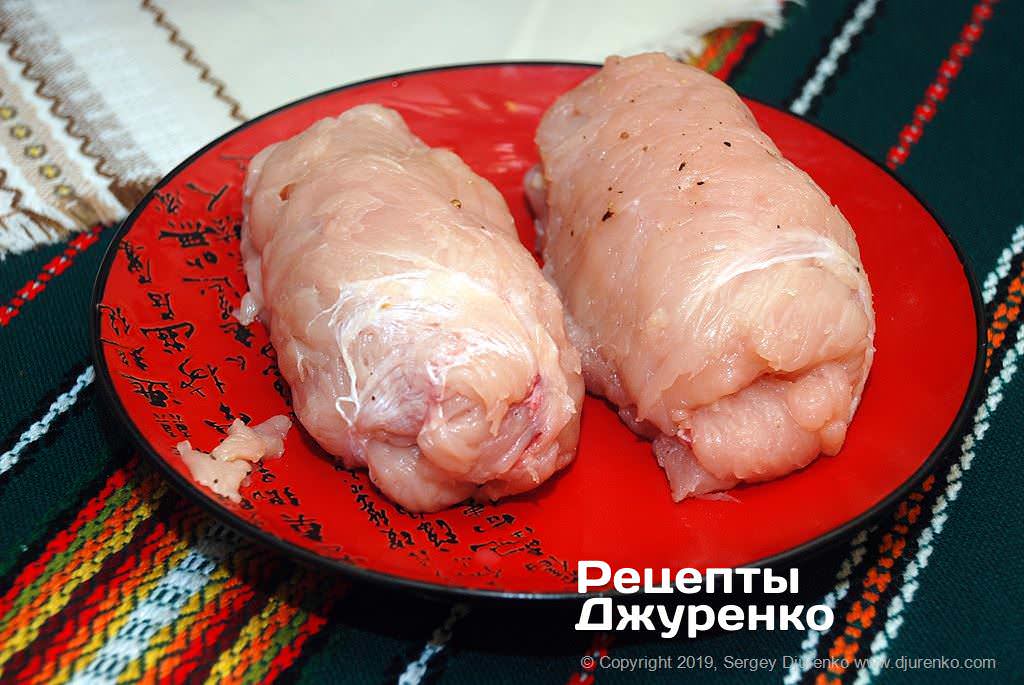
- Place the butter wrapped in the small fillet on a pounded large fillet and wrap it very tightly with no gaps, forming a smooth surface. Gaps, slits and tears are not allowed. Chicken Kyiv should be oval, with no bumps or loose bits of chicken sticking out. If the fillet has a bone, wrap it so that the bone sticks out sideways at one end of the cutlet. It also doesn't hurt to make sure none of the filling is visible.
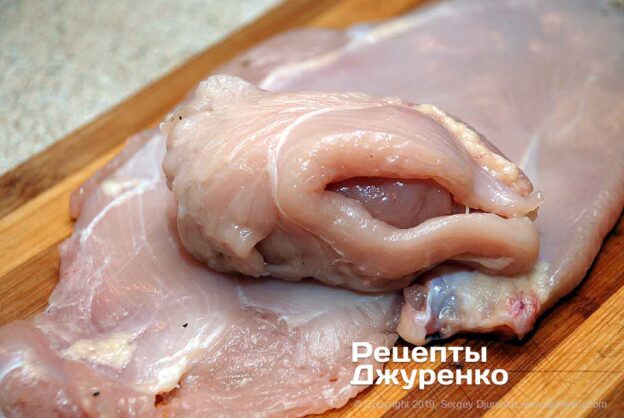
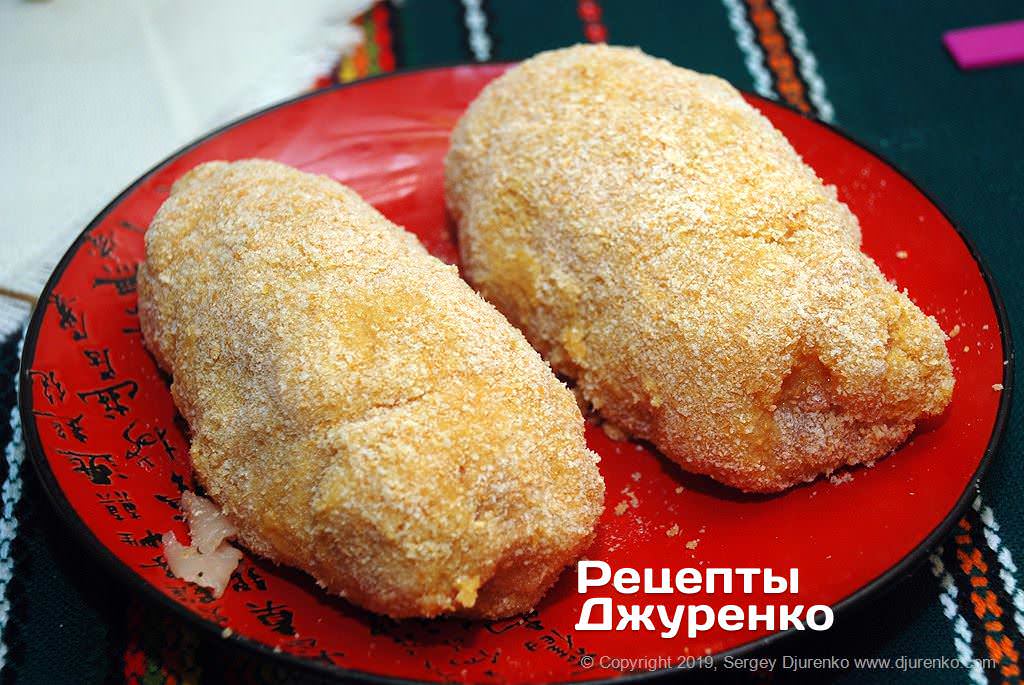
- Shape cutlets from all the fillets this way, smooth the surface with your palms and place them on a plate. You can use store-bought breadcrumbs for the coating. Unfortunately, they are almost always of poor quality. The best option is a dried white baguette, grated and sifted. Perfect, fresh breading.
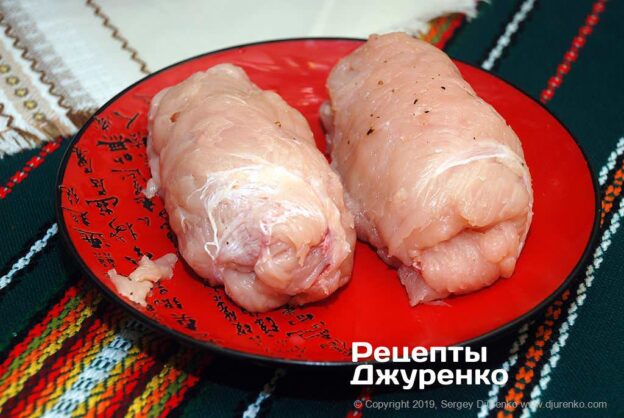
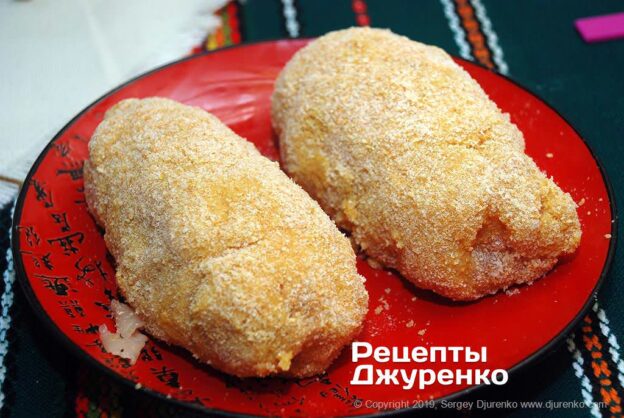
- Crack two eggs into a bowl, season with salt and pepper and beat with a fork until smooth. Dip each cutlet in the egg in turn and coat generously with breadcrumbs on all sides. Dip the cutlet in the beaten egg once more and roll it in the breadcrumbs again. To avoid spoiling the coating with your fingers, it is better to turn the cutlets with a pair of forks or a spatula. By the way, to make breading easier, you can freeze the cutlets a little – just enough for the surface to firm up slightly.
- How to fry
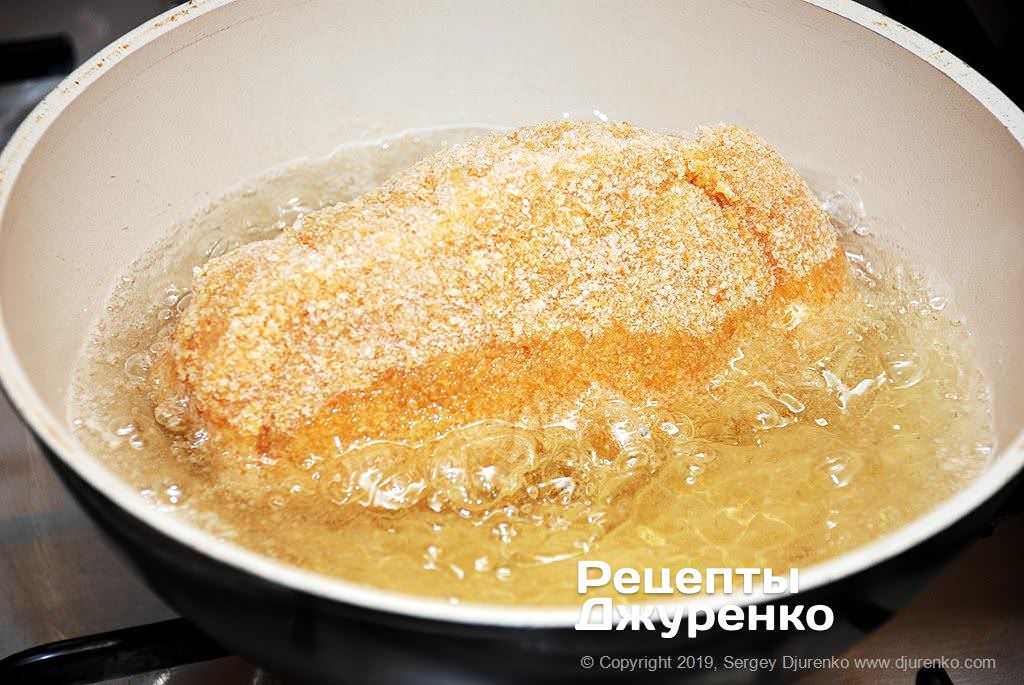
- The first stage of cooking is deep-frying the cutlets. Pour odorless vegetable oil into a sauté pan. If there isn't enough oil to fully submerge the cutlets, you will have to turn them during frying. Heat the oil. If the cutlet has a bone, wipe it dry. Be careful not to let any splashes or drops of water get into the hot oil. Very carefully lower a cutlet into the oil, or both if the size allows.
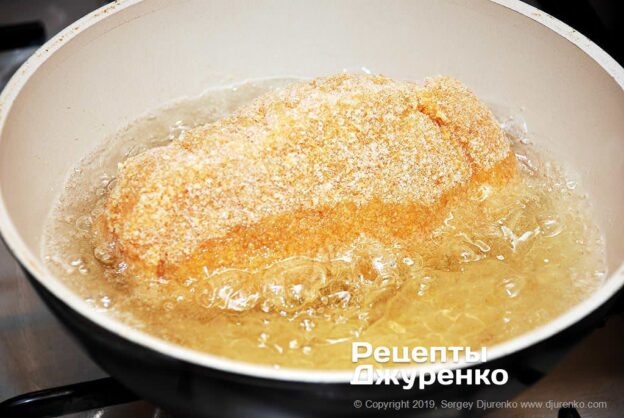
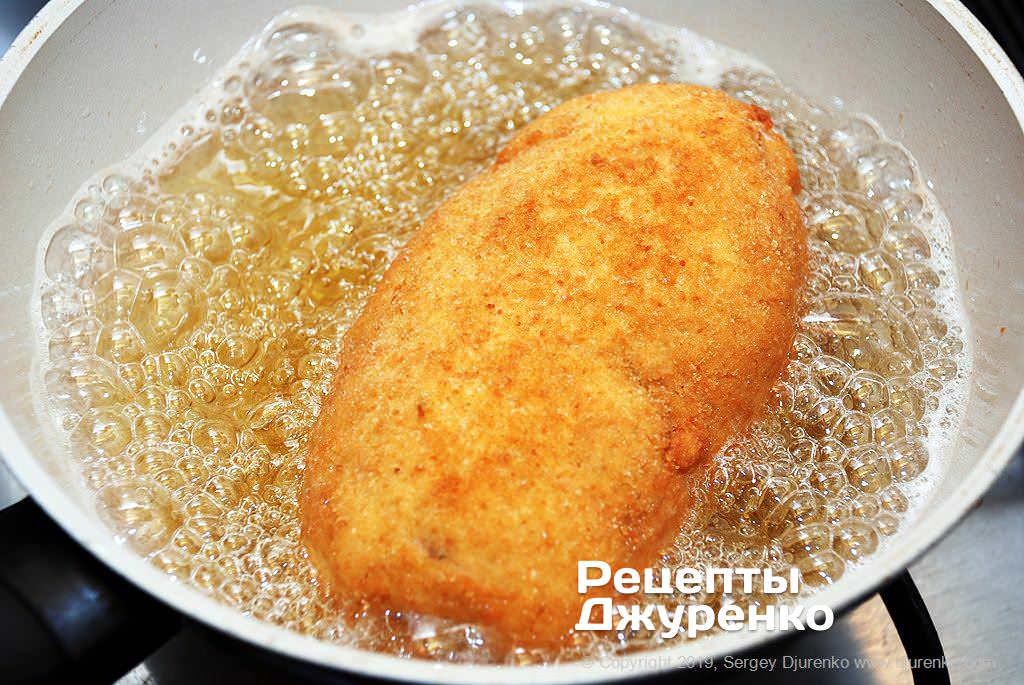
- The point of deep-frying is to form a beautiful golden crust. In the time it takes for the crust to form, the inside won't cook and will stay raw. The crust also holds the shape, so the chicken Kyiv won't fall apart. Turn the cutlets in the hot oil carefully, preferably with two forks. Turn with one fork and support with the other so the heavy cutlet doesn't flop into the oil.
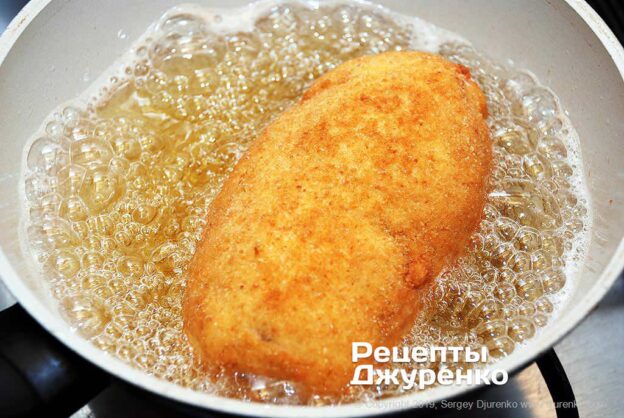
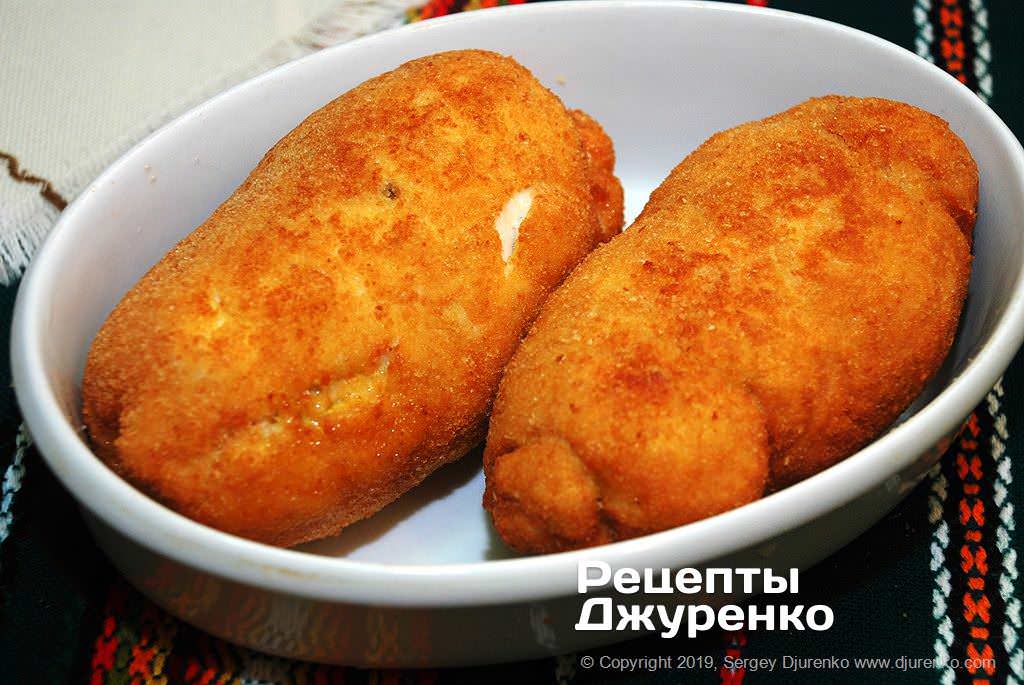
- Frying the cutlets to a nice crust is important. Under no circumstances overcook or burn the breading. Carefully lift the cutlets out of the oil and transfer them to a baking dish of a suitable size. Put the dish into an oven preheated to 200 °C. There the chicken Kyiv will cook through. The final cooking takes 20-30 mins, depending on the thickness of the cutlet. If the cutlet is shaped properly, all the butter filling will stay inside and won't leak out.
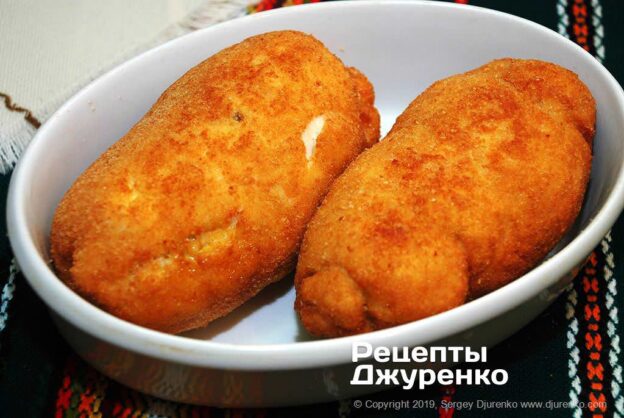
- The cutlets can be served right after cooking. If the cutlet has a bone, it is customary to wrap it in a paper frill – a papillote. In that case chicken Kyiv looks somewhat like a chicken drumstick. The cutlet can be served without a side dish. But to my taste, soft mashed potatoes won't go amiss. If you like, sprinkle the mash with finely chopped herbs.
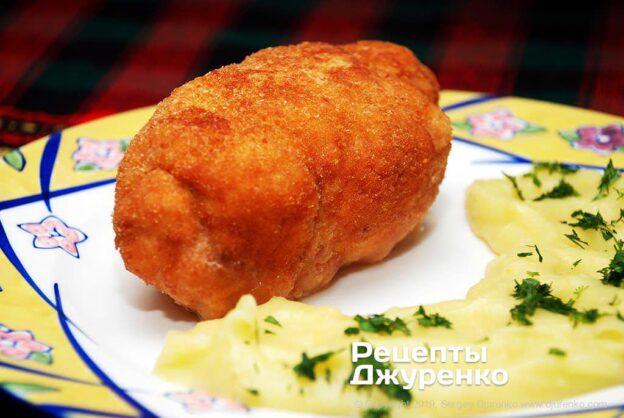
- Besides butter, you can use cheese with egg yolk or other more elaborate mixtures as a filling – whatever you like. At the table, the cutlet is cut into pieces with a knife so that a little of the filling runs out, and you should start eating right away.
| Yield: | 2 servings |
| Calories: | 280 |
| Prep time: | 15 mins |
| Cook time: | 45 mins |
| Total time: | 1 h |
| Category: | Main Dishes |
| Cuisine: | Ukrainian cuisine |
| Rating: |
⭐
⭐
⭐
⭐
⭐
4.8
(3)
|