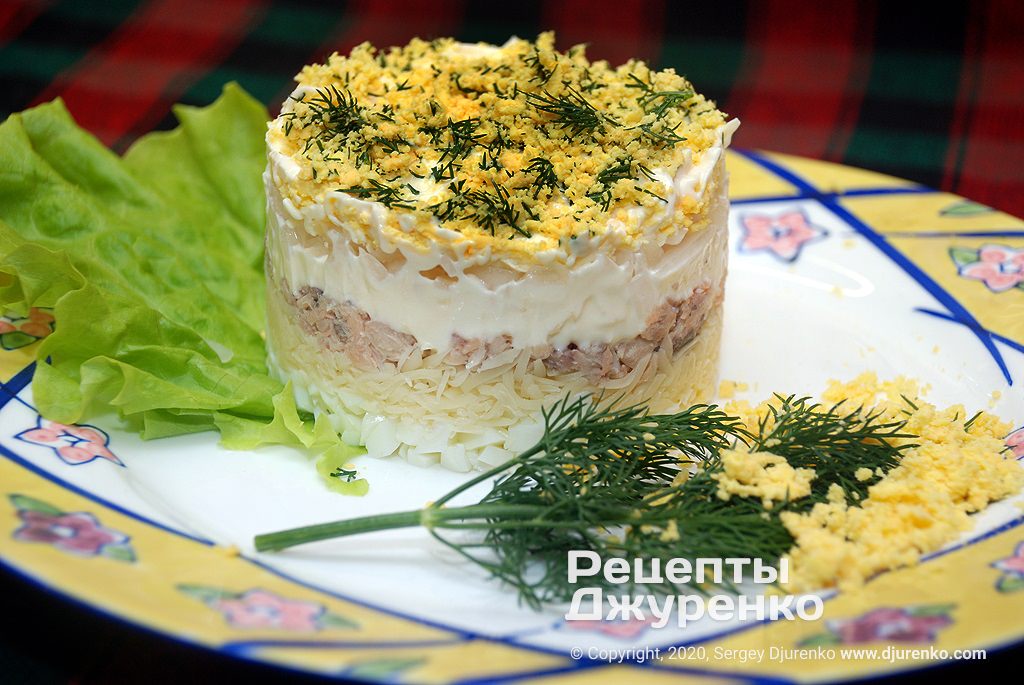
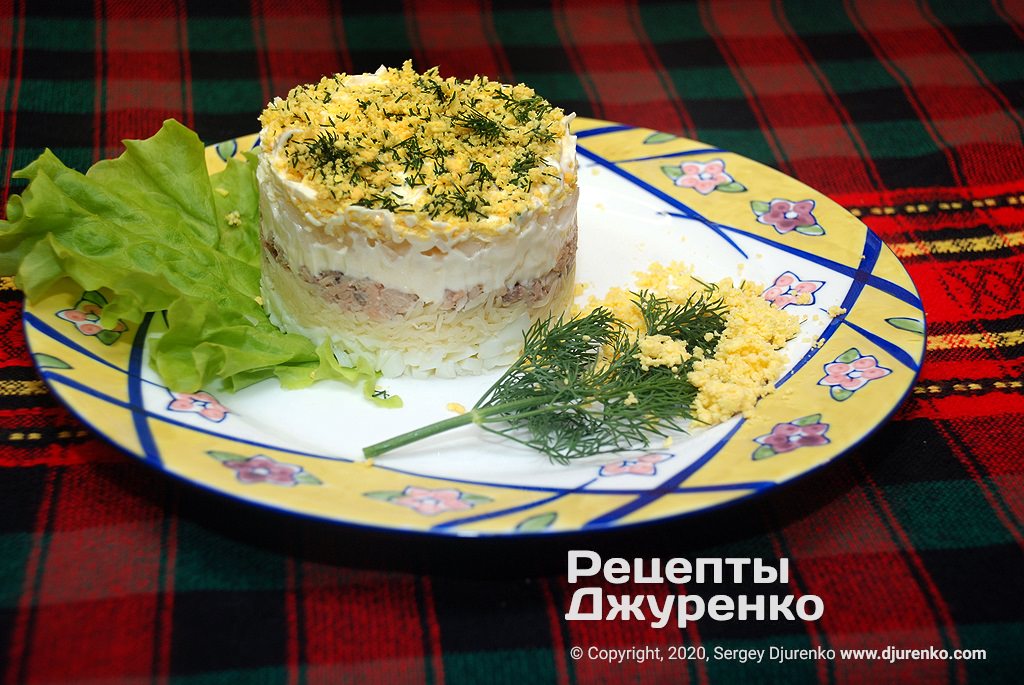
Mimosa salad with cheese and canned salmon: layered recipe
Cold appetizers made from finely chopped ingredients are very typical of the cuisine of post-Soviet countries. The traditional Mimosa salad is one of the main and most common dishes on a festive table. It is a tasty and very rich appetizer, popular and easy to make. The salad got its name from its resemblance to a flowering spring branch of mimosa.
If you think about it, most salads of those times are made from the most affordable ingredients. As a rule, the base is boiled or baked vegetables. There were never any problems with vegetables. But more exotic products were usually swapped for something else when putting salads together.
Many people believe the Mimosa salad is already half a century old. Although most likely no one knows who came up with it or what the “first” recipe was. It is a simple layered salad that can be made in a large dish or in individual portions. Canned salmon in its own juice is considered the proper ingredient. At one time it was a rather scarce product, so people used sardines or saury instead. By the way, they taste just as good.
The small choice of products shaped the look and makeup of the well-known Soviet salads. Mostly they use vegetables, preserves and canned goods, ready-made or processed products. And the dressings were always very simple: vegetable oil, sour cream, mayonnaise. Other sauces were used very rarely.
The traditional ingredient is salmon in its own juice in one large piece. Pink salmon works well too, it is hardly any different. Sometimes we use sardines or saury, less often tuna. Do not add fish canned in oil to the salad.
The appetizer has a lot of high-calorie ingredients, so it is best made in small portions and served at the start of lunch or dinner. As an appetizer should, it goes well with an aperitif and whets the appetite. To my mind, this salad handles that job perfectly, despite a slightly “wild” combination of ingredients. The salad is laid out in 8-10 layers that are lightly pressed down and do not have to be spread with mayonnaise, since all the ingredients are juicy enough. So it is better to spread mayonnaise only on the top, which is then sprinkled with crumbly yolk.
More with red fish
 Salmon Quiche with Spinach and CheddarSalmon quiche recipe on easy shortcrust pastry: fresh salmon, spinach braised in butter, pickled sweet onion and a cheddar egg custard. Step by step.
 Fish Soup with ShrimpCreamy fish soup with shrimp on a salmon or trout stock with onion, carrot, tomato and herbs. Easy step-by-step recipe with photos.
 Fish Soup with CreamCreamy fish soup with salmon: a light broth from the trimmings, potatoes, onion and carrot sautéed in butter and cream. Simple, quick and delicious.
 Oven-Baked Trout with PotatoesWhole trout stuffed with fried onion and fennel, rubbed with a homemade spice blend and baked with potatoes and tomato. A single-serving fish dinner.
 Grilled Trout SteaksGrilled trout steaks marinated in white wine, lemon and soy sauce with a homemade spice rub, cooked 5 minutes per side on a grill or grill pan.
Ingredients
2 servings
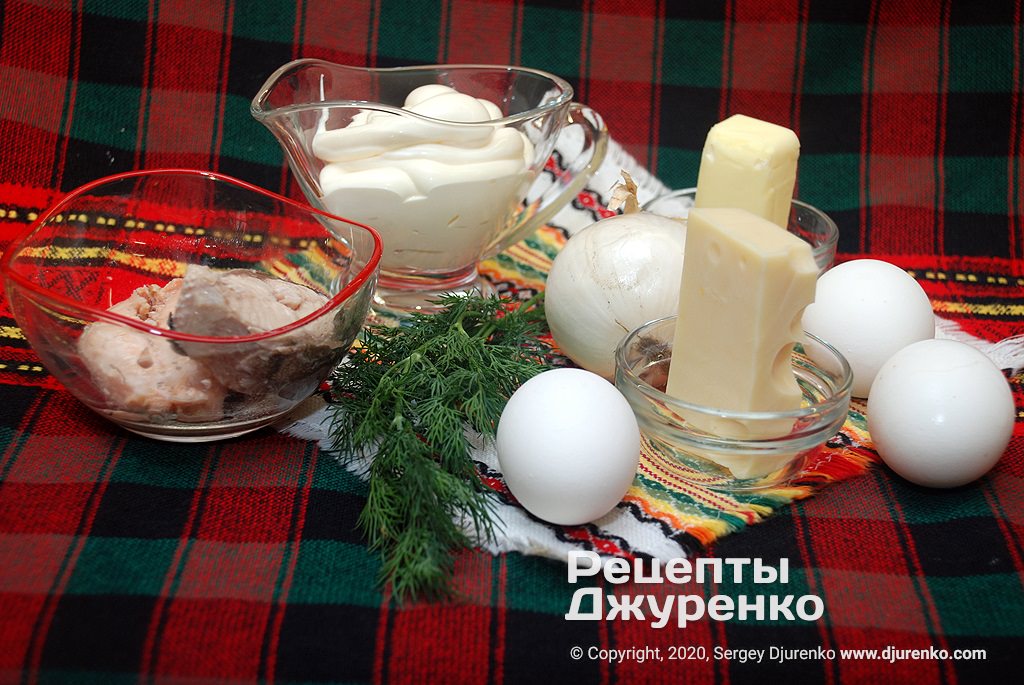
- Salmon in its own juice 1 can
- Eggs 3
- Butter 50 g
- Hard cheese 100 g
- Onion 1
- Mayonnaise 100 g
- Dill 2-3 sprigs
Step-by-step recipe
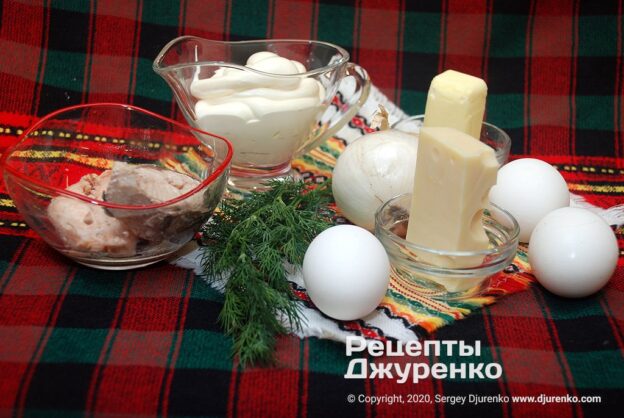
- Making and layering Mimosa with salmon is quick and simple. Most of the time goes into chilling and soaking the appetizer, and this is probably the most important stage. Hard-boil the eggs in advance and put the butter in the freezer so you can grate it. By the way, the hard cheese should also be kept cold, but not frozen. That makes it easier to grate. The ingredient amounts are for two portions of 250-270 grams each.
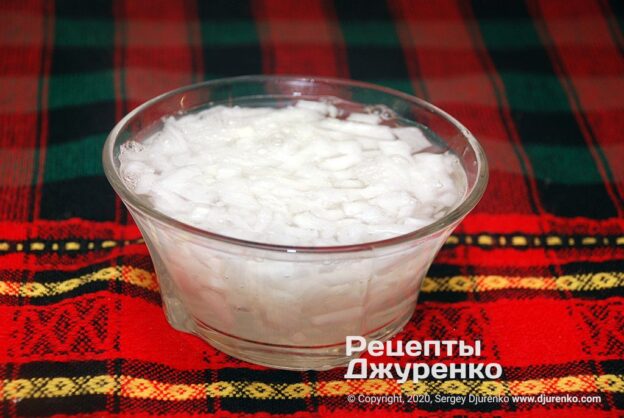
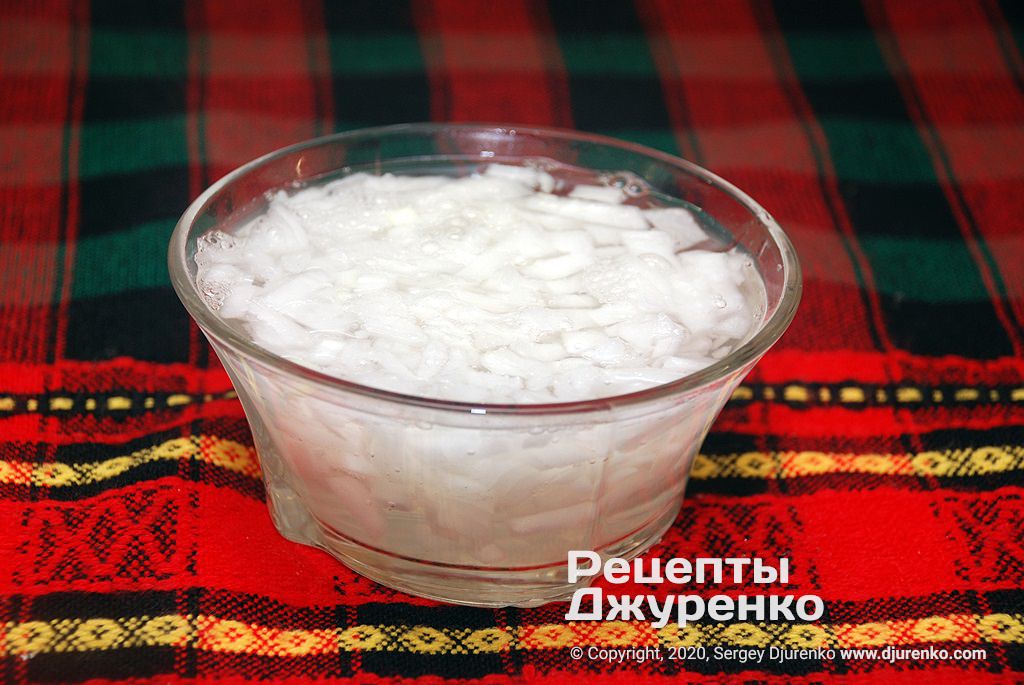
- I have always wondered why the onion for salads is scalded with boiling water. I think that back in those days onions were sharp, very sharp, and also pungent, and scalding toned that down. Today you can buy “white” salad onions, which are sweet and not as pungent. I think they can be used raw. Or you can simply peel an onion, chop it finely and pour boiling water over it. Then rinse and squeeze it out.
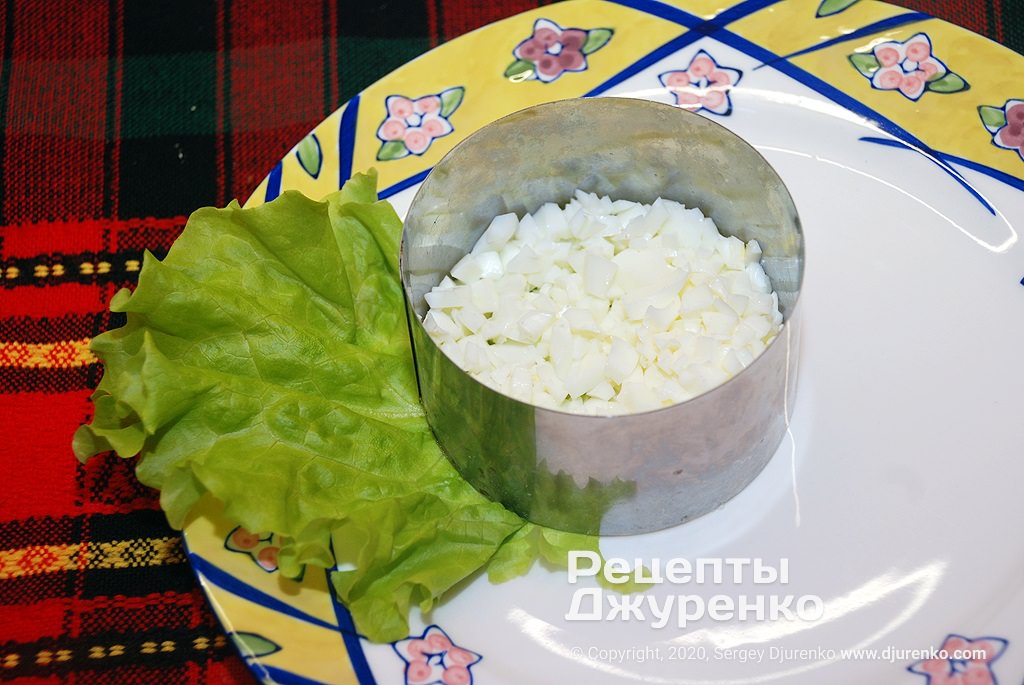
- You can layer the salad for a shared table in a deep bowl or salad dish, or make it in small portions. Either way, before layering the appetizer, chop all the ingredients except the butter: it softens very quickly, so grate it right before layering. For individual portions I use a pastry ring about 8 cm in diameter. Purely for looks, I put a lettuce leaf on the plate. Spread finely chopped egg white inside the ring: this is the first layer.
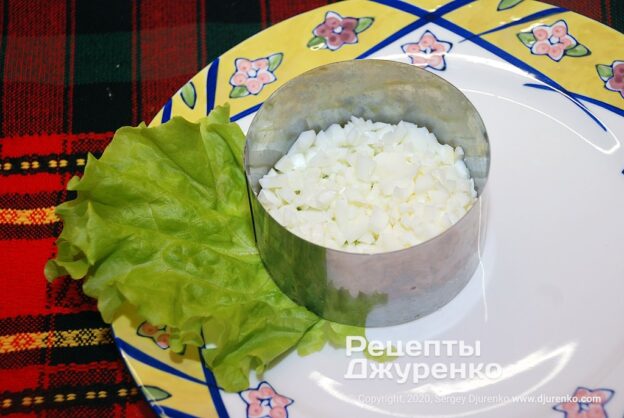
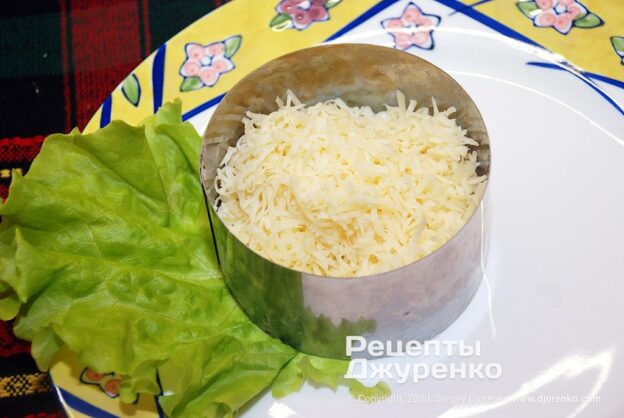
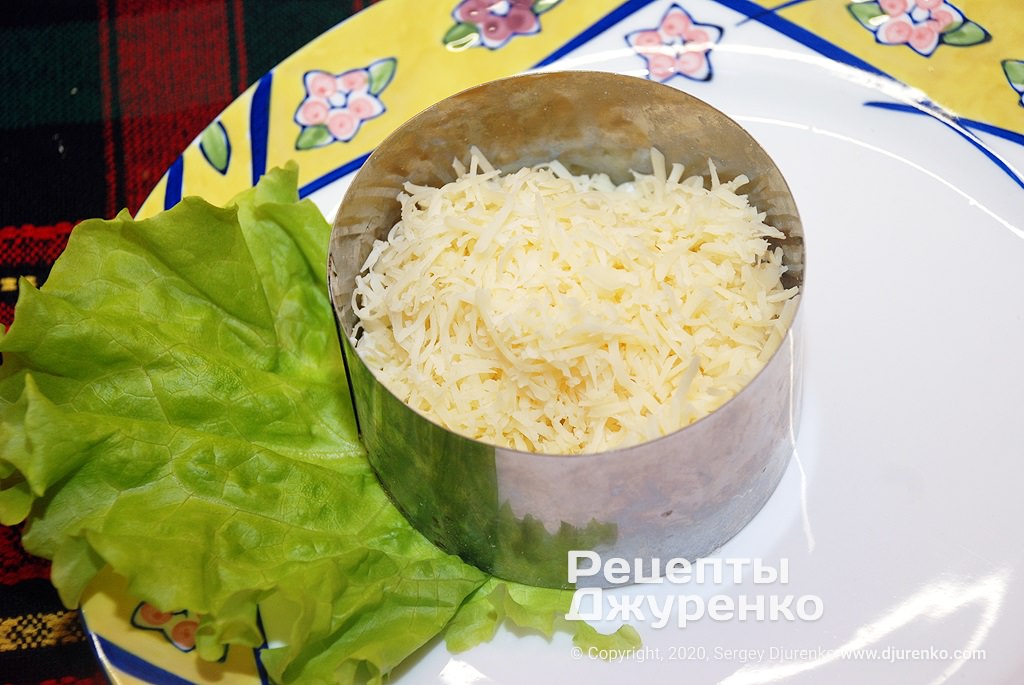
- By the way, you can chop the egg white with a knife or grate it, it makes no difference. The next layer is hard cheese grated on a fine grater. Back in the day, there was only one widely available cheese. Now there is a choice, so decide for yourself. Ideally it should be real cheese made from milk, not a “cheese product”. Grated cheese becomes “fluffy”, so lay it carefully over the egg white and level it very lightly.
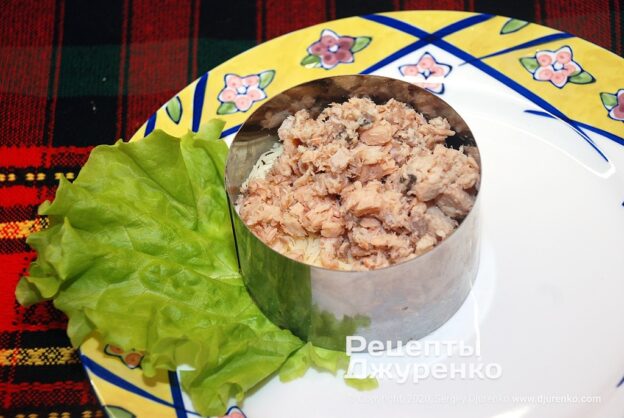
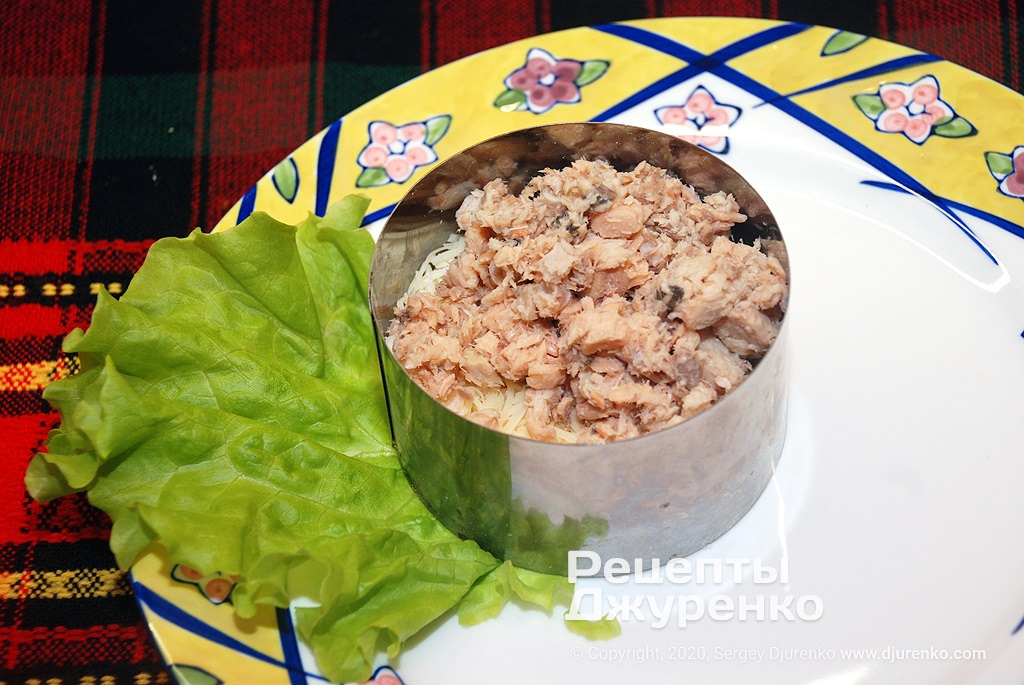
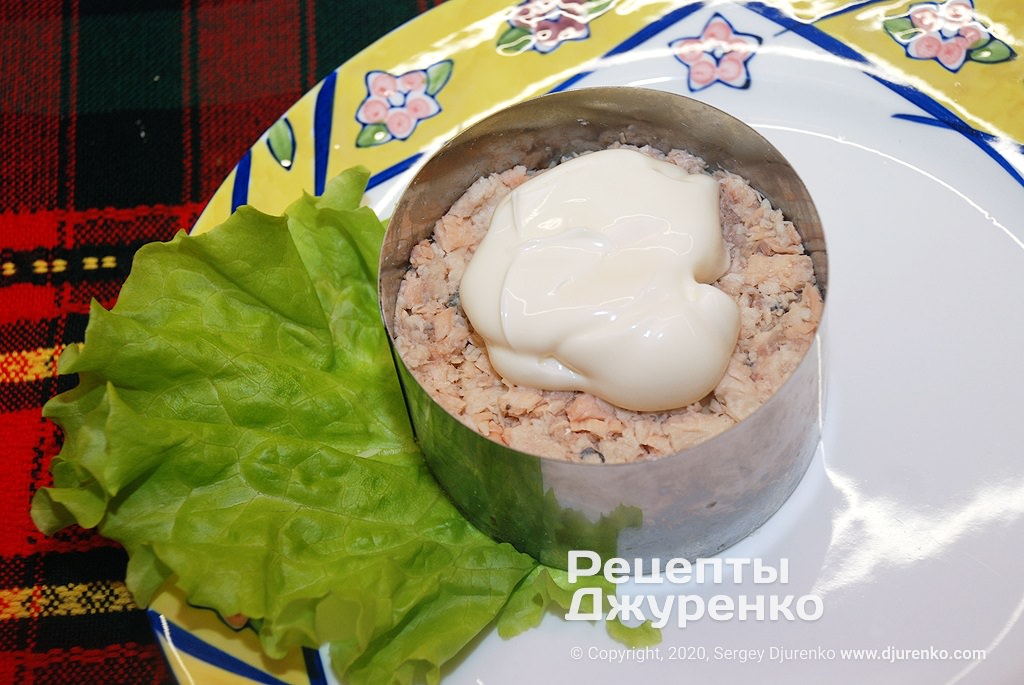
- Open the canned fish. Drain off all the liquid: you do not need it, otherwise the salad will simply run. Gently mash the fish with a fork. Whole pieces of canned salmon always contain bones and the backbone. During canning they lose their strength from the heat treatment. So the bones mash up nicely together with the fish and are then not noticeable at all. I once read that such bones are a source of calcium and very good for you. Lay the salmon over the cheese and press it down. By the way, you can split the fish into two layers, which is often done, putting the second part on top of the onion.
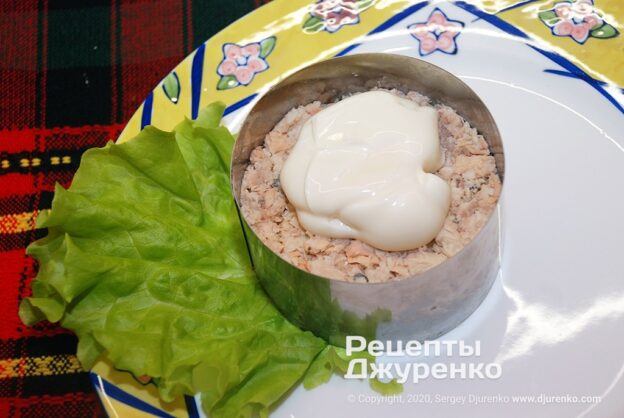
- To make the salad as juicy as possible, you can spread the fish with mayonnaise. In home cooking I avoid mayonnaise, I just do not like it much. But tradition and classic salad recipes call for this essential sauce. It is easy to make yourself. But since you need very little of it, this time we decided to buy ready-made sauce. Spread the fish with half of the prepared mayonnaise and level the surface.
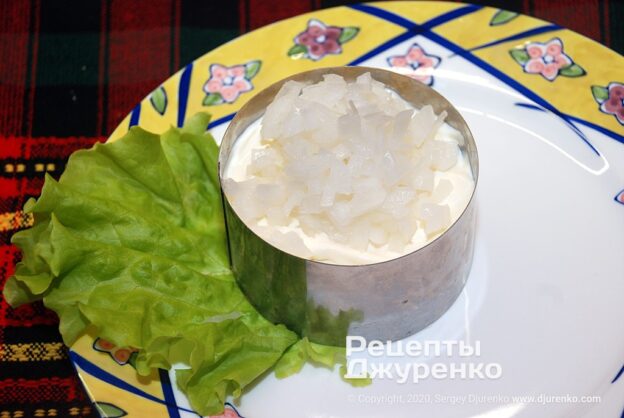
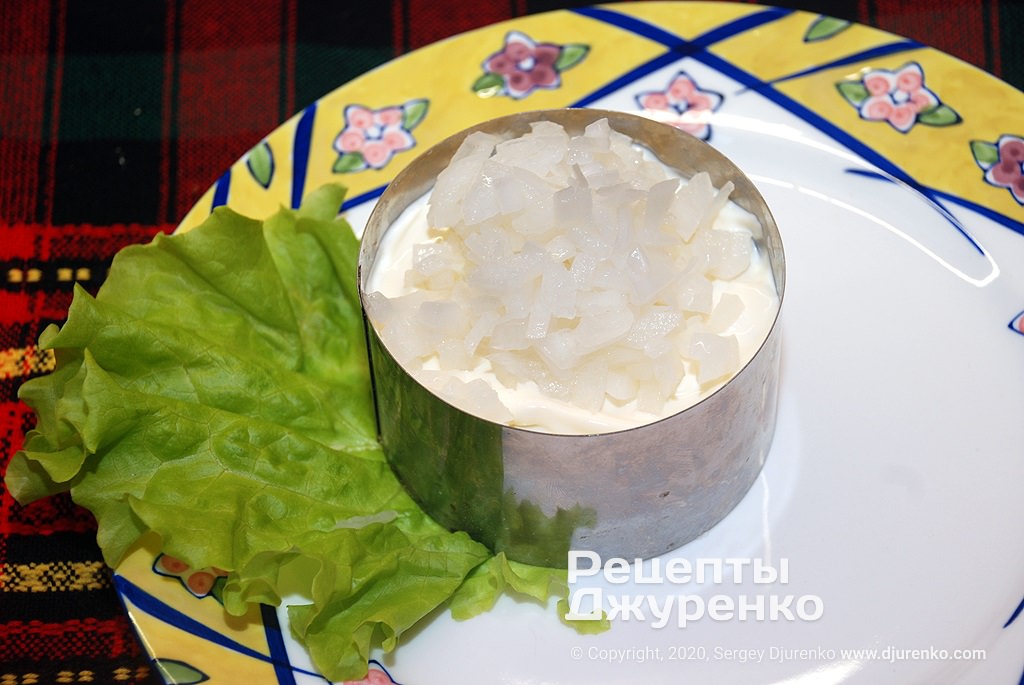
- For the next layer there are usually different options: onion or butter. Spread the squeezed onion and level it.
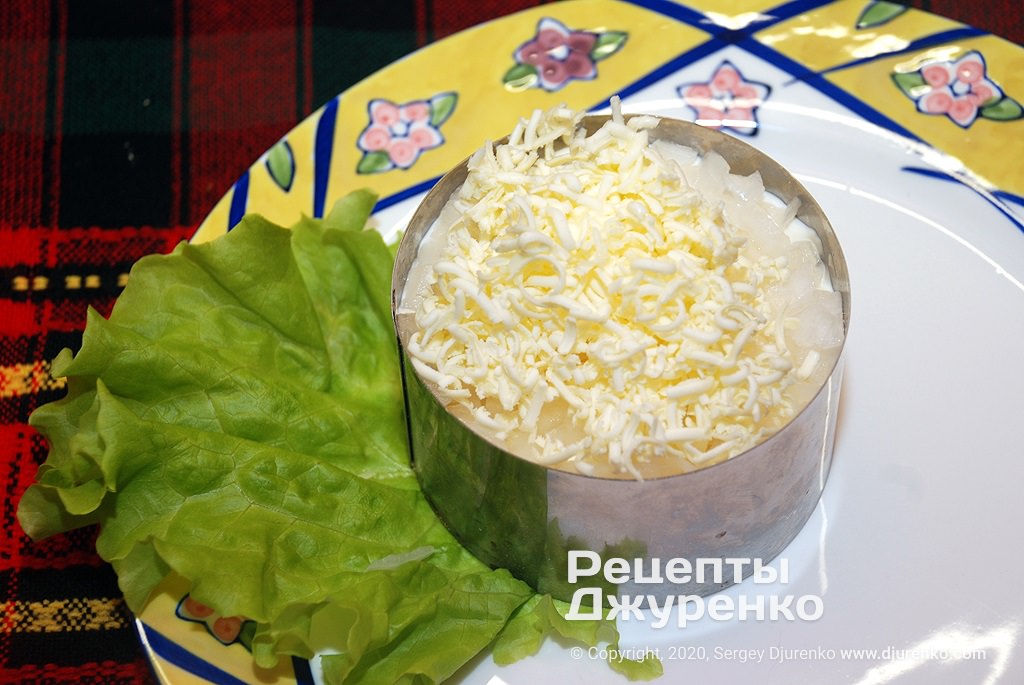
- Take the piece of butter out of the freezer and grate it on a fine grater. Level the layer so it is even over the whole surface. Do not press it down: the butter should lie loosely. If you used half of the salmon for the bottom layer, put the second half on top of the butter.
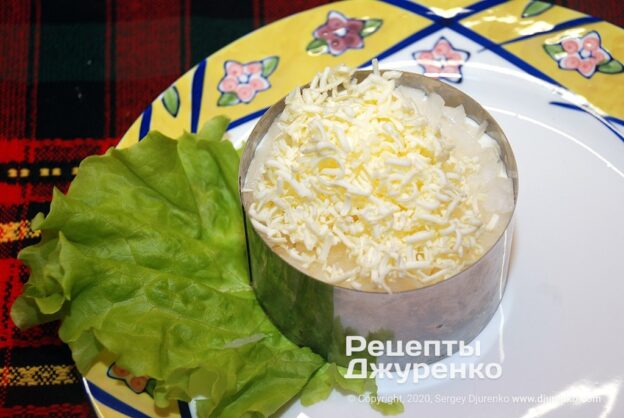
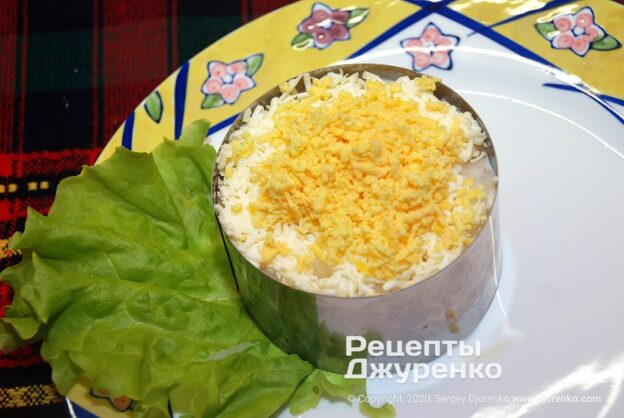
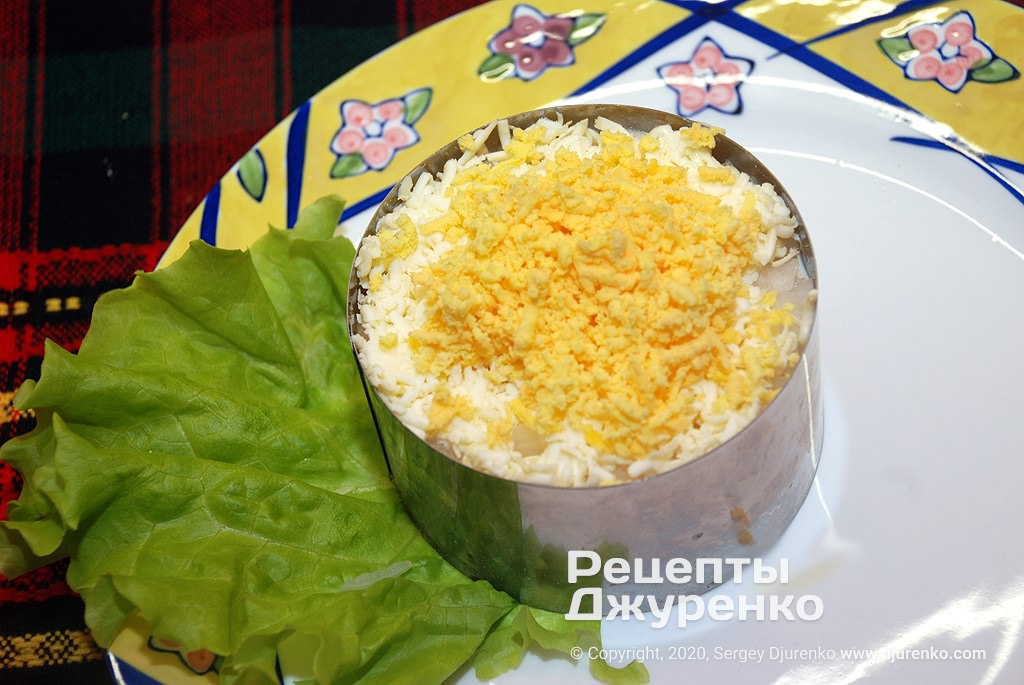
- All that is left is to lay out the egg yolks. Grate the yolk on a fine grater. Set a little aside to decorate the plate before serving. Divide the remaining yolk into two equal parts. Finely chop 1-2 sprigs of dill, it is better to discard the stems. Mix one part of the yolk with the dill. Sprinkle the salad with the plain yolk. Then lightly press the salad down with your fingers or a spoon, whichever is easier, but without force. If you put all the yolk on at once, it is hard to spread sauce over it and it will crumble. A thin layer of mayonnaise inside the yolk layer holds it together well. Spread mayonnaise over the yolk. Sprinkle the very top of the salad with the yolk and herbs. Carefully remove the pastry ring used as a mold. For decoration, put a sprig of dill on the plate and sprinkle the rest of the grated egg yolk over it so that it looks like a mimosa branch.
- Next, and this is important, put the salad in the fridge. It needs to soak well and chill. At least a couple of hours, and better overnight. Then the appetizer will be juicy and tender. Serve the salad at the table straight from the fridge, right before the meal.
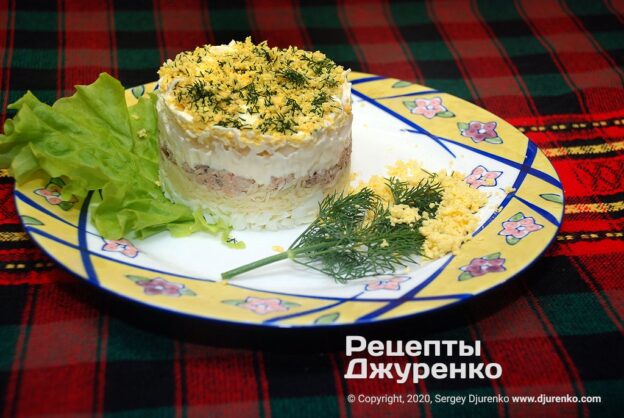
- Besides dill, you can use parsley, basil, cilantro and other herbs. Serve the appetizer at the start of the meal, it is very tasty with fresh bread.
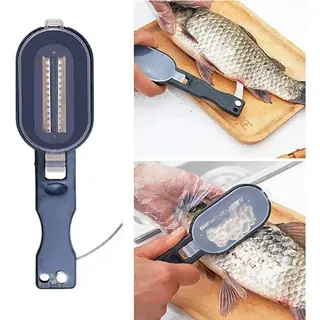 Fish scaler with lidAliExpress
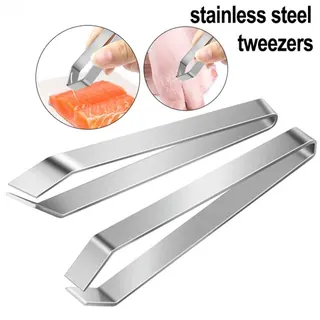 Fish bone tweezersAliExpress
 Wide-mouth canning funnelAliExpress
 CheeseclothAliExpress
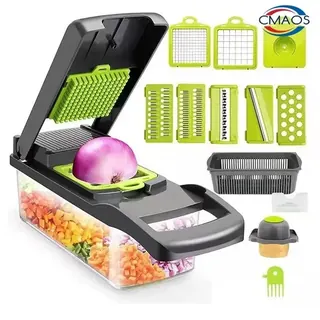 Vegetable chopper with handleAliExpress
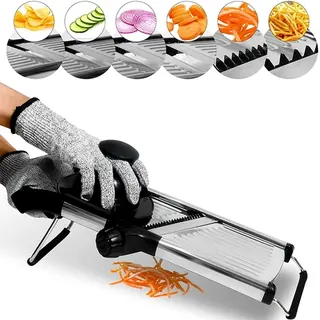 Adjustable mandoline slicerAliExpress
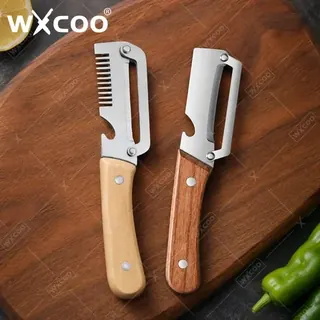 Peeler with wooden handleAliExpress
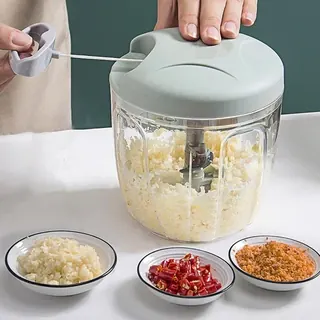 Pull chopper for garlic and onionAliExpress
 Chunky Chelsea bootsINTERTOP
 Lace-up bootsINTERTOP
 Platform sheepskin slippersINTERTOP
 Beige sheepskin bootsINTERTOP
 Suede knee-high bootsINTERTOP
 Heeled ankle bootsINTERTOP
 Brown Chelsea bootsINTERTOP
 Classic Chelsea bootsINTERTOP
 Smoby Bon Appetit play kitchenБудинок іграшок
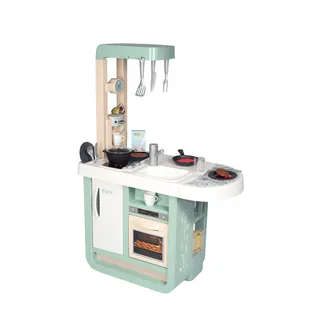 Smoby kitchen with oven and fridgeБудинок іграшок
 Bosch Mini toy mixerБудинок іграшок
 Bosch Mini toy toasterБудинок іграшок
 Chef’s salad play setБудинок іграшок
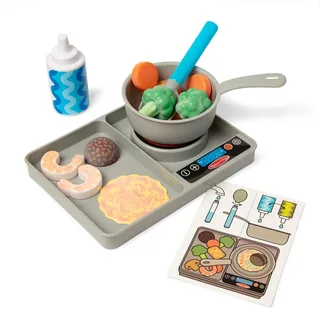 Melissa & Doug sauté play setБудинок іграшок
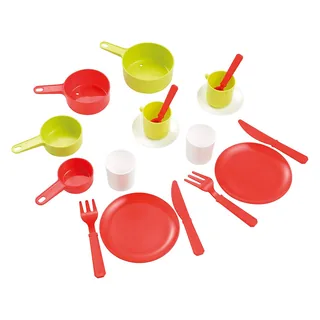 Smoby cookware in a panБудинок іграшок
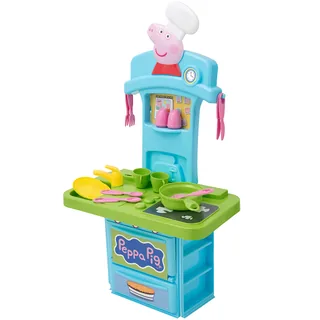 Peppa Pig kitchenБудинок іграшок
 | Yield: | 2 servings |
| Calories: | 300 kcal per 100 g |
| Prep time: | 30 mins |
| Cook time: | 15 mins |
| Total time: | 45 mins (plus soaking time) |
| Category: | Salads › Fish and Seafood Salads |
| Cuisine: | European |
| Rating: |